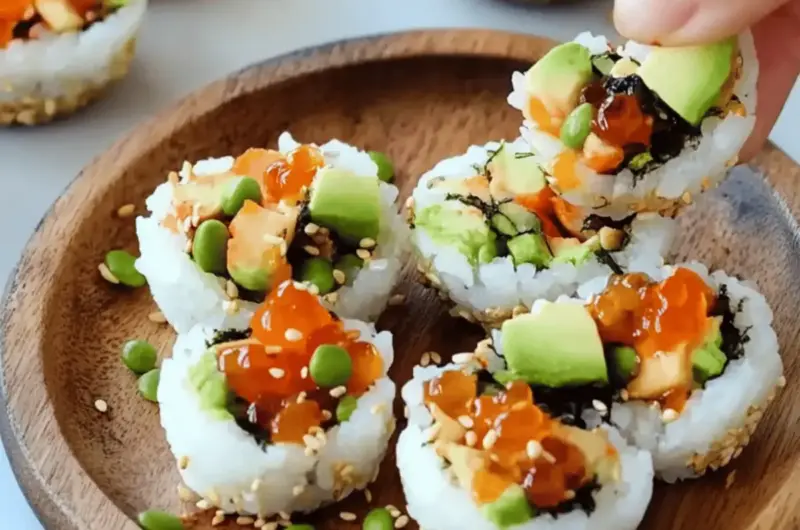
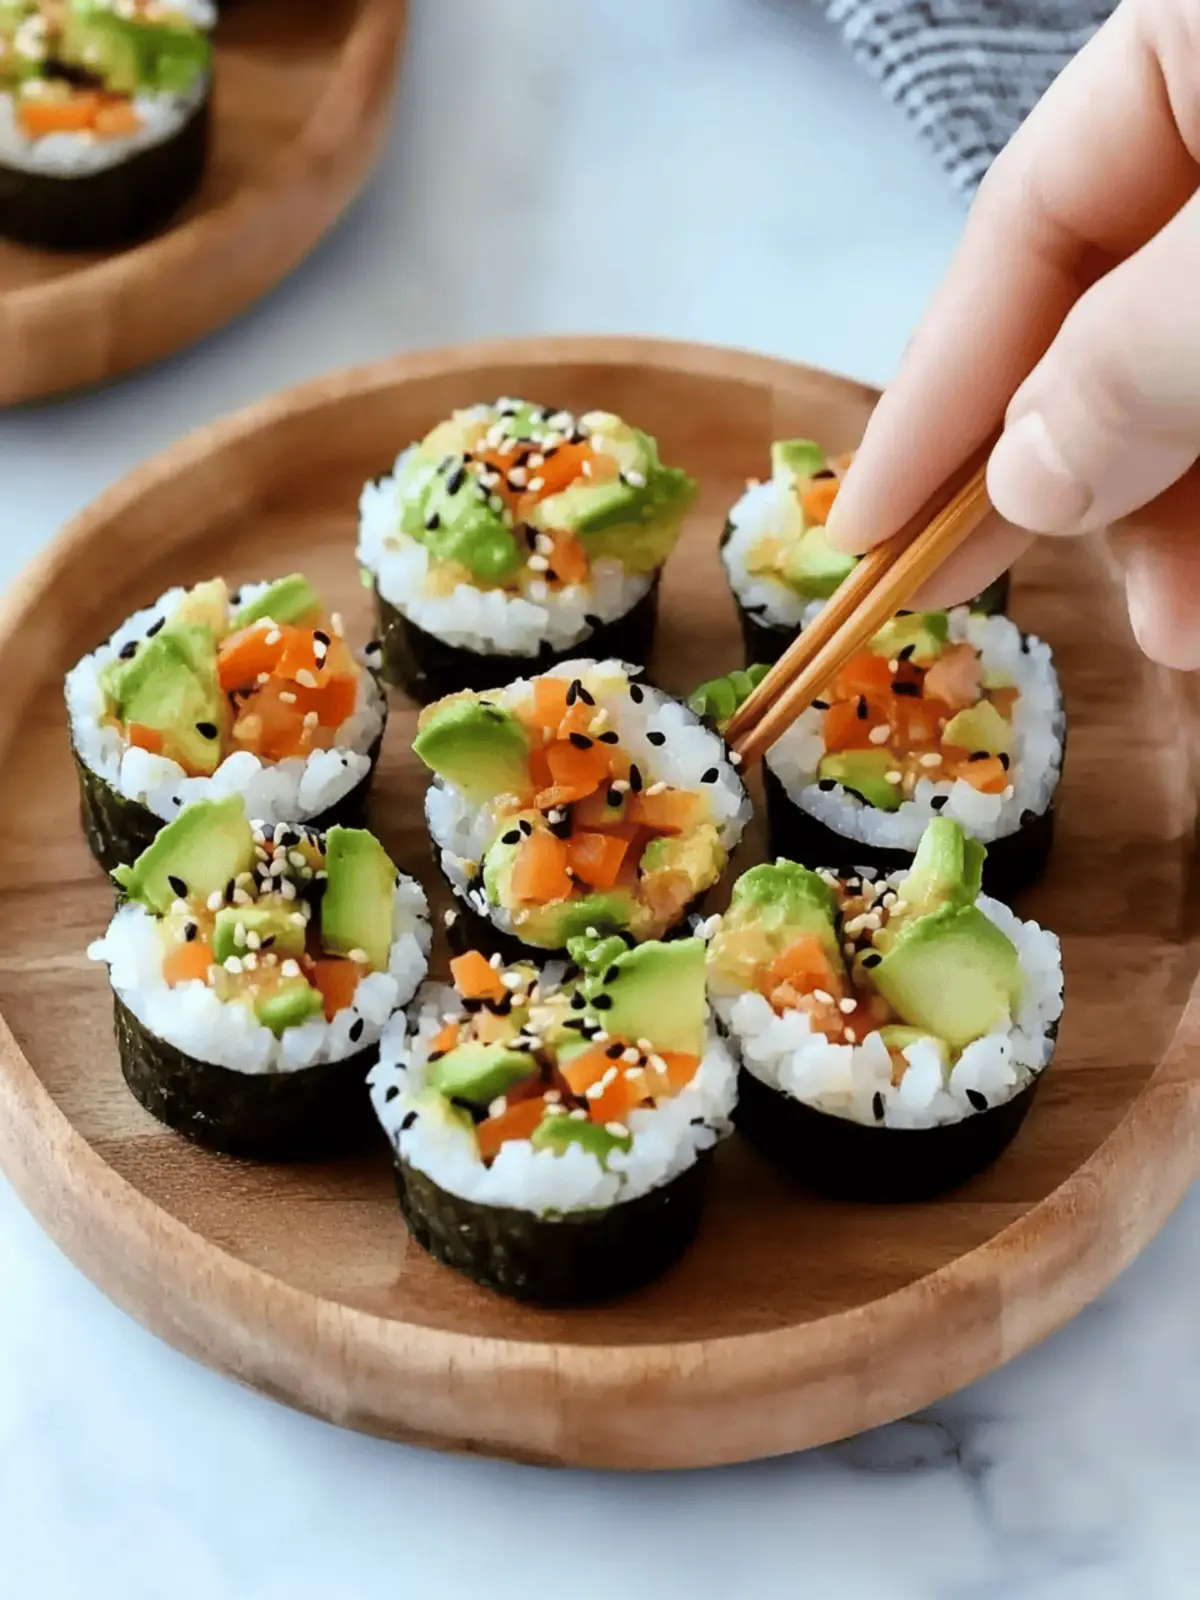
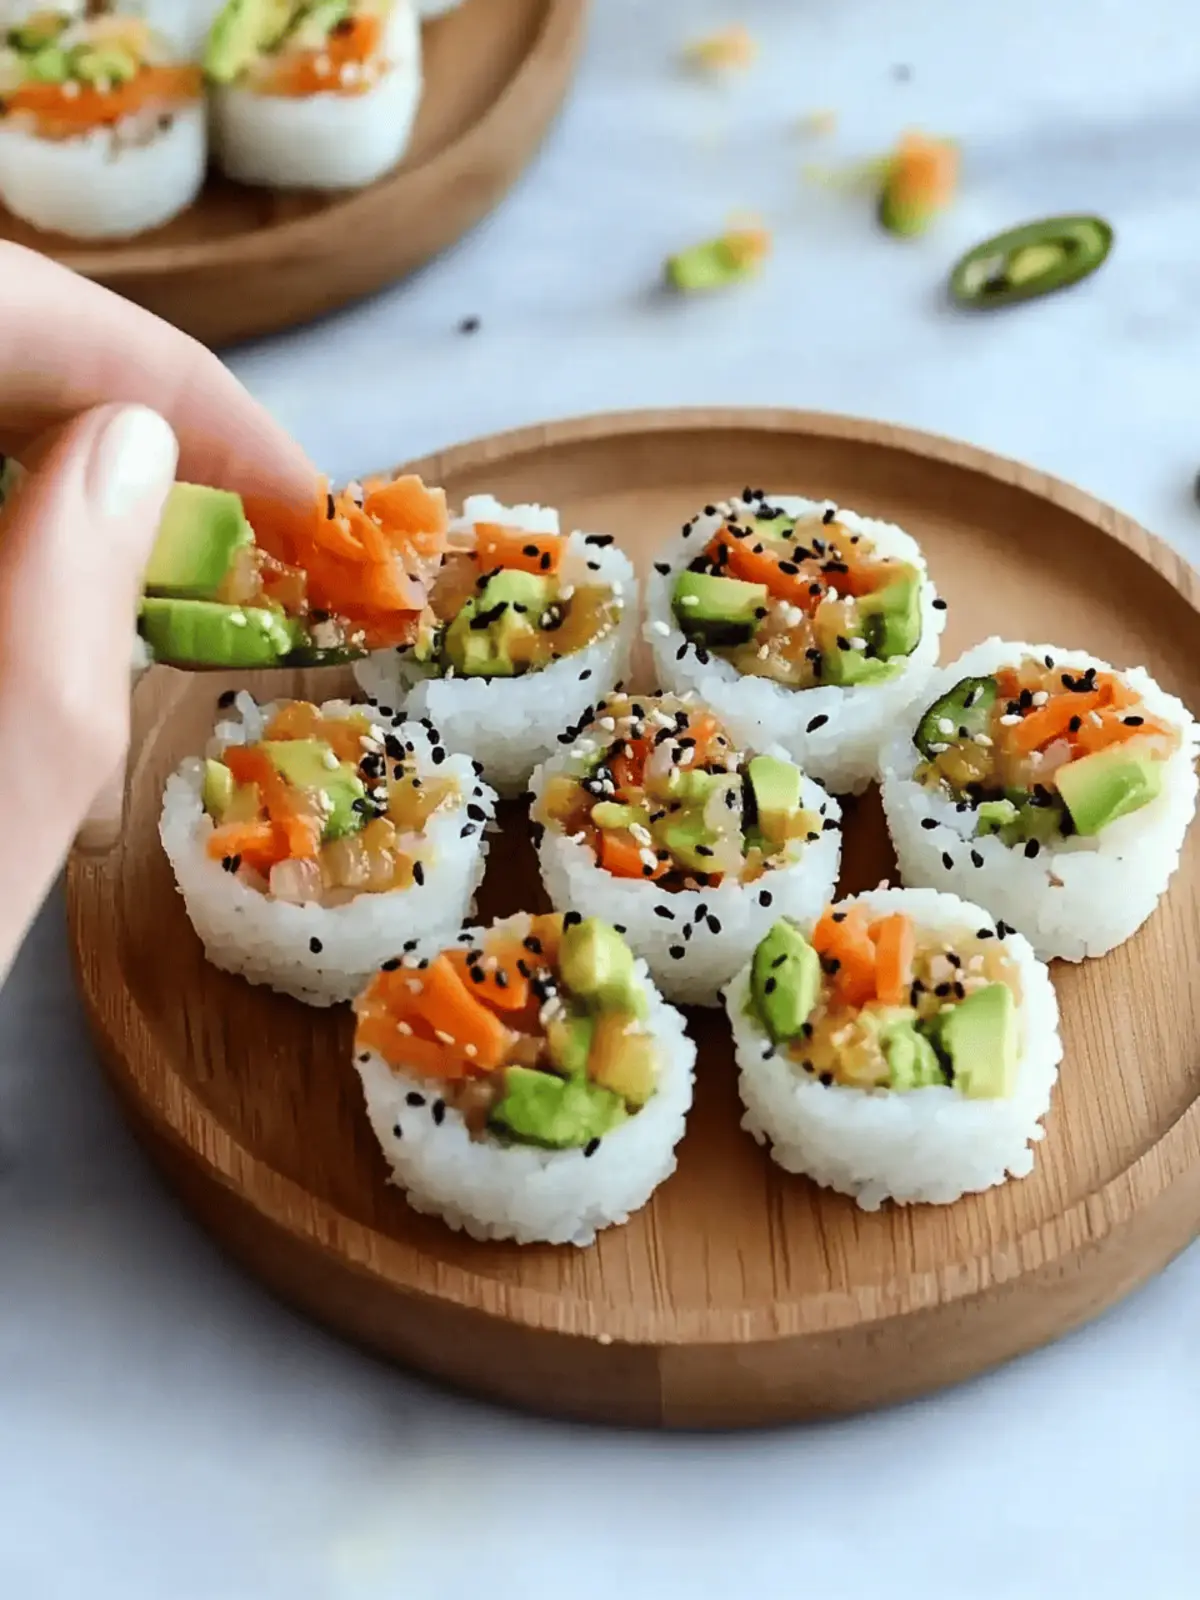
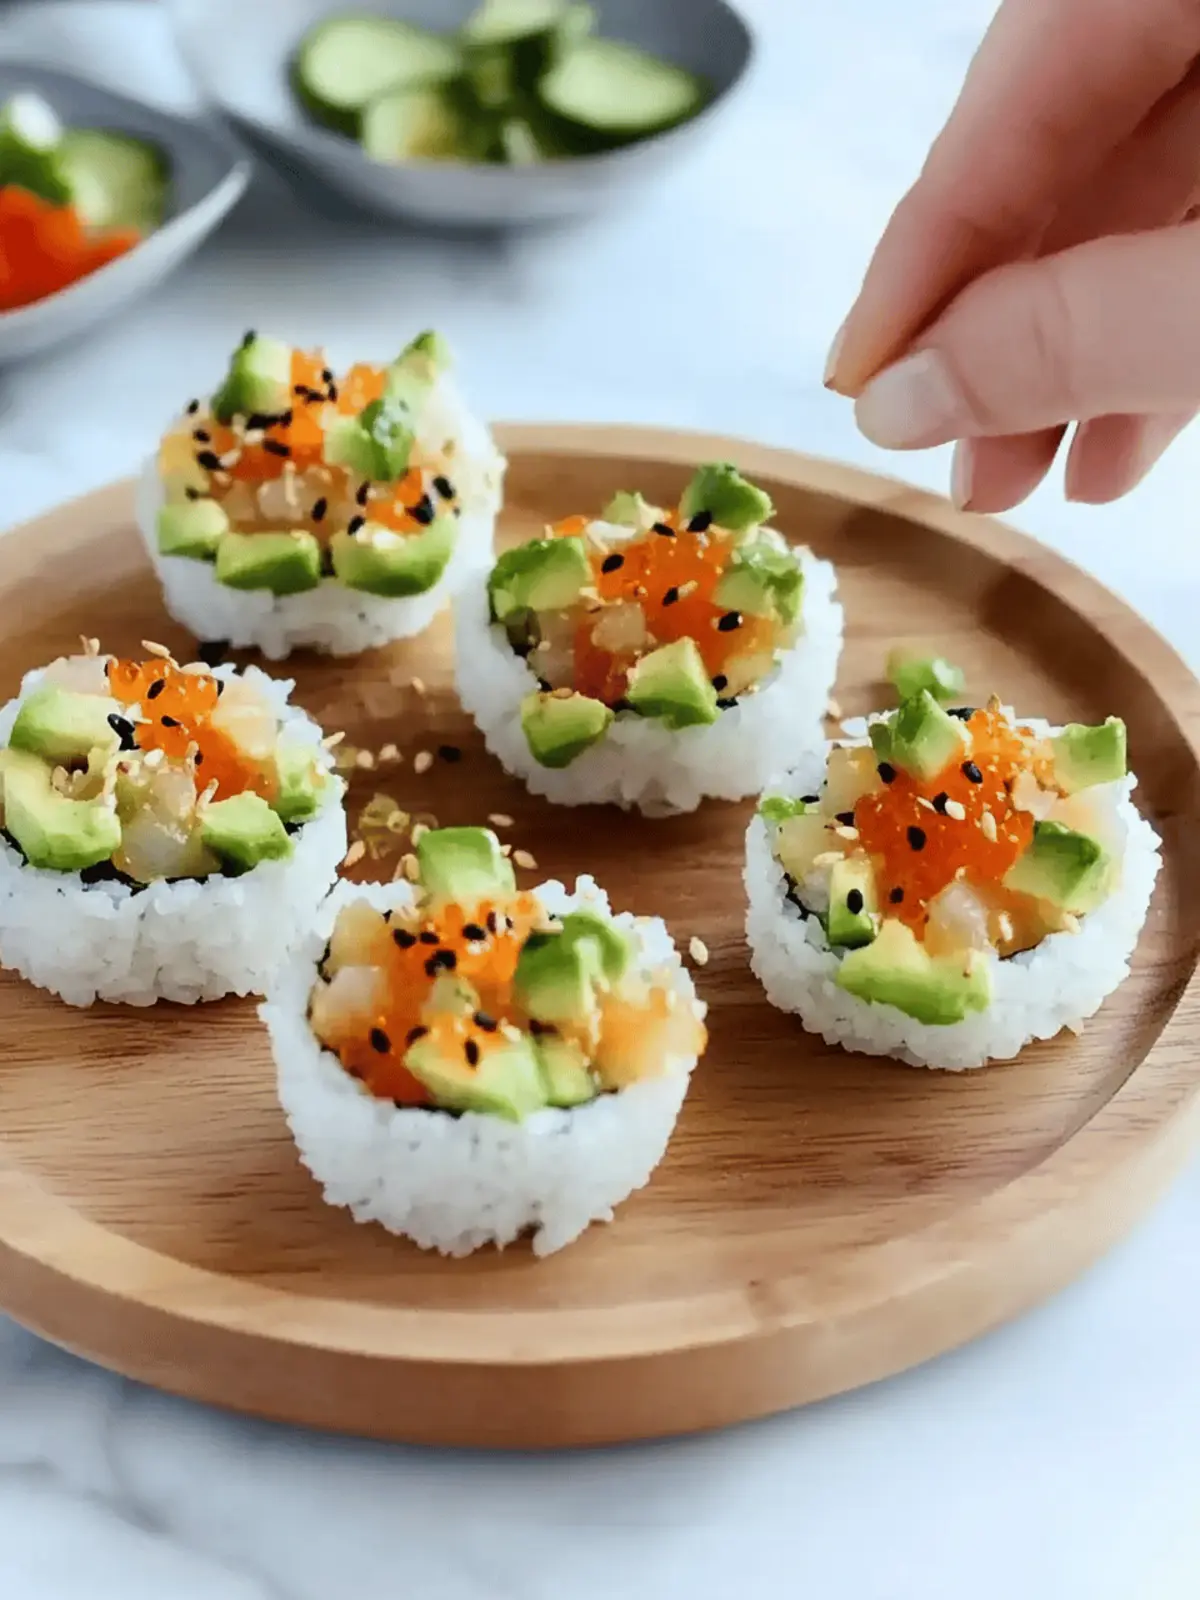
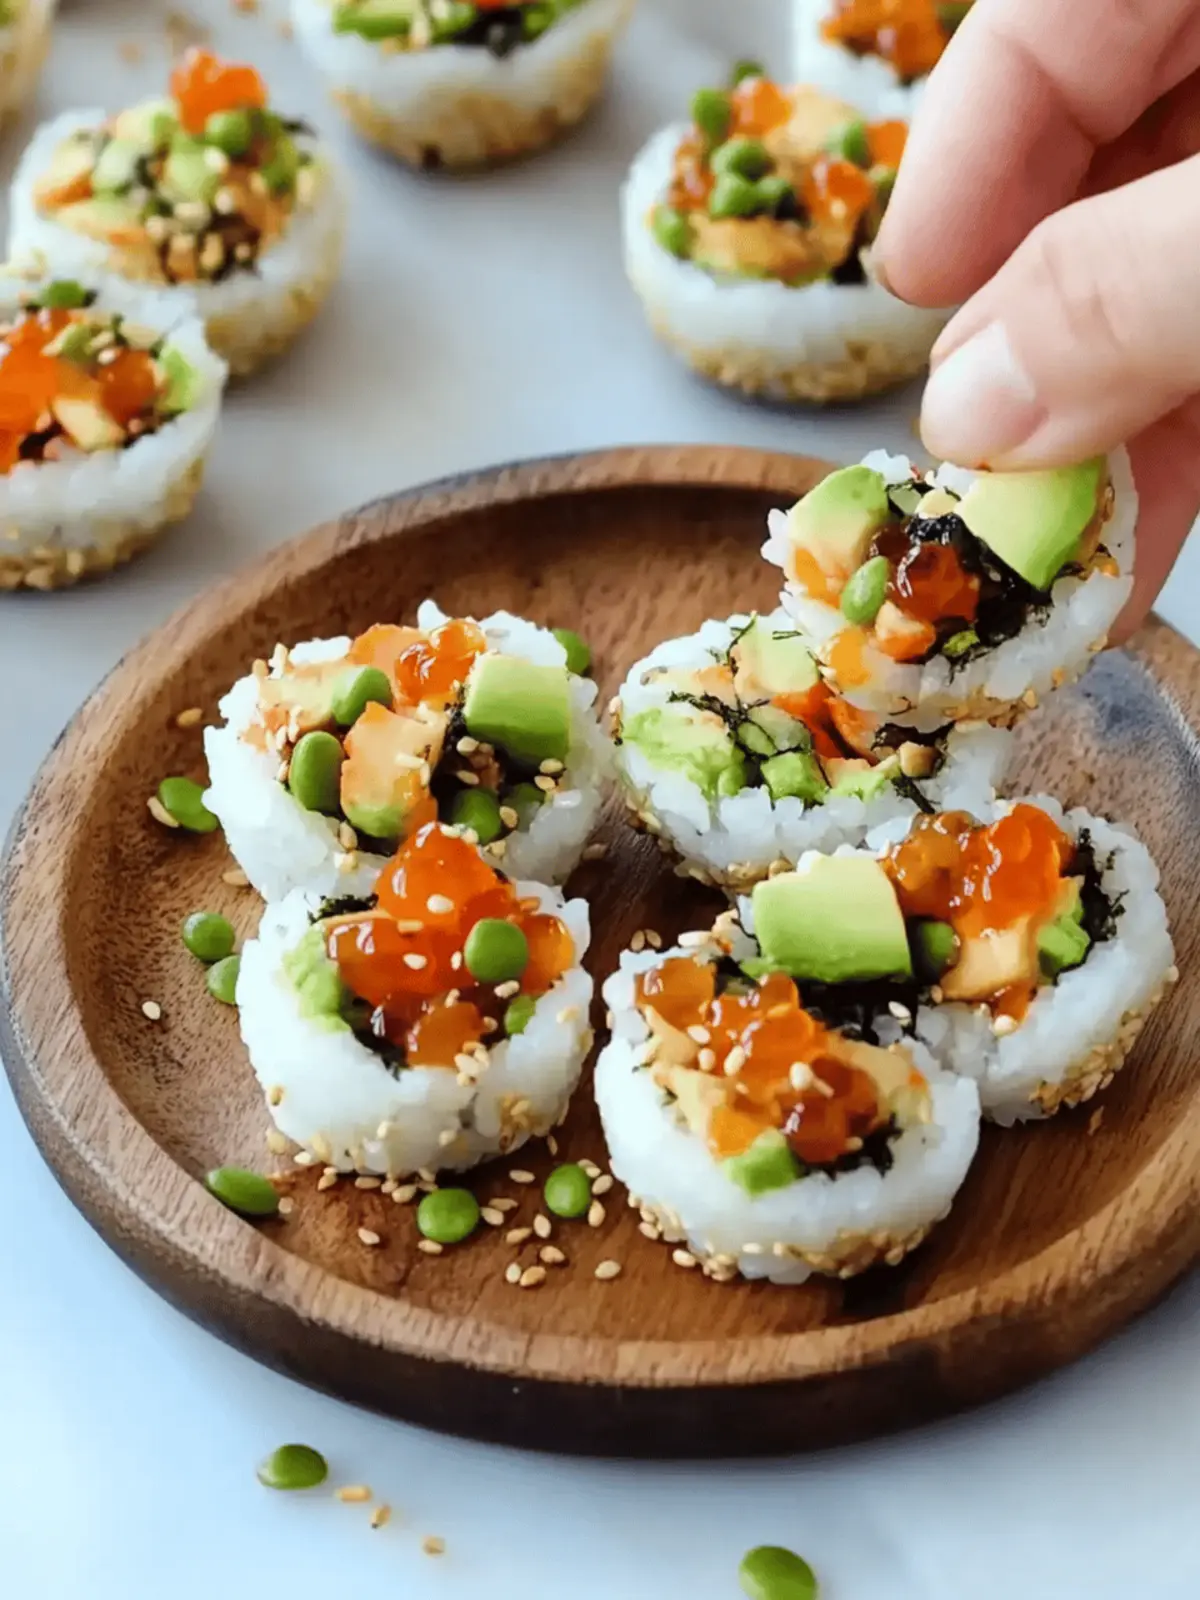
There’s something incredibly satisfying about creating a colorful platter that brings people together, and these Super Easy Sushi Cups are just that! As I was prepping for a small gathering last weekend, I wanted to impress without overwhelming my schedule. That’s when I discovered this delightful no-bake recipe, transforming traditional sushi into bite-sized wonders.
Picture this: a crunchy rice cup filled with fresh, vibrant veggies and creamy avocado, bursting with flavor in every bite. It’s an appetizer that suits every occasion—be it a casual get-together or a weeknight family dinner. Even better, these sushi cups are entirely customizable, allowing you to swap in your favorite ingredients. Whether you’re catering to vegetarians or looking for something quick and healthy on busy days, these savory bites have got you covered. Trust me, they’re not just appetizers; they’re a joyful celebration of flavors that everyone will love!
Why You’ll Love These Super Easy Sushi Cups
Customization, these sushi cups are a canvas for your creativity! Choose your favorite fresh veggies or even proteins, and watch how quickly they transform.
No Baking Required: Perfect for those who want deliciousness without the oven heat!
Easily Assembled: Follow simple steps to create stunning appetizers in no time.
Perfect for Any Occasion: Whether a simple snack or a fancy party, these bites fit every gathering.
Health-Conscious Delight: Each cup is a nourishing treat, with roughly 110 calories—ideal for guilt-free munching!
Family-Friendly: Get the kids involved in filling their own cups; it’s a fun activity everyone can enjoy, making meal prep a breeze.
Super Easy Sushi Cups Ingredients
For the Rice Cups
• Sushi Rice – This forms the perfect base for your sushi cups; remember to rinse it well for the right texture.
• Water – Essential for cooking the sushi rice until beautifully tender.
For the Filling
• Finely Chopped Veggies (e.g., carrots, cucumber, bell peppers, sprouts) – Add a refreshing crunch and vivid colors; feel free to use your favorite raw veggies!
• Steamed Mukimame (shelled edamame) – Offers a nutty flavor and protein boost; you can use regular edamame pods if needed.
• Diced Avocado – Brings a creamy texture and healthy fats to the mix; about half a small avocado should do!
For the Sauce
• Sauce of Choice (soy sauce, tamari, or coconut aminos) – Allows for flavor customization based on dietary preferences; pick what you love!
• Mayonnaise – This is the base for a trendy spicy mayo; vegan mayo works great for plant-based diets.
• Sriracha Sauce – Provides a delightful kick; adjust the amount according to your spice tolerance.
• Coconut Aminos or Soy Sauce – Combine with the mayo for an extra flavor infusion.
• Honey – Adds a touch of sweetness for balance; feel free to substitute with agave syrup for a vegan option.
• Sesame Oil – Elevates the flavor profile of your spicy mayo; a little goes a long way!
For Garnish
• Black Sesame Seeds – Sprinkled on top, they add a lovely crunch and appealing visual contrast to your sushi cups.
Get ready to indulge in these Super Easy Sushi Cups, designed to cater to your taste and creativity! Enjoy the process, and don’t hesitate to mix it up!
How to Make Super Easy Sushi Cups
-
Cook Rice: In a pot, combine the rinsed sushi rice and water. Bring it to a boil, then reduce the heat, cover, and simmer for 20 minutes until the water is absorbed and the rice is tender. Allow it to cool slightly.
-
Shape Rice Cups: Press about 2 tablespoons of the cooked rice into each cup of a muffin tin, ensuring it’s compact. Place the muffin tin in the refrigerator and chill for 20 minutes to help the rice cups set.
-
Prepare Filling: In a mixing bowl, combine your choice of finely chopped veggies, steamed mukimame, diced avocado, and your preferred sauce. Toss gently to mix all the ingredients well.
-
Make Spicy Mayo: In another bowl, whisk together the mayonnaise, Sriracha sauce, coconut aminos, honey, and sesame oil. Feel free to adjust the spice level according to your taste.
-
Assemble Cups: Once the rice cups are chilled, carefully remove them from the muffin tin. Fill each rice cup with the veggie mixture, drizzle the spicy mayo on top, and garnish with black sesame seeds for an added crunch.
Optional: Add thinly sliced radishes for an extra fresh touch!
Exact quantities are listed in the recipe card below.
How to Store and Freeze Super Easy Sushi Cups
Fridge: Store assembled sushi cups in an airtight container for up to 2 days. This keeps them fresh while preserving the flavors.
Freezer: For best results, freeze the rice cups individually before filling. Once cooled, wrap them tightly in plastic wrap and keep in a freezer-safe bag for up to 1 month.
Reheating: If frozen, thaw the sushi cups in the fridge overnight. You can reheat the rice cups in the microwave for about 30 seconds to restore warmth before adding fresh fillings.
Make-Ahead: You can prepare the rice cups and filling separately and store them in the fridge for up to 24 hours. Assemble just before serving for the best texture and flavor!
Super Easy Sushi Cups Variations
Feel free to explore your creativity with these sushi cups, making them even more delightful and customizable!
-
Protein-Packed: Add grilled chicken or tofu for an extra protein boost that will keep you satisfied.
-
Spicy Twist: Incorporate spicy tuna or kimchi into the filling for an exciting kick that will thrill your tastebuds.
-
Dairy Delight: Substitute cream cheese for avocado to create a creamy, rich flavor with a different texture.
-
Crunch Factor: Toss in crunchy nuts or crispy fried onions for added texture and a satisfying bite in every cup.
-
Herbaceous Touch: Fresh cilantro or basil can add a fragrant note, elevating the flavor profile and making your sushi cups even more refreshing.
-
Flavorful Marinade: Marinate your veggies in a vinegar-based dressing for an added tang that will awaken your taste buds and enhance the overall experience.
-
Fruit Infusion: Add some finely diced mango or pineapple for a sweet and tropical twist, balancing the savory elements beautifully.
-
Crispy Seaweed: Use nori strips as a garnish or layer within the rice cup for an extra salty crunch that pays homage to traditional sushi.
Make Ahead Options
These Super Easy Sushi Cups are an excellent choice for meal prep, making your busy weeknights a breeze! You can prepare the rice cups up to 24 hours in advance by pressing the cooked sushi rice into a muffin tin and chilling it in the refrigerator. Additionally, you can mix the filling and spicy mayo components ahead of time; simply store them in airtight containers and refrigerate for up to 3 days. To maintain the fresh texture of the veggies and avocados, add them only right before serving. When you’re ready to impress, just fill the rice cups with the prepared mixture, drizzle with spicy mayo, and garnish for delightful, restaurant-quality results with minimal effort!
What to Serve with Super Easy Sushi Cups?
These delightful sushi cups can shine brighter when paired with the perfect sides and drinks!
- Miso Soup: Warm and soothing, this classic Japanese soup complements the fresh flavors of sushi cups beautifully. The umami notes will enhance your meal experience.
- Crispy Edamame: Tossed with sea salt or a touch of chili, these bite-sized edamame add a crunchy and flavorful protein-rich snack that ties perfectly with the sushi theme.
- Sesame Carrots: Lightly glazed in honey and sesame seeds, these sweet and crunchy carrots offer a delightful contrast to the sushi cups’ creaminess.
- Sushi-Style Salad: A refreshing mix of greens, avocado, and sesame dressing creates a vibrant side that brings freshness and complements the sushi’s taste.
- Ginger Beer: The zesty sweetness of this fizzy drink not only refreshes the palate but also adds a delightful kick alongside the sushi cups.
- Fruit Platter: A colorful assortment of seasonal fruits brings a bright, sweet touch that balances the savory elements perfectly, leaving your guests satisfied and happy.
- Matcha Green Tea: This vibrant beverage pairs nicely with sushi and cleanses the palate. Its unique flavor enhances the overall dining experience and brings a touch of tradition.
- Chocolate Mochi: For a sweet finish, these chewy desserts provide a fun texture that contrasts well with the sushi and keeps the meal light and playful.
Mix and match these suggestions for an unforgettable meal everyone will love!
Expert Tips for Super Easy Sushi Cups
- Rice Rinsing: Rinse the sushi rice thoroughly until the water runs clear to avoid gummy rice cups. A well-prepared rice is key!
- Chilling Time: Don’t skip the chilling step! Properly chilled rice cups help retain their shape when filled, ensuring a beautiful presentation.
- Flavor Balance: Taste your filling before assembling; adjust the sauce to achieve the perfect flavor—it’s all about that delicious harmony!
- Vegetable Variety: Embrace seasonal veggies for added nutrition and freshness. Mixing colors not only pleases the eye but enhances the taste!
- Spicy Mayo Control: Adjust the Sriracha level in your spicy mayo according to your family’s spice tolerance. Your Super Easy Sushi Cups should hit the sweet spot!
Super Easy Sushi Cups Recipe FAQs
What type of sushi rice is best for sushi cups?
Absolutely! Short-grain sushi rice is your best bet for achieving that perfectly sticky texture. Rinse it thoroughly until the water runs clear to remove excess starch, which helps prevent gummy rice cups.
How should I store my sushi cups?
Very! Store assembled sushi cups in an airtight container in the fridge for up to 2 days to maintain freshness. Just remember that the veggies may lose some crunch over time, so it’s best to enjoy them sooner rather than later.
Can I freeze sushi cups?
Absolutely! To freeze, I recommend wrapping the rice cups individually in plastic wrap after being cooled. Place them in a freezer-safe bag, and they can last for up to 1 month. Thaw in the fridge overnight before filling to preserve their texture.
What can I do if my rice cups don’t hold their shape?
No worries! If your rice cups seem too loose, it’s crucial to pack the cooked rice tightly into the muffin tin and chill them long enough—around 20 minutes works wonders. If they still don’t hold, try a minute or two of extra chilling, and if needed, add a bit of water to the rice when cooking to enhance its stickiness.
Are sushi cups safe for kids or those with allergies?
Absolutely! These sushi cups can be tailored to suit dietary needs. For kids, keep it simple with familiar veggies. If allergies are a concern, always choose sauces and mayonnaise that are allergy-friendly. Vegan mayo is an excellent alternative for plant-based diets.
How can I customize the fillings for sushi cups?
You can absolutely let your creativity flow! Substitute veggies based on what’s in season or your preferences, and consider adding proteins like tofu, shrimp, or grilled chicken. Try mixing in flavored mayos or even cream cheese for a different twist!
Super Easy Sushi Cups: Customize Your Perfect Bite
Ingredients
Equipment
Method
- In a pot, combine the rinsed sushi rice and water. Bring it to a boil, then reduce the heat, cover, and simmer for 20 minutes until the water is absorbed and the rice is tender. Allow it to cool slightly.
- Press about 2 tablespoons of the cooked rice into each cup of a muffin tin, ensuring it’s compact. Place the muffin tin in the refrigerator and chill for 20 minutes to help the rice cups set.
- In a mixing bowl, combine your choice of finely chopped veggies, steamed mukimame, diced avocado, and your preferred sauce. Toss gently to mix all the ingredients well.
- In another bowl, whisk together the mayonnaise, Sriracha sauce, coconut aminos, honey, and sesame oil. Adjust the spice level according to taste.
- Once the rice cups are chilled, carefully remove them from the muffin tin. Fill each rice cup with the veggie mixture, drizzle the spicy mayo on top, and garnish with black sesame seeds for an added crunch.

