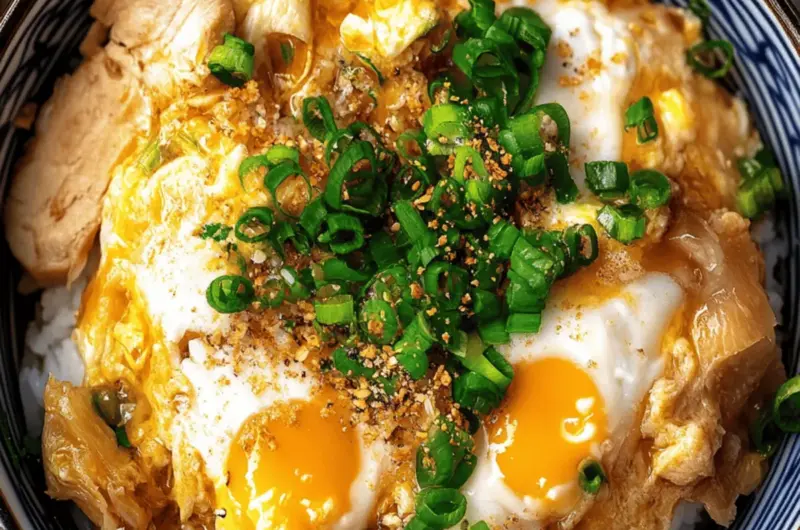
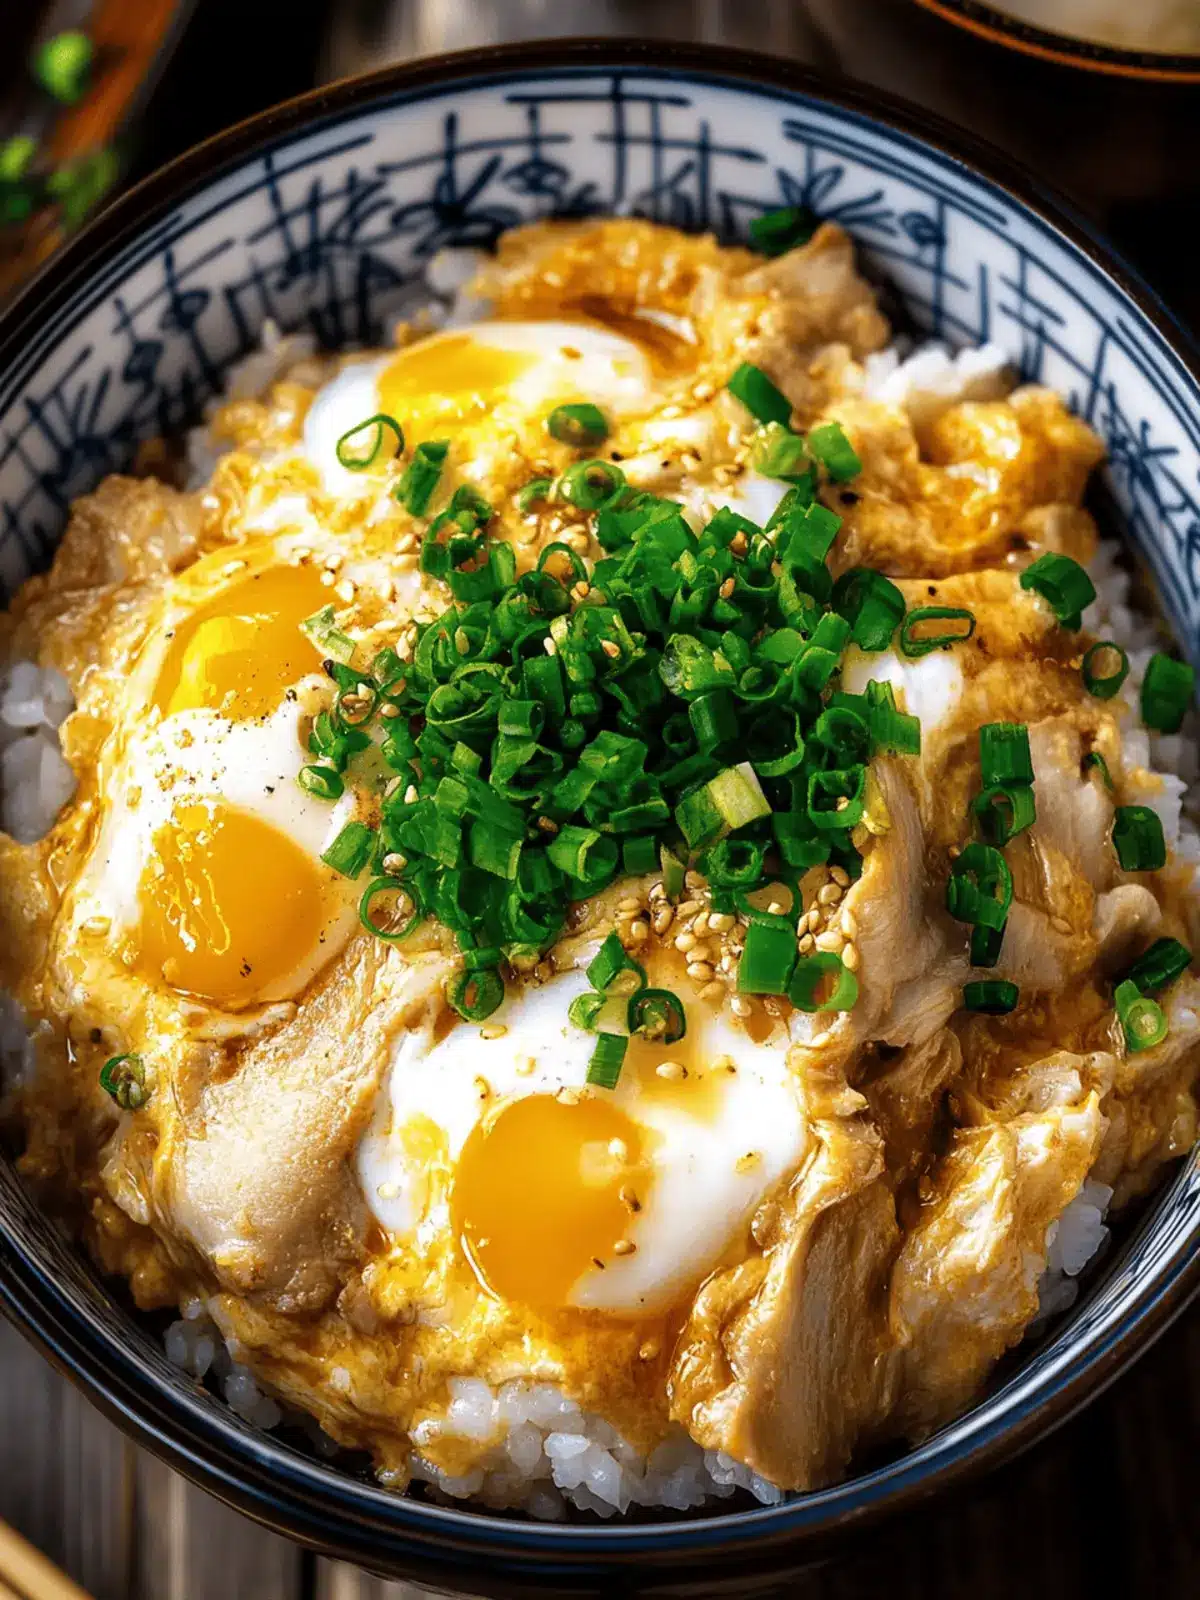
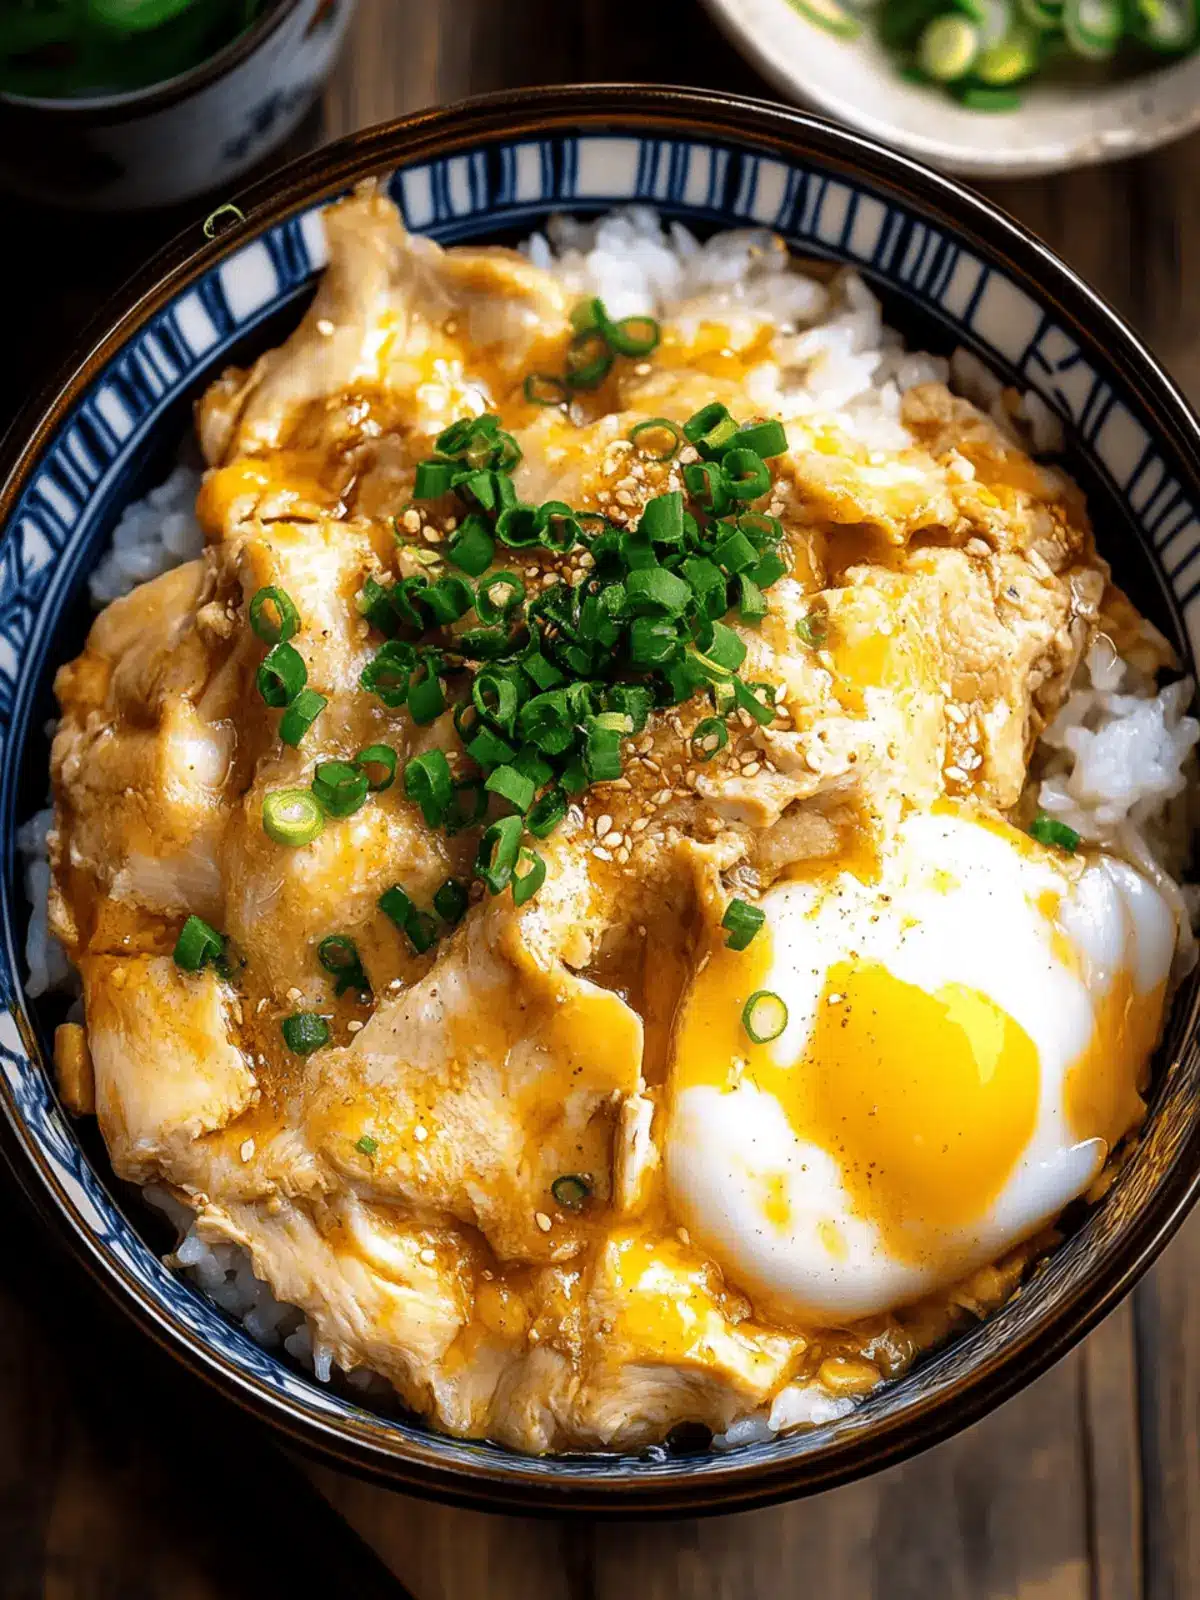
There’s a special warmth that fills the kitchen when I make Oyakodon, the Japanese rice bowl that combines tender chicken, fluffy eggs, and a savory broth — it’s like wrapping yourself in a cozy blanket! I discovered this delightful recipe on a hectic weeknight when I craved comfort without a long cooking time. To my surprise, I found that the combination of dashi, soy sauce, and mirin brought together an array of flavors that transformed a simple meal into something truly special.
But what truly makes Oyakodon stand out is its versatility. Whether you’re looking to whip up a quick dinner after a tiring day or impress friends with a unique dish, this recipe allows for endless customization! You can keep it classic with chicken, opt for tofu for a vegetarian version, or even throw in some seafood for an exciting twist. In just 25 minutes, you can create a hearty, protein-rich dish that’s sure to satisfy everyone at your table. Ready to dig in? Let’s discover how to make this comforting bowl of happiness together!
Why is Quick & Easy Oyakodon a Must-Try?
Simplicity: This dish is a breeze to whip up, perfect for busy weeknights.
Customizable: Adapt it to your taste with various proteins or veggies; the options are endless!
Quick cooking: In just 25 minutes, enjoy a delicious meal that never compromises on flavor.
Comforting taste: The savory broth and creamy eggs provide the ultimate cozy experience.
Nutrient-dense: Packed with protein and wholesome ingredients, it makes for a balanced dinner.
Look for more ideas in the variations, like our delicious Vegetarian Oyakodon.
Quick & Easy Oyakodon Ingredients
For the Rice Base
• 2 cups cooked white rice – This is the comforting foundation of your dish; opt for short-grain rice for authenticity.
For the Chicken and Broth
• 1 tablespoon vegetable oil – Use any neutral oil for sautéing the chicken to caramelize the flavors.
• 2 boneless skinless chicken thighs (cut into bite-sized pieces) – Tender and juicy, they’re the stars of this protein-rich Oyakodon; tofu makes a great vegetarian substitute.
• 1/2 onion (thinly sliced) – It adds a sweet and savory depth; consider shallots as a flavorful alternative.
• 1/2 cup dashi (Japanese soup stock) – The essential ingredient for umami; if unavailable, use instant dashi powder or opt for vegetable broth.
• 2 tablespoons soy sauce – This provides a savory edge to balance the dish; tamari is an excellent gluten-free option.
• 2 tablespoons mirin – Adds a sweet note; if you’re out, a mixture of sugar and water can suffice.
• 1 tablespoon sake – A splash of this enhances the flavor; dry white wine can work as a substitute.
• 1 teaspoon sugar – Balances the savory elements in your quick & easy Oyakodon; you can reduce or skip it for a lower-sugar version.
For the Creamy Topping
• 2 large eggs (beaten) – They lend creaminess to the dish; use silken tofu for a dairy-free twist.
• 2 green onions (chopped) – These provide a fresh burst of flavor; chives are a suitable alternative.
• 1 tablespoon fresh parsley (optional) – Adds a pop of color and freshness; feel free to use cilantro instead.
Now that you have your ingredients ready, let’s dive into the delicious process of creating this heartwarming bowl!
How to Make Quick & Easy Oyakodon
-
Heat oil: Pour vegetable oil into a medium skillet and place it over medium heat. Give it a minute to warm up, ensuring a good sizzle when you add the chicken.
-
Cook chicken: Add the bite-sized pieces of chicken thighs to the skillet. Sauté for 5-7 minutes until they are nicely browned and cooked through.
-
Add onion: Stir in the thinly sliced onion, cooking it alongside the chicken until it becomes softened, which should take about 2 minutes.
-
Mix broth ingredients: Carefully pour in the dashi, soy sauce, mirin, sake, and sugar. Bring the mixture to a gentle simmer and let it cook for 5 minutes, allowing the flavors to meld beautifully.
-
Add eggs: Pour the beaten eggs over the chicken mixture. Cover the skillet and let it cook for about 2 minutes, or until the eggs are just set but still creamy.
-
Serve over rice: Spoon the savory chicken and egg mixture generously over the cooked rice.
-
Garnish: Sprinkle with chopped green onions and parsley, if using, for that fresh touch. Serve hot and enjoy every bite!
Optional: Add a side of pickled vegetables for an extra burst of flavor.
Exact quantities are listed in the recipe card below.
Quick & Easy Oyakodon Variations
Feel free to get creative and customize your Oyakodon to suit your taste and dietary needs!
-
Vegetarian Oyakodon: Swap chicken for tofu or tempeh, marinating for extra flavor. This delicious alternative retains the comforting essence!
-
Beef Oyakodon: Use thinly sliced beef in the same broth for a hearty twist. The rich flavors complement the egg beautifully, making it a satisfying choice.
-
Seafood Oyakodon: Replace chicken with your choice of shrimp, scallops, or fish. The seafood adds a fresh note and elevates the dish to new heights.
-
Spicy Oyakodon: Introduce chili flakes or spicy miso into the broth for a warm kick. This variation creates a delightful contrast to the creamy eggs.
-
Oyakodon with Vegetables: Incorporate nutrient-rich veggies like spinach, mushrooms, or bell peppers. This not only boosts flavor but adds vibrant color to your bowl.
-
Gluten-Free Oyakodon: Use tamari instead of soy sauce to keep it gluten-free while maintaining that savory kick. Perfect for those with gluten sensitivity!
-
Low-Sugar Oyakodon: Reduce or omit the sugar for a healthier option without sacrificing flavor. You’ll still enjoy that delightful balance of tastes.
-
Dairy-Free Oyakodon: Instead of eggs, use silken tofu for a creamy topping. It’s a great way to keep the dish rich while adhering to dairy-free preferences.
What to Serve with Quick & Easy Oyakodon?
There’s nothing quite like complementing the rich, comforting flavors of Oyakodon with a few delightful side dishes that enhance your meal experience.
-
Miso Soup: A classic pairing, miso soup adds warmth and umami flavors, creating a cozy Japanese dining experience. Its light broth beautifully balances the heartiness of the Oyakodon.
-
Pickled Vegetables: These tangy bites provide a refreshing contrast to the savory richness of your rice bowl, providing a satisfying crunch and a burst of flavor in every mouthful.
-
Steamed Edamame: Simple and nutritious, steamed edamame brings a delightful pop of freshness, along with a protein boost, making your meal even more satisfying.
-
Cucumber Salad: A light and crisp cucumber salad dressed in rice vinegar can cleanse the palate with its zesty notes, making it a perfect accompaniment to the creamy Oyakodon.
-
Green Tea: This calming beverage complements the dish perfectly, enhancing the flavors of the broth while providing a warm, soothing finish to your meal.
-
Fruit Sorbet: For dessert, consider a light fruit sorbet. Its refreshing sweetness acts as a delightful counterpoint to the savory flavors of Oyakodon, leaving your palate happy and satisfied.
Make Ahead Options
Oyakodon is the perfect dish for meal prep, allowing busy home cooks to enjoy a comforting dinner with minimal effort. You can prepare the chicken and broth mixture up to 24 hours in advance; simply refrigerate it in an airtight container. Cook your rice fresh when ready to serve, as this maintains its delightful texture. For optimal quality, store the beaten eggs separately and add them during the final cooking stage to ensure they remain fluffy. When you’re ready to enjoy your Quick & Easy Oyakodon, simply reheat the chicken and broth mixture until warmed through, pour in the eggs, and cook until just set. You’ll have a delicious homemade meal ready in no time!
Expert Tips for Quick & Easy Oyakodon
• Fresh Ingredients: Use the freshest Eggs and chicken available. High-quality eggs greatly enhance the dish’s flavor and texture.
• Monitor Cooking Times: Take care to control cooking times, especially for the eggs. Aiming for a soft, creamy texture is key to avoiding overcooking.
• Nonstick Pan: Using a nonstick skillet can make the cooking process smoother, preventing food from sticking and making for easier cleanup.
• Customize Wisely: Don’t hesitate to experiment with different proteins or vegetables. Just remember to adjust cooking times accordingly for your choice of ingredients in your Quick & Easy Oyakodon.
• Serve Immediately: Enjoy this comforting dish right away to keep the rice from becoming soggy. Freshly served makes all the difference!
Storage Tips for Quick & Easy Oyakodon
Fridge: Store leftovers in an airtight container for up to 2 days to maintain freshness. Reheating is best done on the stovetop or in the microwave.
Freezer: While not ideal, you can freeze cooked Oyakodon for up to 1 month. To protect against freezer burn, wrap it tightly in plastic wrap and then aluminum foil.
Reheating: For the best texture, gently reheat on the stovetop with a splash of water or broth to revive moisture and avoid drying out the rice.
Serving Fresh: Quick & Easy Oyakodon is best enjoyed fresh to savor its comforting flavors; leftovers can be handy, but aim to eat them promptly for the best experience.
Quick & Easy Oyakodon Recipe FAQs
What kind of rice is best for Oyakodon?
For the best texture and flavor, use short-grain white rice, which is typical for this dish. It provides a comforting chewiness that pairs perfectly with the savory chicken and eggs.
How do I store leftover Oyakodon?
Store any leftovers in an airtight container in the refrigerator for up to 2 days. To reheat, gently warm it on the stovetop with a splash of water or broth, which helps restore moisture and prevent the rice from drying out.
Can I freeze Quick & Easy Oyakodon?
Absolutely! You can freeze the cooked Oyakodon for up to 1 month. Wrap it tightly in plastic wrap, followed by aluminum foil, to prevent freezer burn. When ready to eat, thaw in the refrigerator overnight and reheat gently on the stovetop.
What can I substitute for dashi if I can’t find it?
If you can’t find dashi, you can use instant dashi powder dissolved in water or substitute with vegetable broth. The broth will still provide a lovely flavor, though the umami notes may differ slightly.
How can I make this recipe gluten-free?
To make a gluten-free version of Quick & Easy Oyakodon, simply use tamari instead of regular soy sauce. Ensure that any other ingredients, like dashi or mirin, are labeled gluten-free as well to keep your meal safe and delicious.
What should I do if the eggs become overcooked?
If your eggs turn out overcooked, you can salvage the dish by mixing in a splash of dashi or broth to add creaminess back into the mixture. For future attempts, keep a close eye on cooking times; aim for just 2 minutes after adding the eggs to achieve a soft and creamy texture.
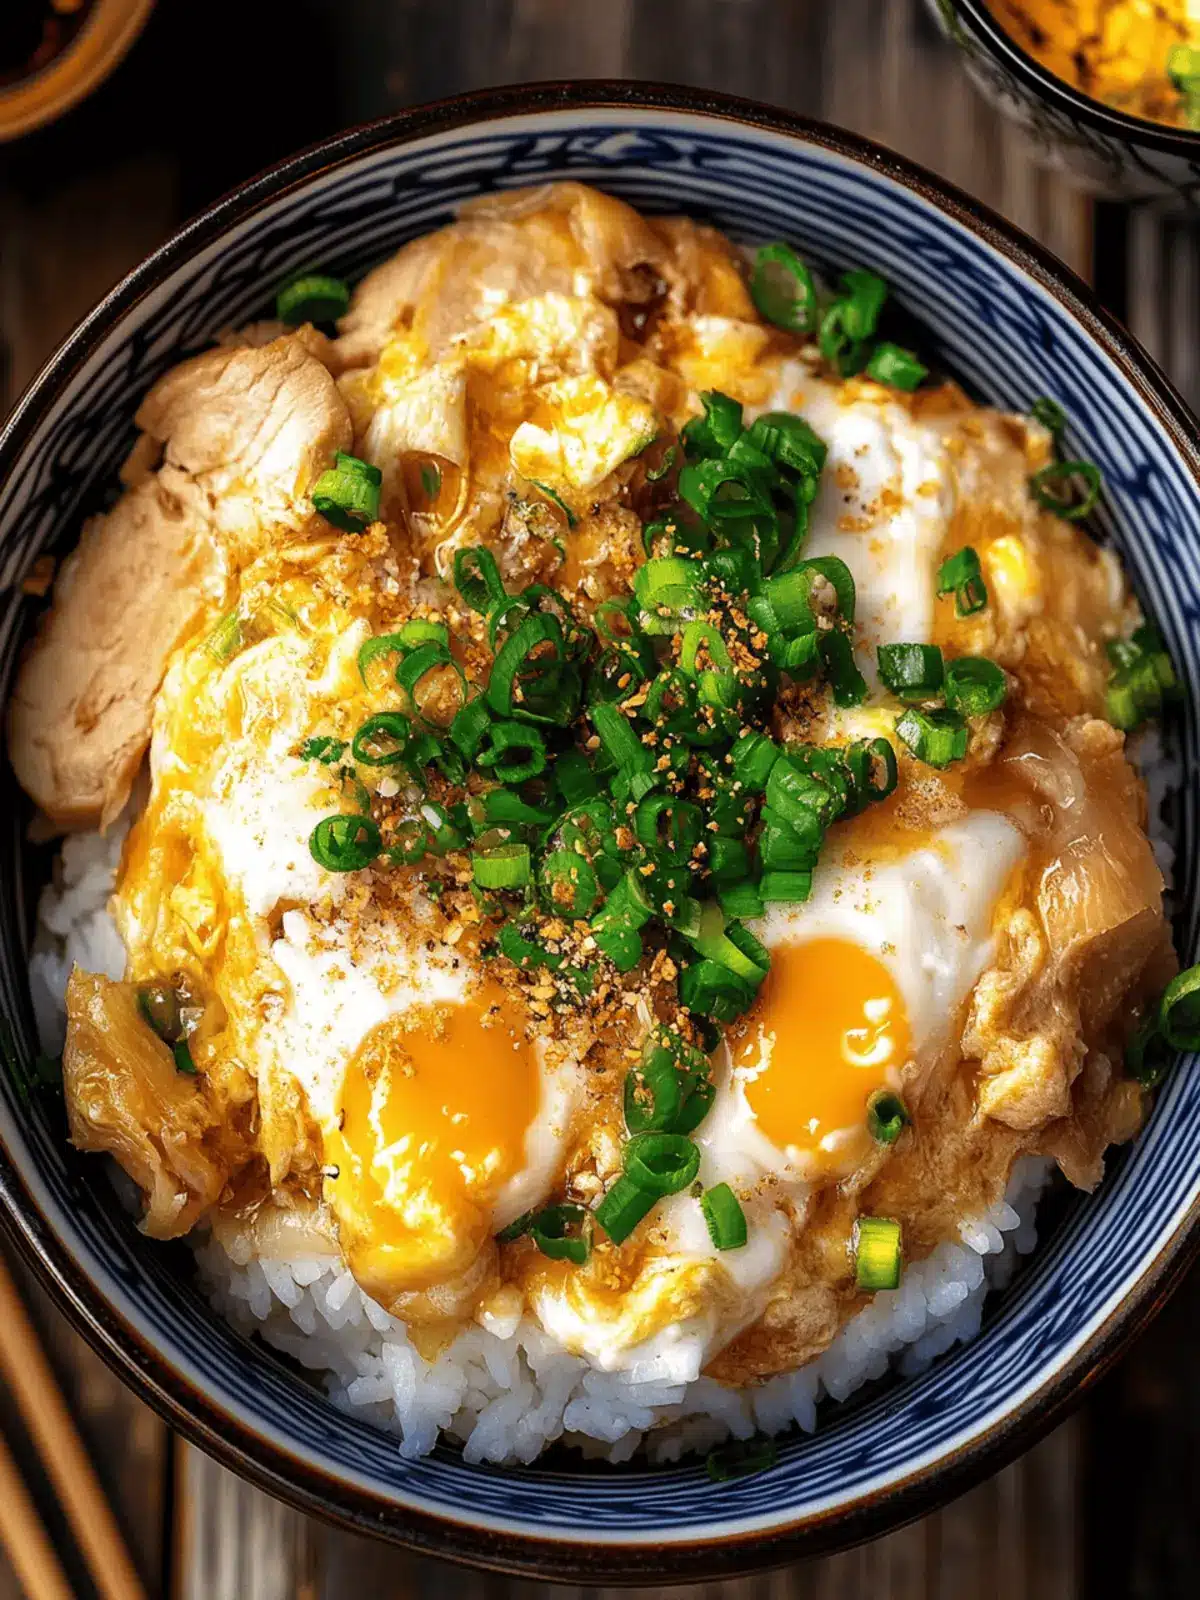
Quick & Easy Oyakodon: A Cozy Bowl of Comfort You’ll Love
Ingredients
Equipment
Method
- Heat oil: Pour vegetable oil into a medium skillet and place it over medium heat.
- Cook chicken: Add the bite-sized pieces of chicken thighs to the skillet. Sauté for 5-7 minutes until browned.
- Add onion: Stir in the thinly sliced onion, cooking until softened, about 2 minutes.
- Mix broth ingredients: Pour in the dashi, soy sauce, mirin, sake, and sugar. Simmer for 5 minutes.
- Add eggs: Pour the beaten eggs over the mixture. Cover and cook for about 2 minutes, until just set.
- Serve over rice: Spoon the mixture generously over the cooked rice.
- Garnish: Sprinkle with chopped green onions and parsley, and serve hot.

