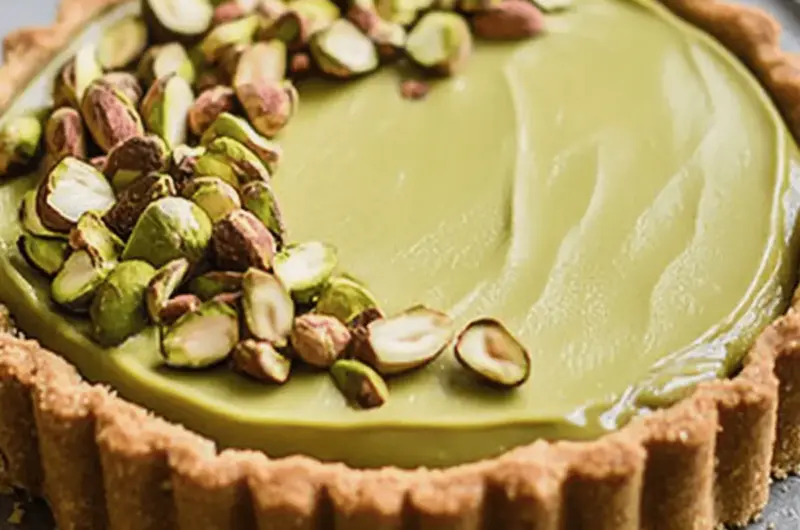
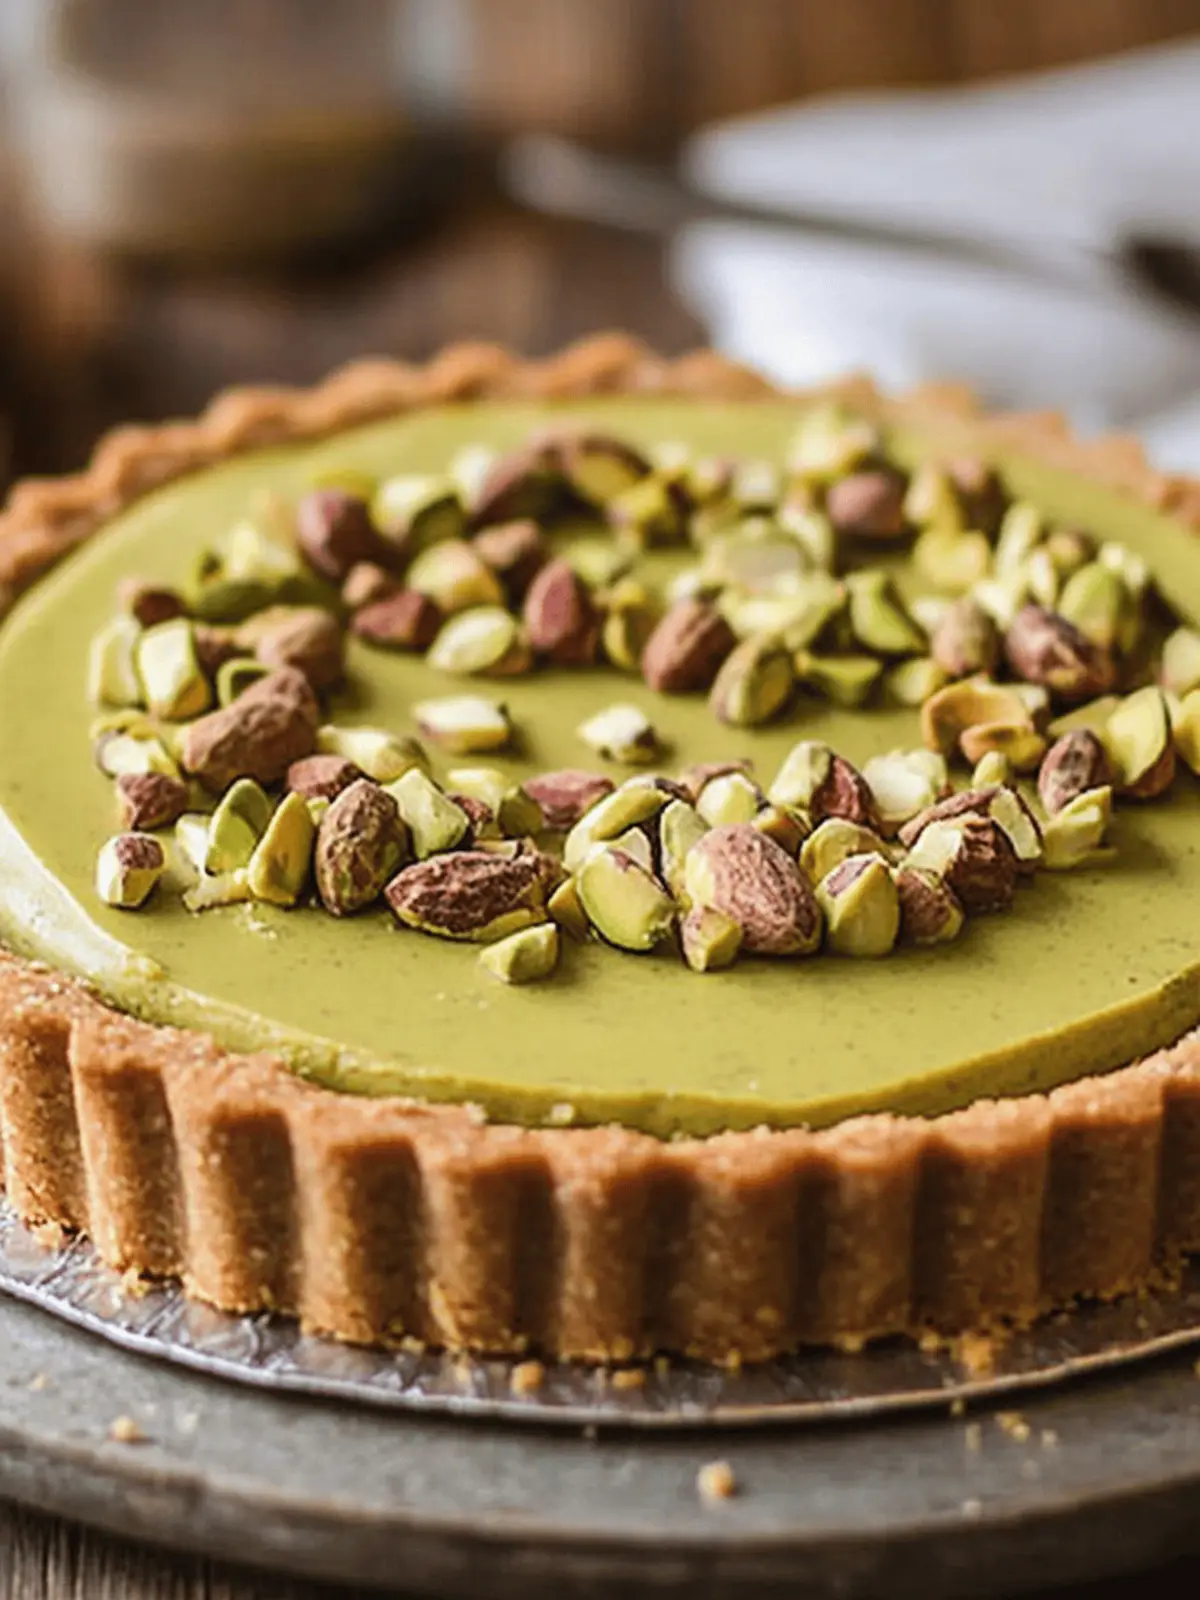
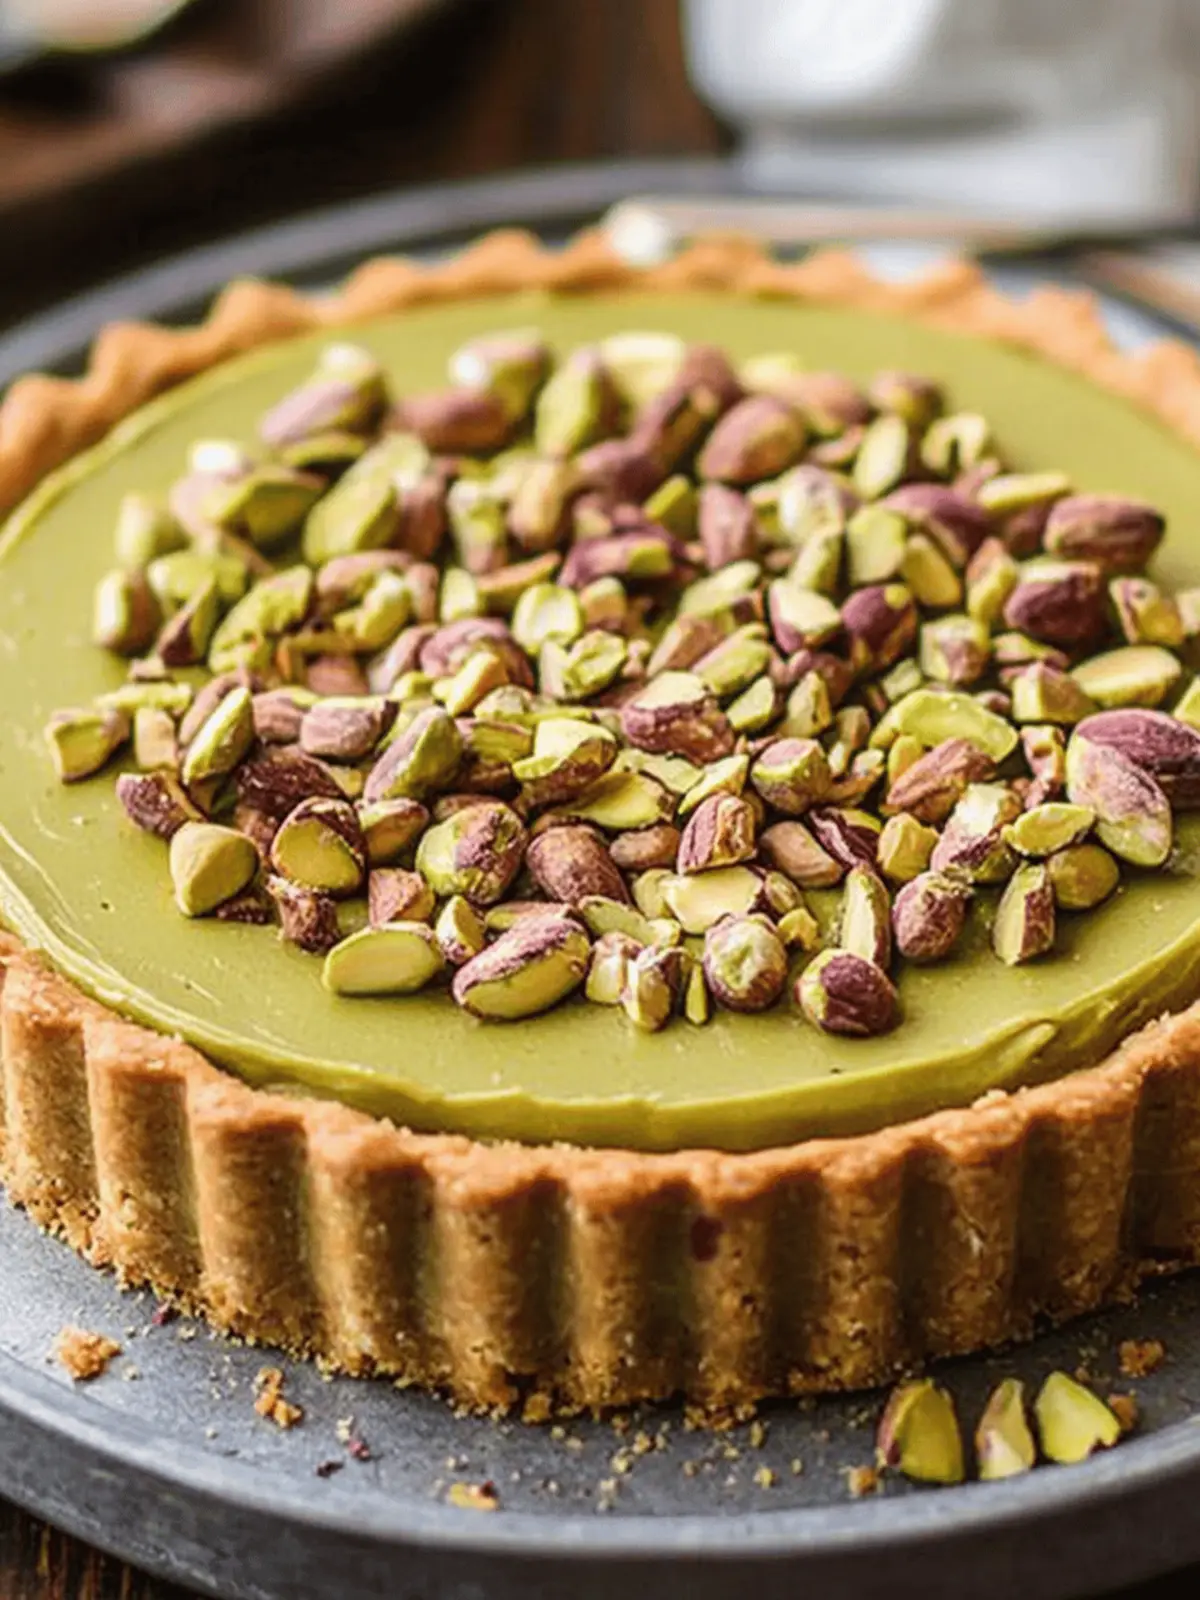
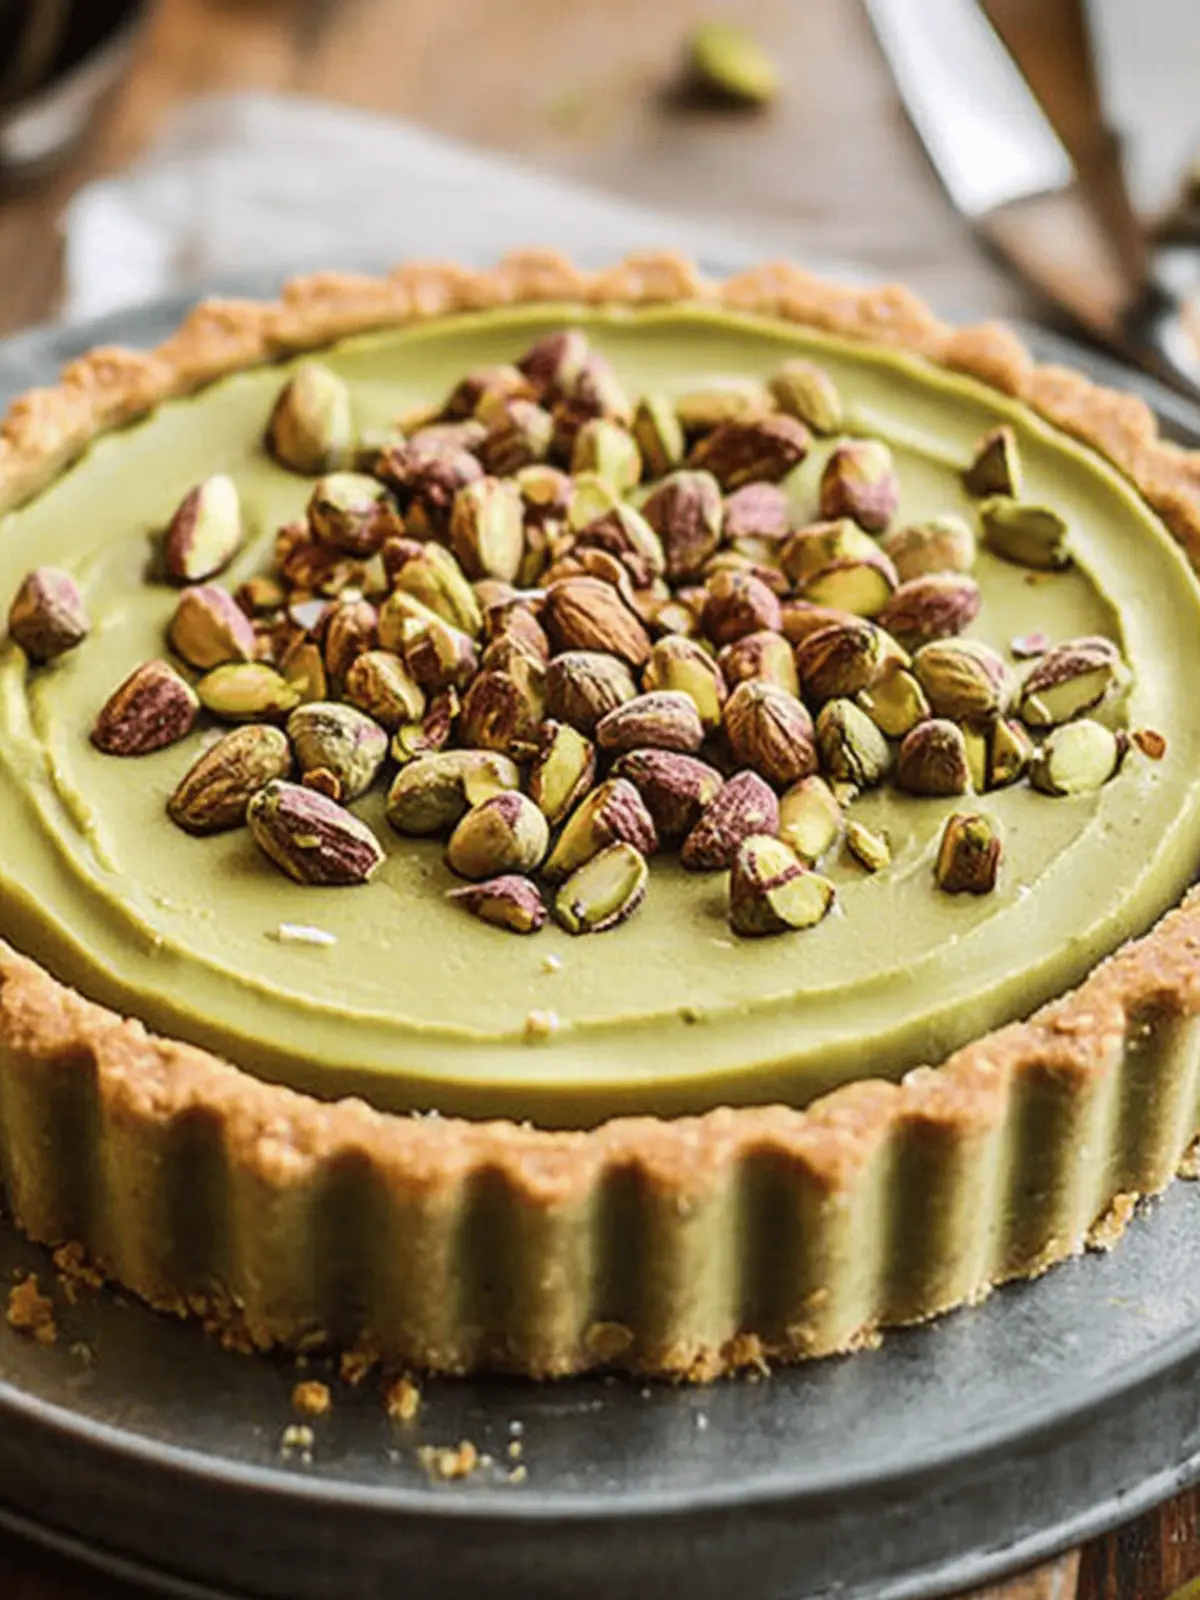
There’s a certain charm that comes with creating a dessert that not only looks stunning but also has a flavor that leaves everyone asking for seconds. When I first whipped up this Irresistible Vegan Pistachio Tart with Creamy Pistachio Paste, I was amazed at how easily it transformed every gathering into a celebration. The rich, nutty filling cradled in a buttery tart shell is a treat that sings springtime, making it perfect anytime you want to indulge.
The striking green hue of the pistachio paste instantly brightens any table, while its unique flavor keeps dessert lovers coming back for more. Whether you’re hosting a dinner party or just looking to elevate your weekend kitchen adventures, this tart is your answer. From the simplicity of the recipe, which boasts impressive results, to the versatility of enjoying it solo or topped with a decadent chocolate ganache, you’ll find this dessert to be a delightful addition to your culinary repertoire. Let’s dive into the magic of making this pistachio tart!
Why is this Pistachio Tart with Creamy Pistachio Paste irresistible?
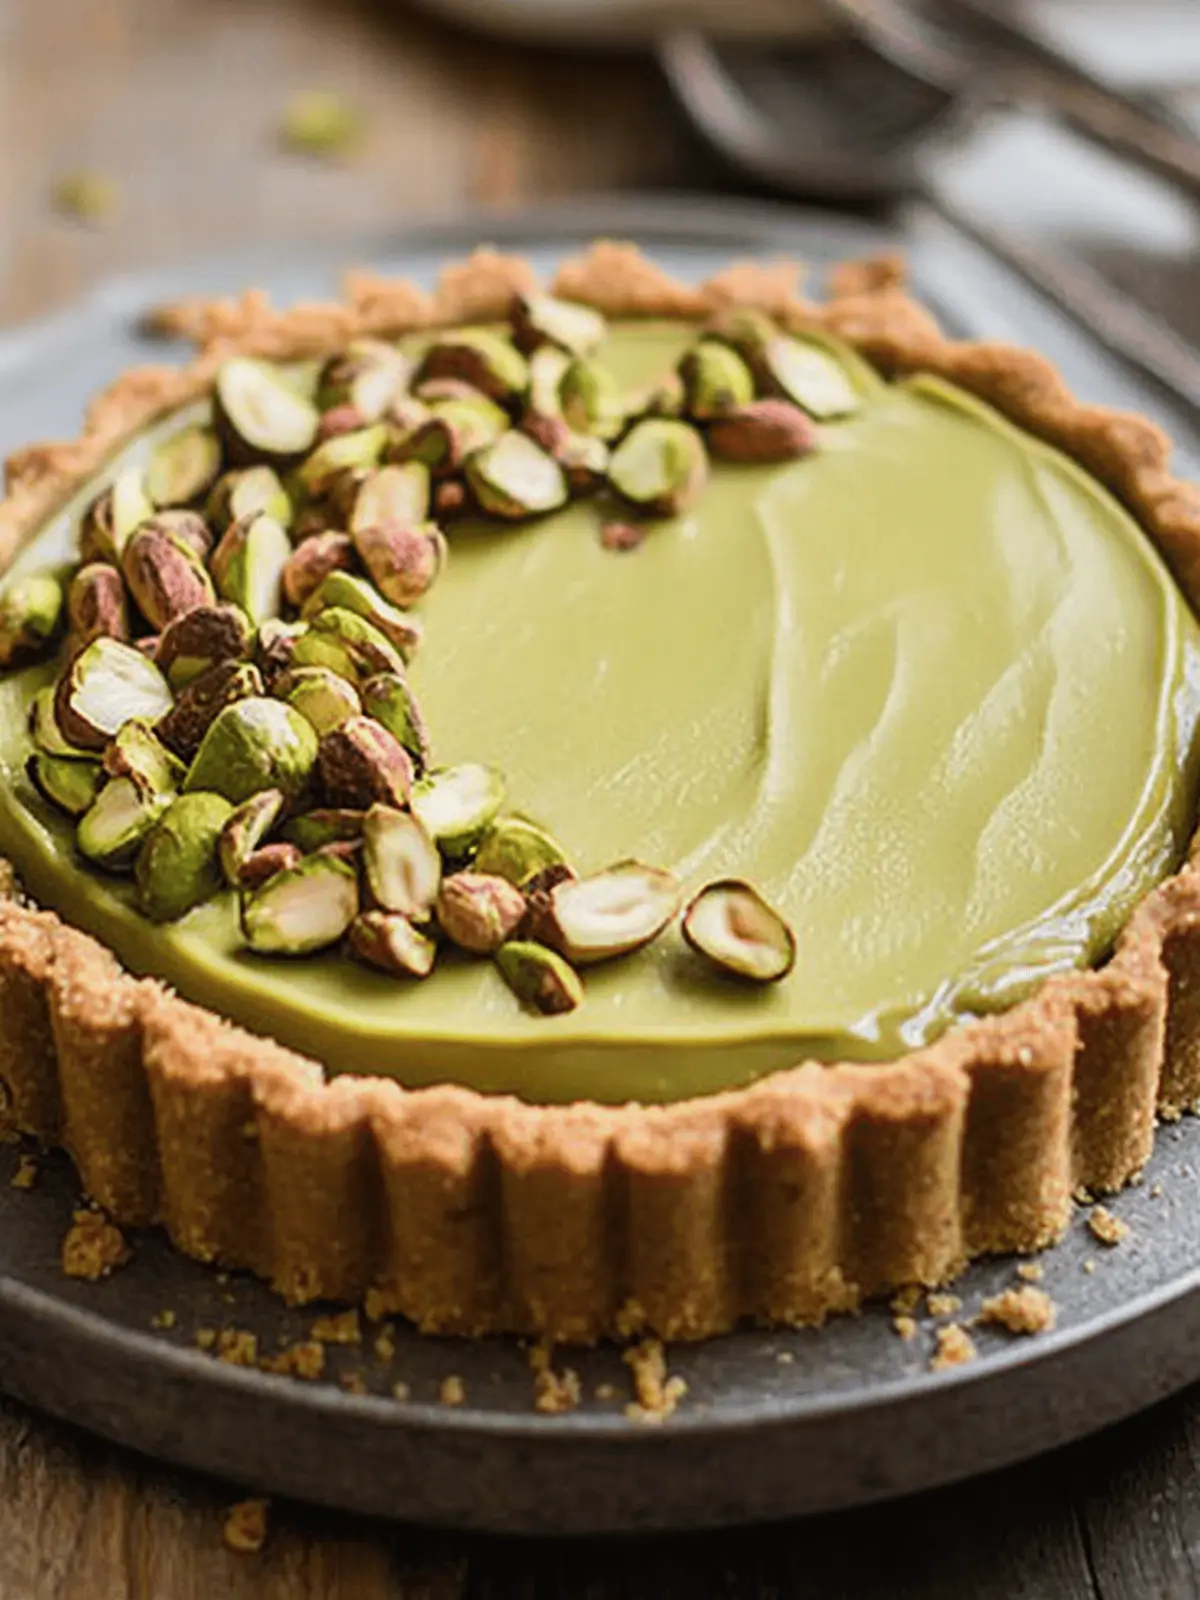
Exquisite Presentation: The vibrant green color of the pistachio filling creates a stunning visual appeal that catches the eye.
Indulgent Flavor: A wonderfully rich, nutty taste that sets this dessert apart and leaves a lasting impression.
Versatile Delight: Perfect for various occasions, whether a festive gathering or a cozy night in, this tart adapts to your events.
Easy to Prepare: With a simple recipe, you can impress your guests without spending hours in the kitchen.
Vegan-Friendly: Enjoy this decadent dessert without compromising on dietary choices, making it crowd-pleasing for everyone.
Customizable: Whether topped with chocolate ganache or seasonal fruits, this tart allows you to get creative!
Pistachio Tart Ingredients
Unlock the secret to creating a mouthwatering pistachio tart!
For the Tart Shell
- All-Purpose Flour – Provides the perfect structure for your tart; gluten-free flour also works as a substitute.
- Vegan Butter – Essential for a flaky texture; coconut oil can give a hint of tropical flavor.
- Sugar – Sweetens the tart shell; consider coconut sugar for a healthier choice.
For the Pistachio Filling
- Pistachio Paste – Delivers the signature nutty taste of this pistachio tart with creamy pistachio paste; homemade is always fresher!
- Almond Meal – Adds texture and flavor; replace with finely ground oats if you’re looking for a nut-free option.
- Unsweetened Non-Dairy Milk – Keeps the filling moist; any plant-based milk will do.
- Cornstarch – Thicken your creamy filling; arrowroot powder is a great paleo substitute.
- Vanilla Extract – Enhances the dessert’s flavor; almond extract adds a lovely twist.
For the Topping (Optional)
- Chocolate – Use dark chocolate for a rich ganache layer; optional but highly recommended for chocolate lovers!
Each element of this tart contributes to a delightful symphony of flavors and textures, making it a true showstopper at any gathering.
How to Make Pistachio Tart with Creamy Pistachio Paste
-
Make Pistachio Paste: Blend shelled pistachios in a food processor until smooth and creamy. This will take about 2-3 minutes. If needed, scrape down the sides to get all the nuts blended perfectly.
-
Prepare Tart Shell: In a mixing bowl, combine all-purpose flour, sugar, and vegan butter. Mix until crumbly, then add non-dairy milk gradually to form a soft dough. Press it evenly into a tart pan, ensuring it’s well-formed.
-
Bake Tart Shell: Preheat the oven to 350°F (175°C). Bake the tart shell for 15-20 minutes until lightly golden brown on the edges. Let it cool completely on a wire rack.
-
Prepare Frangipane: In another bowl, blend almond meal, pistachio paste, sugar, and non-dairy milk until smooth. This mixture will become the delicious filling for your tart.
-
Make Pastry Cream: Heat the non-dairy milk in a saucepan, whisk cornstarch, and sugar together, then whisk into the hot milk until it thickens. Stir in the pistachio paste and vanilla extract, then chill the mixture for about 2 hours.
-
Assemble Tart: Pour the frangipane mixture into the cooled tart shell and spread it evenly. Bake for an additional 25 minutes until set, then allow it to cool completely again.
-
Add Pastry Cream: Once the tart is cool, spread the chilled pistachio pastry cream on top. Optional: Drizzle with a rich chocolate ganache for an added touch of decadence.
Optional: Garnish with crushed pistachios for a crunchy finish!
Exact quantities are listed in the recipe card below.
Expert Tips for Pistachio Tart
-
Chill Your Tart Shell: Ensure the tart shell is well-chilled before baking to maintain its shape; a warm shell can shrink unexpectedly.
-
Perfecting the Paste: Using homemade pistachio paste significantly enhances the flavor compared to store-bought. Don’t hesitate to make it from scratch!
-
Cool Before Cutting: Refrigerate the tart before slicing to achieve cleaner, neater slices. This helps set the pastry cream for a beautiful presentation.
-
Taste Test: Adjust the sweetness by tasting the filling before baking; you can easily add a bit more sugar if needed to suit your palate.
-
Topping Ideas: Get creative with toppings! Try fresh seasonal fruits or a sprinkle of crushed pistachios to elevate your pistachio tart with creamy pistachio paste.
Storage Tips for Pistachio Tart with Creamy Pistachio Paste
-
Fridge: Store the tart in an airtight container or tightly covered in plastic wrap for up to 3 days to maintain its freshness and texture.
-
Freezer: For longer storage, wrap the tart tightly in plastic wrap and aluminum foil, then freeze for up to 2 months. Thaw in the fridge before serving for the best texture.
-
Reheating: If you prefer to enjoy the tart warm, slice and gently warm in the oven at a low temperature for about 10 minutes, ensuring it doesn’t overheat.
-
Leftover Cream: Keep any leftover pistachio pastry cream in the fridge for up to 5 days in a sealed container, and use it as a dip or topping for fruits!
Make Ahead Options
These Pistachio Tart with Creamy Pistachio Paste components are perfect for meal prep, allowing you to enjoy this indulgent dessert with minimal effort on the day of serving! You can prepare the tart shell and pistachio paste up to 24 hours in advance and store them separately in the refrigerator to maintain their freshness. The baked tart shell should be cooled completely before refrigerating, while the pistachio paste can simply be covered tightly. When you’re ready to finish, simply make the frangipane and pastry cream in advance, chilling them for at least 2 hours before assembling. This way, you’ll have a delicious dessert that tastes just as amazing as when freshly made, perfect for impressing your guests or treating yourself on a busy weeknight!
What to Serve with Pistachio Tart with Creamy Pistachio Paste?
Elevate your dessert experience by pairing this vibrant tart with delightful accompaniments that enhance its unique flavors.
-
Whipped Coconut Cream: A light and fluffy topping that adds a sweet, creamy contrast to the rich pistachio filling.
-
Fresh Berries: Juicy strawberries or blueberries add a burst of freshness, balancing the nutty sweetness of the tart beautifully.
-
Mint Garnish: A sprig of fresh mint not only brightens the plate but also provides a refreshing note that pairs well with pistachio.
-
Dark Chocolate Drizzle: For chocolate lovers, a simple drizzle of melted dark chocolate amplifies the luxuriousness of this tart.
-
Vegan Vanilla Ice Cream: Creamy and smooth, it serves as the perfect cool counterpart to this rich dessert, adding a wonderful contrast.
-
Green Tea: This calming beverage complements the nuttiness of the tart, offering an earthy balance and enhancing your dining experience.
Imagine each of these delightful pairings bringing out the best in your Pistachio Tart with Creamy Pistachio Paste, creating an unforgettable dessert moment!
Pistachio Tart Variations
Feel free to elevate your pistachio tart by exploring these delicious twists and swaps!
-
Nut-Free: Substitute almond meal with sunflower seed meal for a nut-free version that still packs a punch.
-
Fruity Topping: Top the tart with fresh seasonal fruits like raspberries or sliced strawberries for a pop of color and flavor.
-
Chocolate Lovers: Add a layer of chocolate ganache beneath the pastry cream, or mix cocoa powder into the frangipane for a rich chocolate twist.
-
Herbed Infusion: Try incorporating a touch of fresh mint or basil into the filling for a surprising burst of flavor that brightens the tart.
-
Coconut Cream: Instead of pastry cream, whip up a coconut-based cream for a tropical flair that pairs beautifully with pistachios.
-
Sugar Swap: Use maple syrup or agave nectar instead of sugar for a natural sweetener that complements the nuttiness of the tart.
-
Spicy Kick: Add a pinch of cayenne pepper to the filling for a subtle heat that enhances the overall flavor profile of the tart.
-
Savory Option: For a savory twist, incorporate herbs like rosemary into the crust or filling for a unique and delicious variation that is perfect for brunch.
Pistachio Tart with Creamy Pistachio Paste Recipe FAQs
How do I choose ripe pistachios for making pistachio paste?
Absolutely! Look for pistachios that are brightly colored, with a vibrant green hue, and ensure they are shelled and unsalted if you’re making your own paste. Avoid nuts with dark spots or an off smell, which could indicate they are stale. Freshness is key to making the best pistachio tart with creamy pistachio paste.
How should I store the pistachio tart to keep it fresh?
The tart can be stored in an airtight container in the refrigerator for up to 3 days. If you’d like to store it for longer, wrap it tightly in plastic wrap and then in aluminum foil to prevent freezer burn. It can be frozen for up to 2 months. Thaw it overnight in the fridge before serving to maintain its delightful texture!
Can I freeze the pistachio tart? If so, how?
Very! To freeze your pistachio tart, first ensure it’s completely cooled. Then wrap it tightly in plastic wrap and aluminum foil, ensuring there are no air pockets. This helps protect it from freezer burn and preserves the lovely flavors. When you’re ready to enjoy, move it to the fridge overnight for a gentle thaw.
What should I do if my tart shell shrinks while baking?
It’s a common occurrence, but don’t worry! To prevent shrinkage, make sure your tart shell dough is well-chilled before baking. Also, avoid overmixing as that can create gluten, causing the crust to shrink. If it does happen, you can simply press the crust back into shape while it’s still warm!
Is this pistachio tart safe for people with nut allergies?
Unfortunately, this particular pistachio tart recipe is not suitable for those with nut allergies, as it contains pistachios and almond meal. If you’re looking for a nut-free dessert option, consider switching the pistachio paste for a sunflower seed butter and using oat flour instead of almond meal to create a deliciously unique treat.
How long can I keep the leftover pistachio pastry cream?
You can keep any leftover pistachio pastry cream in the refrigerator for up to 5 days. Store it in a sealed container to maintain its freshness. It makes a wonderful dip for fruits or even a topping for pancakes and waffles, so don’t let it go to waste!
Irresistible Pistachio Tart with Creamy Pistachio Paste Delight
Ingredients
Equipment
Method
- Blend shelled pistachios in a food processor until smooth and creamy, about 2-3 minutes.
- In a mixing bowl, combine all-purpose flour, sugar, and vegan butter. Mix until crumbly, then gradually add non-dairy milk to form a soft dough.
- Press dough evenly into a tart pan to form the tart shell.
- Preheat the oven to 350°F (175°C). Bake the tart shell for 15-20 minutes until lightly golden. Cool on a wire rack.
- In another bowl, blend almond meal, pistachio paste, sugar, and non-dairy milk until smooth for the filling.
- Heat non-dairy milk in a saucepan and whisk cornstarch and sugar together, then combine with the hot milk until thickened.
- Stir in pistachio paste and vanilla extract and chill for about 2 hours.
- Pour the frangipane mixture into the cooled tart shell, spread evenly, and bake for an additional 25 minutes.
- Once cooled, spread the chilled pistachio pastry cream on top. Drizzle with chocolate ganache if desired.

