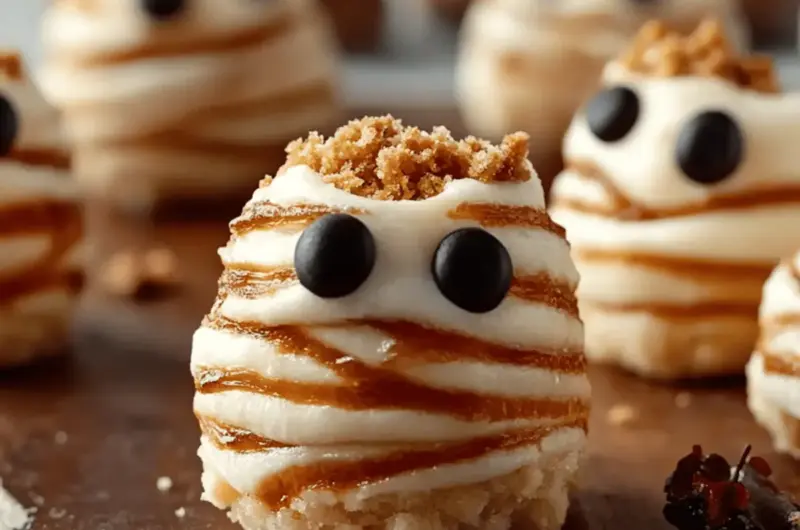
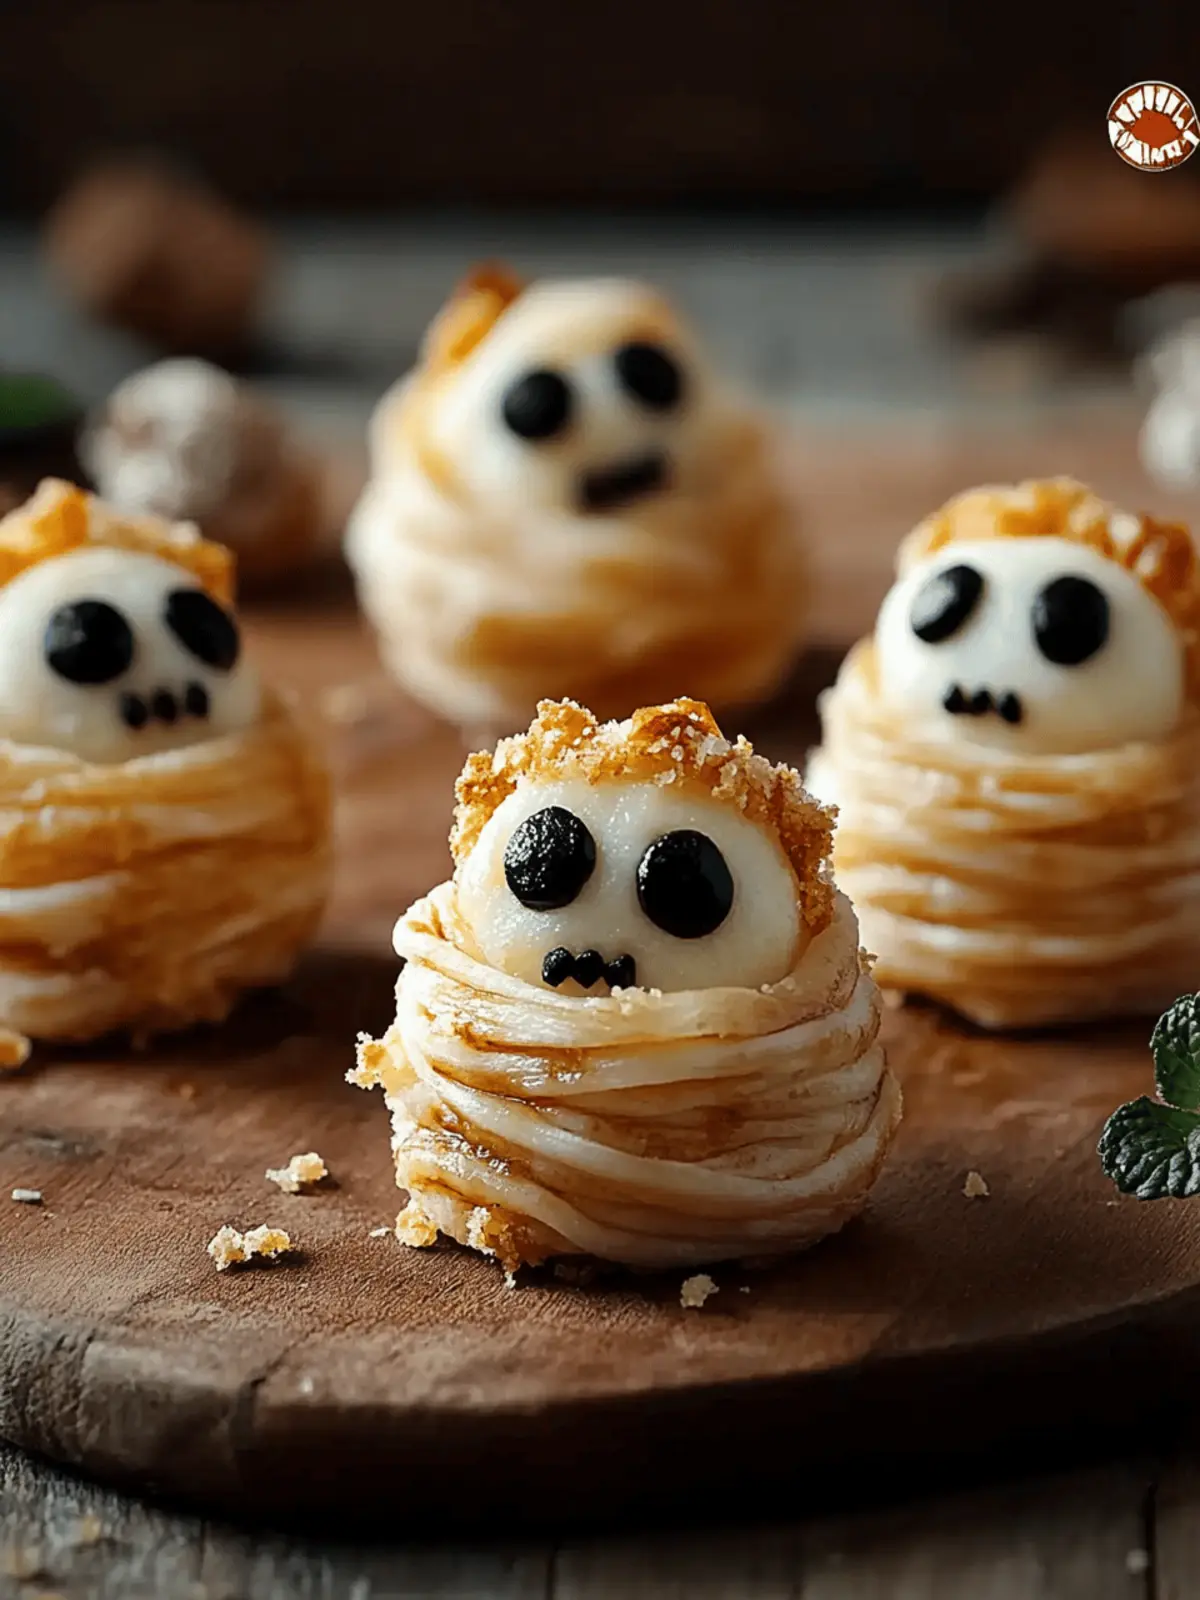
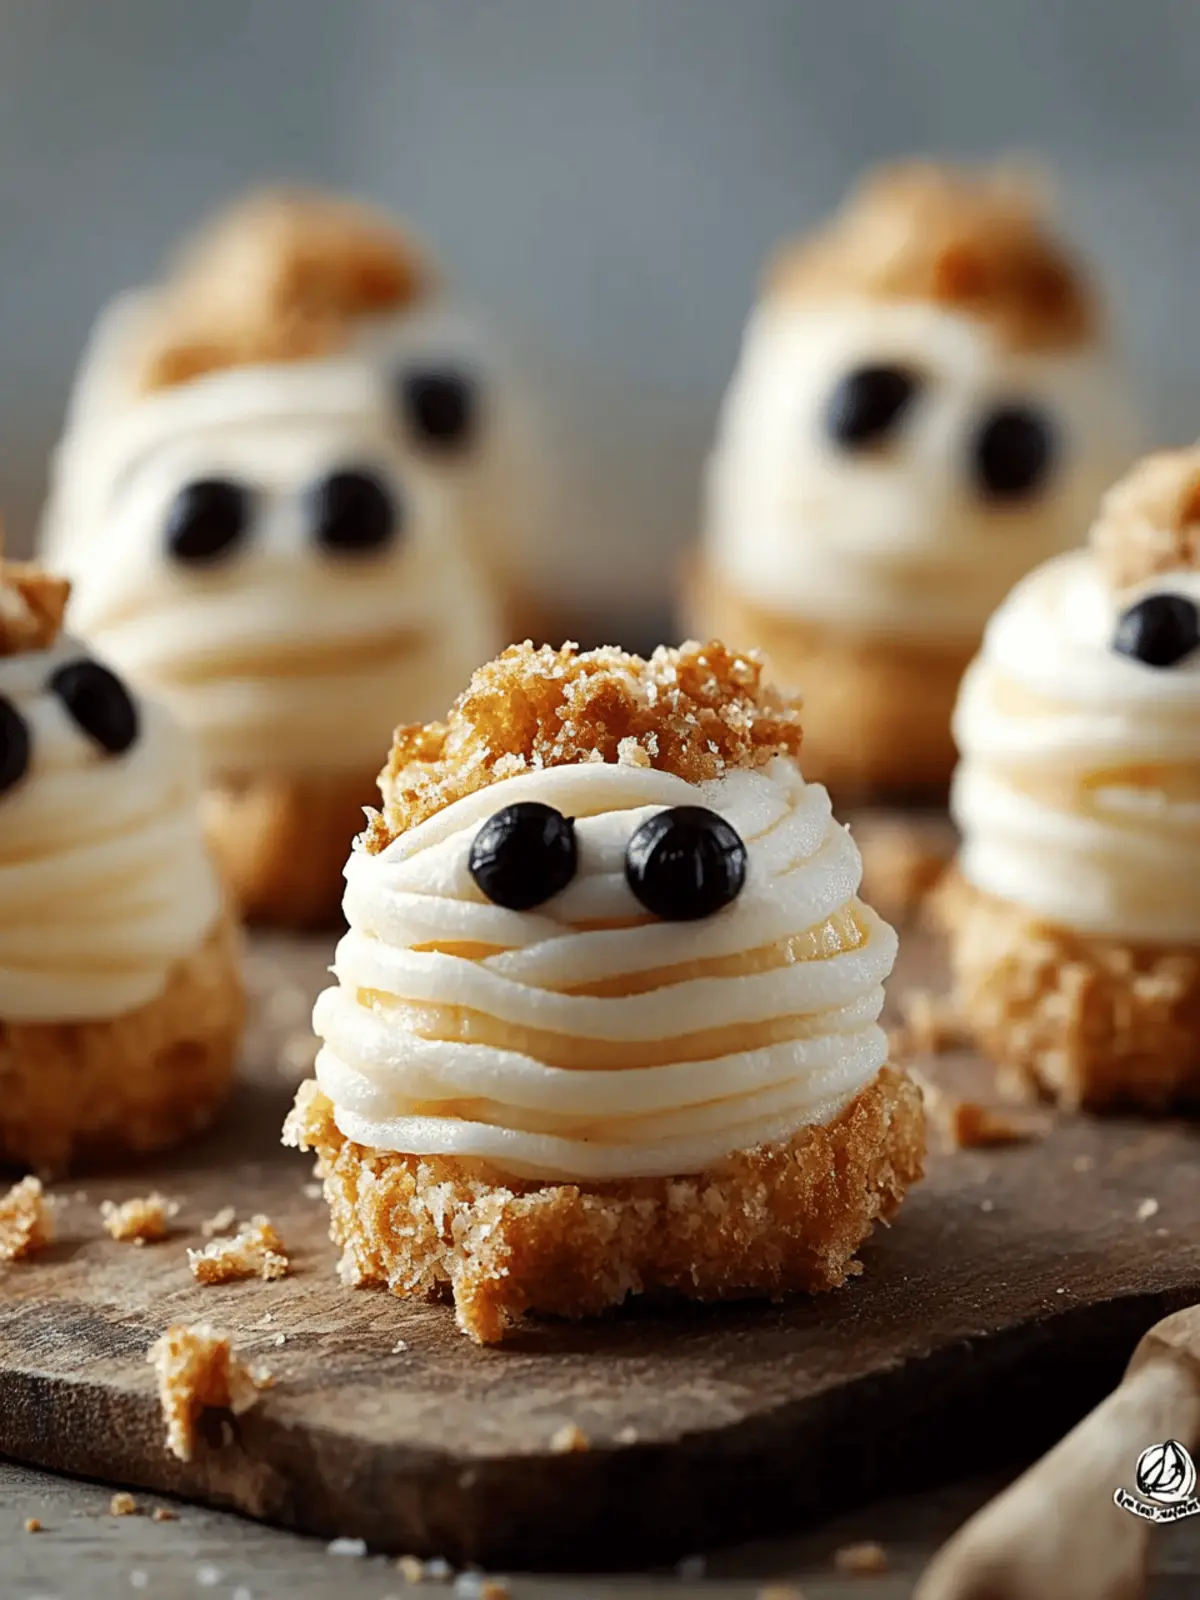
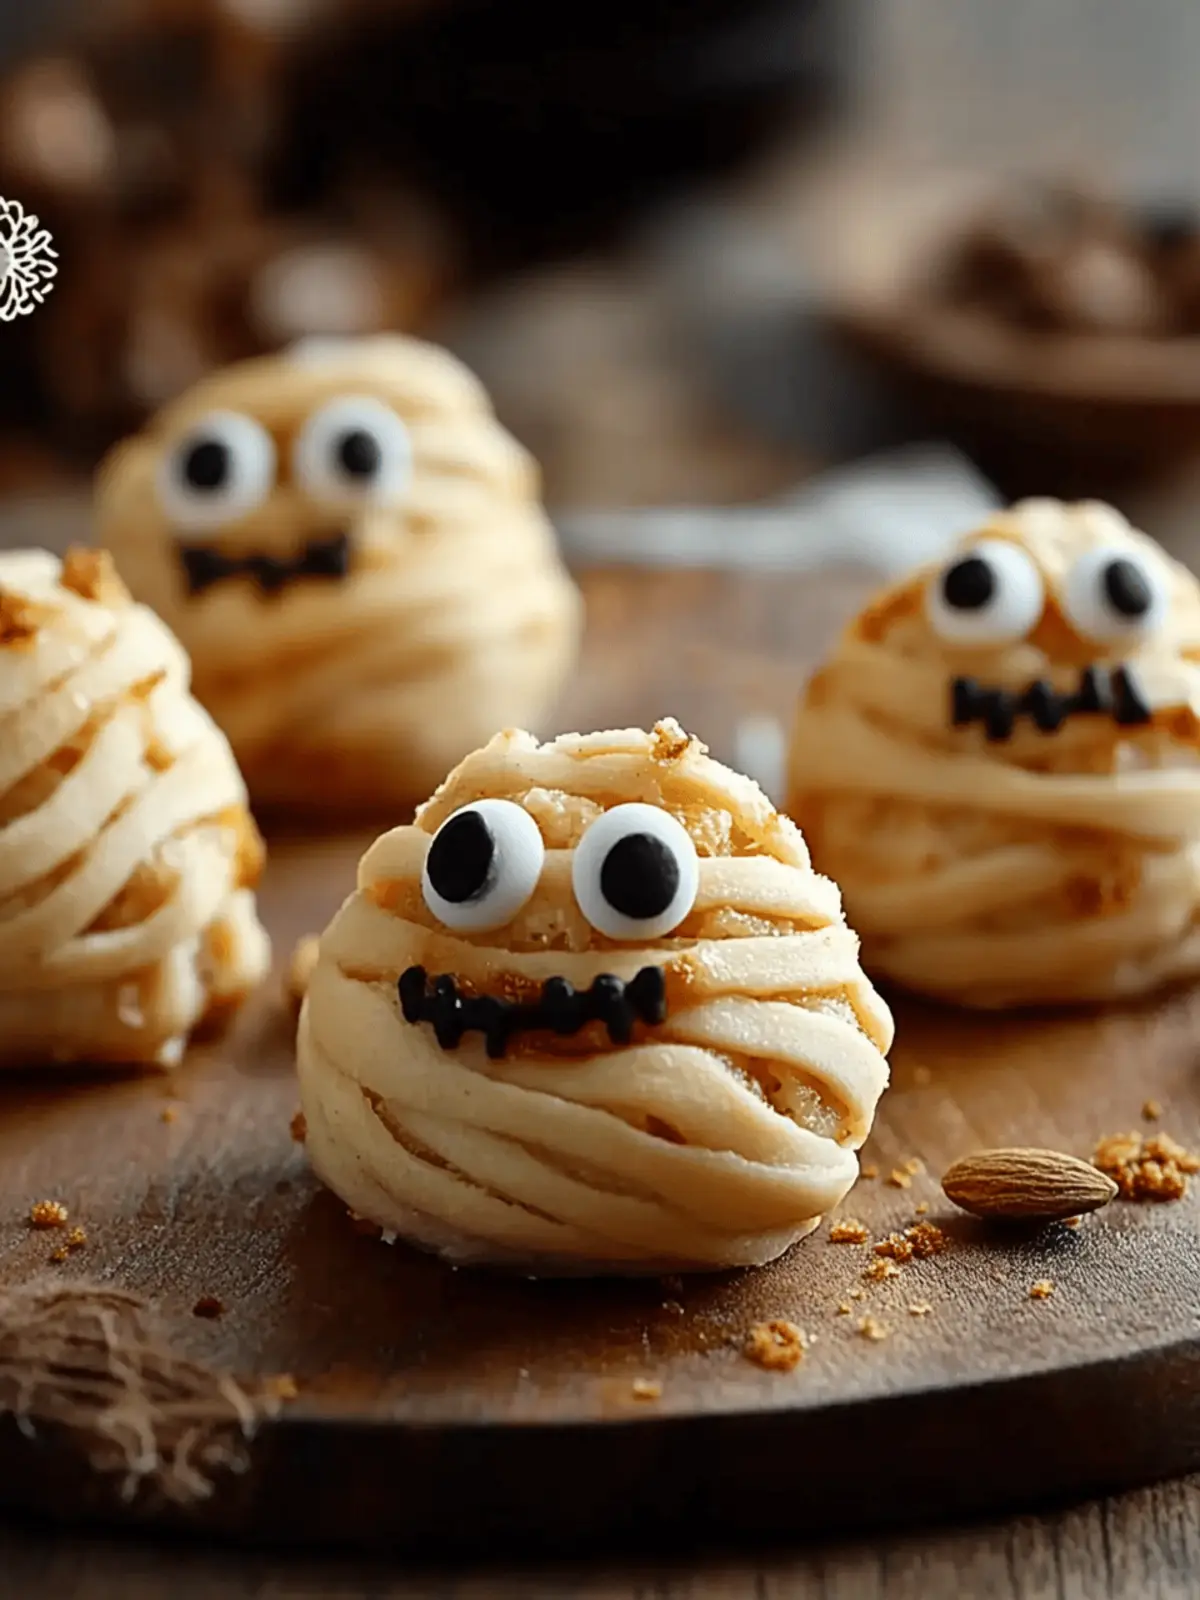
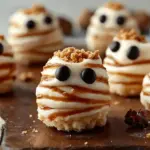
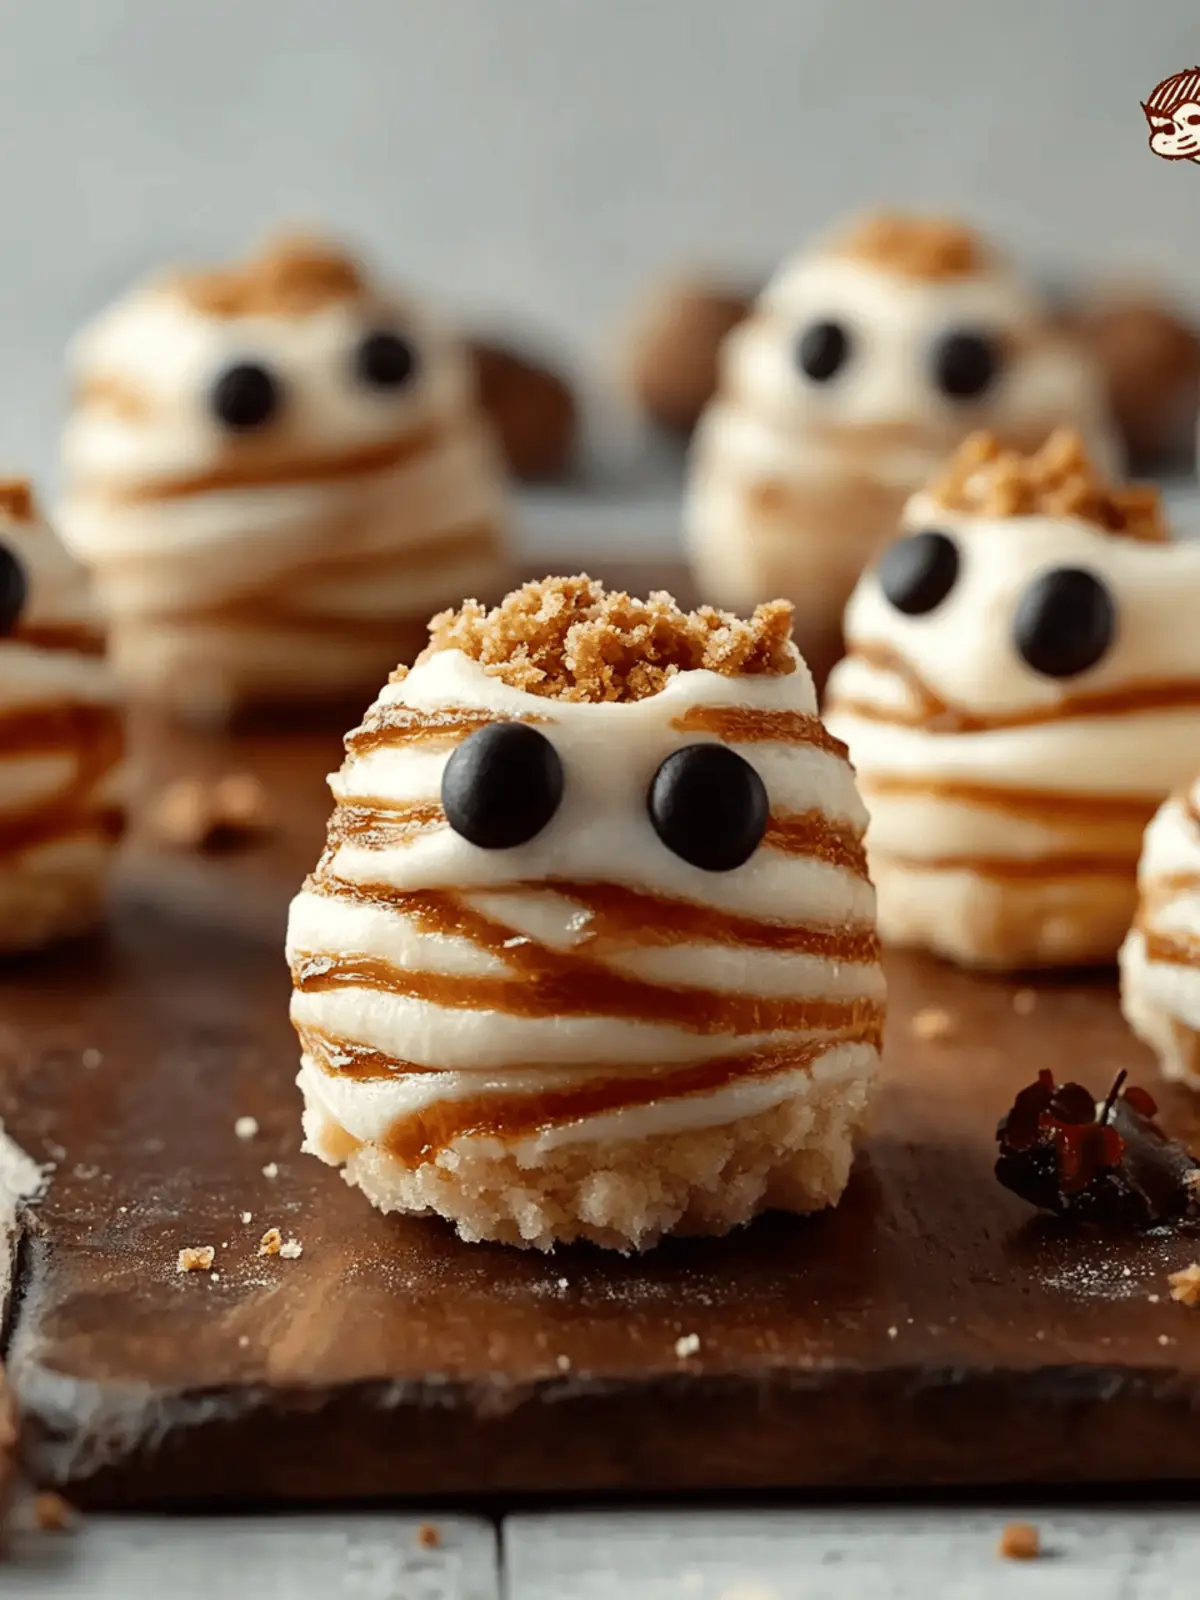
As Halloween approaches, there’s an enchanting excitement in the air, and what better way to celebrate than with a treat that’s both spooky and delicious? Picture this: the rich, creamy sweetness of cheesecake wrapped snugly in flaky puff pastry, transforming into adorable little mummies that are sure to impress your guests. The first time I made these Mummy Wrapped Cheesecake Bites, it was a delightful surprise to see how easily they came together, effortlessly combining flavor and fun. Each bite is a warm hug of creaminess with a hint of nostalgia, perfect for those of us yearning for more than just fast food.
This recipe not only brings a playful twist to your dessert table but also offers incredible versatility—great for parties, family gatherings, or even a cozy night in. With just a handful of ingredients and a quick 20-minute bake time, these treats will have everyone saying “wow!” while wondering how such an elegant dessert could be so simple. Join me as we dive into this easy-to-make masterpiece that promises to bring smiles and satisfied taste buds!
Why are Mummy Wrapped Cheesecake Bites irresistible?
Decadent Flavor: The creamy cheesecake filling paired with flaky puff pastry creates a mouthwatering combination that delights every palate.
Quick and Easy: With a simple 20-minute bake time, you can impress your guests without spending hours in the kitchen!
Fun Presentation: These spooky little mummies bring a festive touch to any gathering, making them perfect for Halloween parties or family get-togethers.
Versatile Serving Options: Serve them warm for a cozy feel or cold as a refreshing dessert—either way, they’re a hit!
Crowd Pleaser: Whether you’re hosting a spooky soirée or simply indulging at home, everyone will love these charming bites—try serving them with a warm dip for an extra treat!
Mummy Wrapped Cheesecake Bites Ingredients
For the Cheesecake Filling
- Cream cheese – 8 oz (softened) – This is the star of your filling, providing that rich and creamy texture.
- Granulated sugar – 1/2 cup – Sweetens the mixture perfectly, balancing the tanginess of the cream cheese.
- Vanilla extract – 1 teaspoon – Adds a warm, inviting flavor that enhances the overall taste.
- Sour cream – 1/2 cup – Introduces a delightful tang and creaminess to the cheesecake mixture.
For the Puff Pastry
- Puff pastry sheets – 1 lb (thawed) – These flaky layers wrap your cheesecake filling, creating a fabulous texture contrast.
For Assembly
- Egg – 1 – Use this for the egg wash to ensure a golden, glossy finish on your mummies.
- Flour – For dusting – Prevents sticking when rolling out the pastry, making your prep a breeze.
For Decoration
- Chocolate chips – 1/4 cup (for eyes) – Adds a playful touch, transforming your bites into spooky mummies.
- Milk – 1 tablespoon (for melting chocolate) – Helps melt the chocolate chips to create the perfect consistency for decorating.
- Powdered sugar – Optional – A dusting of this can add an extra touch of sweetness and festive flair.
Now you’re all set to dive into the preparation of these delightful Mummy Wrapped Cheesecake Bites!
How to Make Mummy Wrapped Cheesecake Bites
-
Mix the Cheesecake: In a mixing bowl, combine the softened cream cheese, granulated sugar, vanilla extract, and sour cream. Beat until smooth to create a luscious filling that will ooze creamy goodness in every bite.
-
Prepare the Pastry: Roll out your thawed puff pastry sheets to about 1/8 inch thickness. Cut into 3×3 inch squares; this size is perfect for wrapping your cheesecake delightfully and easily!
-
Fill the Pastry: Take a small spoonful of the cheesecake mixture and place it at the center of each pastry square. Wrap securely using thin strips of puff pastry—this ensures that your delightful filling stays cuddled inside as it bakes.
-
Bake to Perfection: Preheat your oven to 400°F (200°C). Place the wrapped bites onto a baking sheet lined with parchment paper, brush with egg wash, and bake for 15-20 minutes until they turn golden brown—this is when the magic happens!
-
Decorate the Mummies: Once cooled, melt the chocolate chips with the tablespoon of milk in the microwave until smooth. Use this melted chocolate to create adorable eyes on the bites, bringing your little mummies to life!
Optional: Dust with powdered sugar before serving for extra sweetness and an appealing finish.
Exact quantities are listed in the recipe card below.
Mummy Wrapped Cheesecake Bites Variations
Feel free to get creative and tailor these bites to match your taste buds and dietary needs!
- Gluten-Free: Substitute pastry with gluten-free puff pastry to enjoy all the deliciousness without the gluten.
- Pumpkin Spice: Add 1/2 cup of pumpkin puree and 1 teaspoon of pumpkin spice to the cheesecake filling for a seasonal twist. Embrace the cozy flavors of fall and transform these into a festive favorite!
- Chocolate Lovers: Fold in 1/4 cup of cocoa powder into the cheesecake mixture for a rich chocolate flavor that’s sure to enchant. Each bite will melt in your mouth, bringing cocoa bliss to your dessert table!
- Berries Galore: Incorporate fresh or frozen berries like raspberries or blueberries into the cheesecake filling for a fruity infusion. This adds vibrant color and natural sweetness, leaving everyone craving more!
- Nutty Crunch: Sprinkle chopped nuts, like pecans or almonds, into the filling for a delightful texture that contrasts with the creamy center. The crunch elevates the bites while providing extra flavor excitement!
- Coconut Flake: Mix in 1/4 cup of shredded coconut to the cheesecake filling for a tropical flair. Imagine each bite whisking you away to a beachy paradise, delighting your senses!
- Cinnamon Sugar Topping: Before baking, sprinkle a mixture of cinnamon and sugar over the egg wash for an extra touch of sweetness and warmth. This creates a lovely aromatic finish that will fill your kitchen with delight!
- Heat It Up: Add a pinch of cayenne pepper or a drizzle of spicy honey to the filling for a surprising kick. The combination of sweet and heat will keep everyone guessing!
Make Ahead Options
These Mummy Wrapped Cheesecake Bites are perfect for busy weeknights or festive gatherings that require a little extra planning! You can prepare the cheesecake filling up to 3 days in advance; simply mix all the ingredients and refrigerate it in an airtight container. You can also roll out and cut the puff pastry squares, storing them between layers of parchment paper in the fridge for up to 24 hours. When you’re ready to bake, simply fill the pastry squares with the chilled cheesecake mixture, wrap them, brush with an egg wash, and bake as directed. This method ensures your bites are just as delicious, all while saving you time for other holiday preparations, making it easier than ever to enjoy a delightful and fun treat!
How to Store and Freeze Mummy Wrapped Cheesecake Bites
Room Temperature: These delightful bites can be kept at room temperature for up to 2 hours before they need to be refrigerated.
Fridge: Store leftovers in an airtight container in the refrigerator for up to 3 days. This keeps your Mummy Wrapped Cheesecake Bites fresh and creamy.
Freezer: For longer storage, freeze the baked bites on a baking sheet for 1-2 hours until solid, then transfer to a freezer-safe bag or container for up to 3 months.
Reheating: To enjoy later, reheat in the oven at 350°F (175°C) for about 10-15 minutes until warmed through, reviving that delightful flakiness and flavor!
What to Serve with Mummy Wrapped Cheesecake Bites?
Transform your dessert experience with accompaniments that will delight your guests and complement these festive treats.
- Warm Chocolate Sauce: Drizzle this silky sauce on top for extra indulgence—its richness pairs perfectly with the cheesecake filling.
- Fresh Berries: Strawberries, raspberries, or blueberries add a refreshing contrast; their tartness balances the sweetness of the bites beautifully. They also bring vibrant color to your dessert table!
- Whipped Cream: A dollop of fluffy whipped cream enhances each bite, providing a smooth, light texture that contrasts wonderfully with the flaky pastry. Perfect for those who enjoy a classic touch!
- Caramel Drizzle: A sweet, gooey caramel sauce will elevate your bites to new heights, adding a lovely richness that echoes throughout the dessert.
- Vanilla Ice Cream: A scoop beside the warm bites creates a delightful temperature contrast while making each bite even more delightful. The creaminess of the ice cream harmonizes wonderfully with the flavors.
- Spiced Apple Cider: This warm beverage is a comforting pairing for your bites, filling the air with inviting aromas that evoke the essence of fall gatherings.
- Chocolate-Covered Strawberries: These treat-like snacks can serve as a playful complement; they’re also visually stunning alongside your mummy bites.
- Powdered Sugar Dusting: Finish the presentation with a light dusting of powdered sugar over the bites for a beautiful, sweet touch that looks enticing!
Each of these suggestions brings a unique flair, ensuring your Mummy Wrapped Cheesecake Bites shine in every celebration.
Expert Tips for Mummy Wrapped Cheesecake Bites
Chill the Mixture: Ensure that your cream cheese is softened but cold; chilling the filling helps it keep its shape while baking.
Avoid Overfilling: Don’t add too much cheesecake mixture; a small spoonful is perfect to prevent overflow while baking.
Perfect Pastry: Keep your puff pastry cold while working; this ensures it puffs up beautifully, creating that delightful texture.
Monitor Baking Time: Oven temperatures can vary; keep an eye on your mummies to avoid over-browning. Aim for a golden, flaky finish!
Decorate Creative Eyes: Use mini chocolate chips for eyes or even nuts for a fun twist! Make your Mummy Wrapped Cheesecake Bites uniquely yours!
Mummy Wrapped Cheesecake Bites Recipe FAQs
What ripeness or selection should I consider for the cream cheese?
Absolutely! It’s best to use cream cheese that’s softened to room temperature for easy mixing. Look for a clean white color, and if it has any dark spots or an off smell, it might be time to pass on that package!
How should I store leftover Mummy Wrapped Cheesecake Bites?
To keep them fresh, store your leftover bites in an airtight container in the refrigerator. They will remain delightful for up to 3 days. If you’re worried about them becoming too soggy, you might want to reheat them slightly before serving.
Can I freeze the Mummy Wrapped Cheesecake Bites?
Very! To freeze them, allow the baked bites to cool completely. Then, place them on a baking sheet lined with parchment paper and freeze for about 1-2 hours until solid. After that, transfer them to a freezer-safe bag or container, where they can be kept for up to 3 months. When you’re ready to enjoy, simply reheat in the oven!
What if my puff pastry doesn’t puff up properly?
If the pastry doesn’t rise, it could be due to it being too warm when placed in the oven. Ensure that you keep your pastry cold during preparation. Also, make sure not to skip the egg wash—it helps achieve that golden, crispy exterior!
Are these Mummy Wrapped Cheesecake Bites safe for pets?
It’s not advisable to give these bites to pets due to the cream cheese and sugar content, which can be harmful in larger amounts. Plus, chocolate is toxic for dogs, so keeping the bites out of their reach is essential!
What if I have dietary allergies?
If you’re dealing with allergies, consider using dairy-free cream cheese and leaving out the chocolate chips for an easier alternative. You can still create delightful, mummy-inspired treats by decorating with shredded coconut or using safe food colors!
Mummy Wrapped Cheesecake Bites: A Spooktacular Treat!
Ingredients
Equipment
Method
- In a mixing bowl, combine the softened cream cheese, granulated sugar, vanilla extract, and sour cream. Beat until smooth.
- Roll out your thawed puff pastry sheets to about 1/8 inch thickness. Cut into 3×3 inch squares.
- Take a small spoonful of the cheesecake mixture and place it at the center of each pastry square. Wrap securely using thin strips of puff pastry.
- Preheat your oven to 400°F (200°C). Place the wrapped bites onto a baking sheet lined with parchment paper, brush with egg wash, and bake for 15-20 minutes until golden brown.
- Once cooled, melt the chocolate chips with the tablespoon of milk in the microwave until smooth. Use this melted chocolate to create adorable eyes on the bites.

