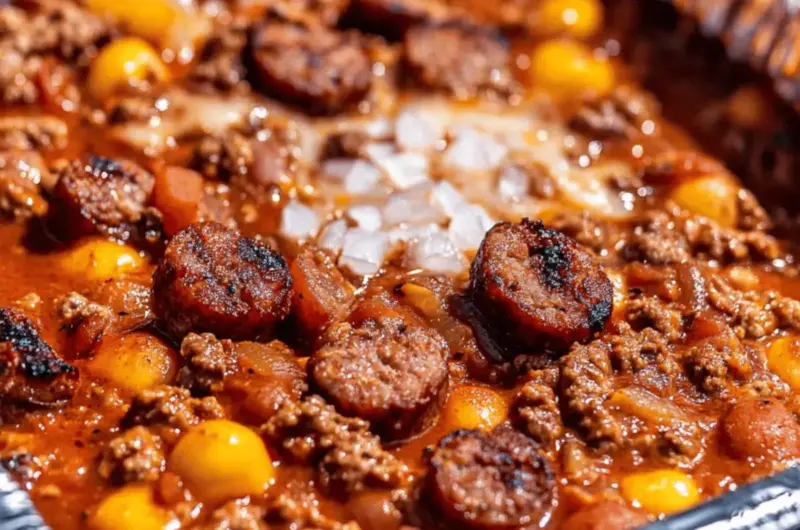
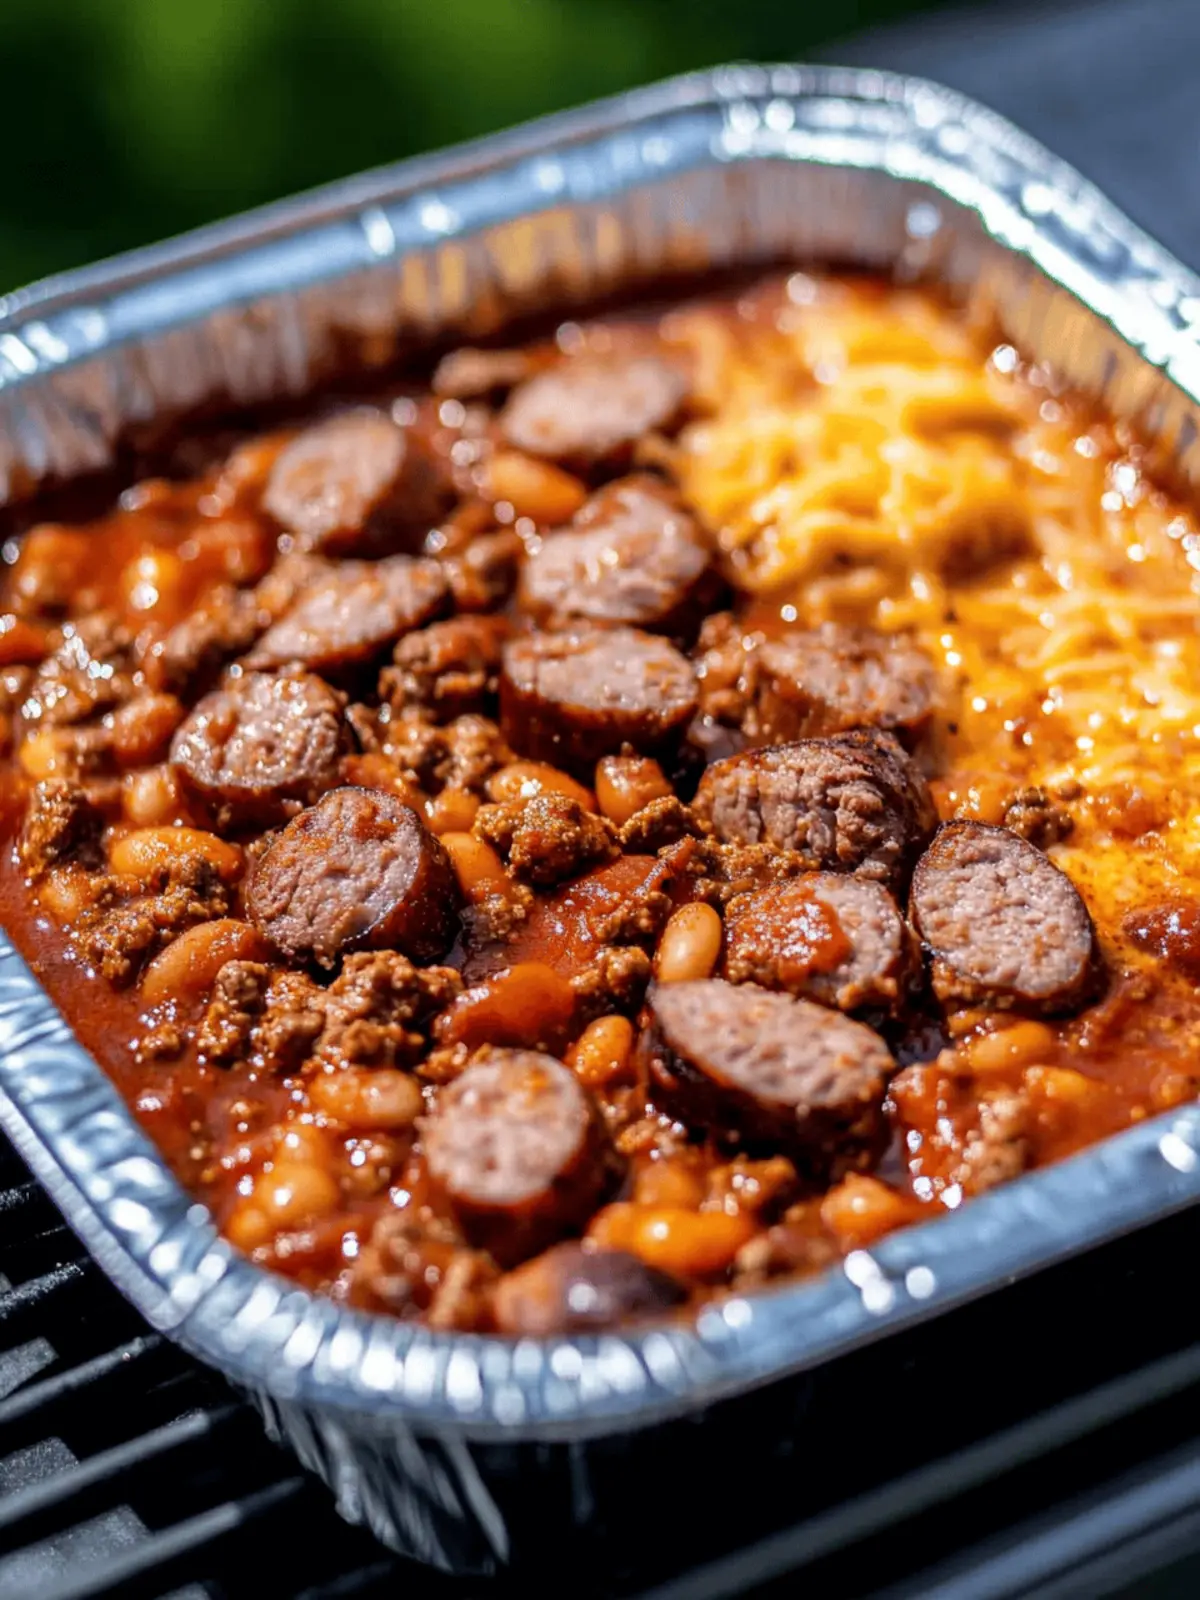
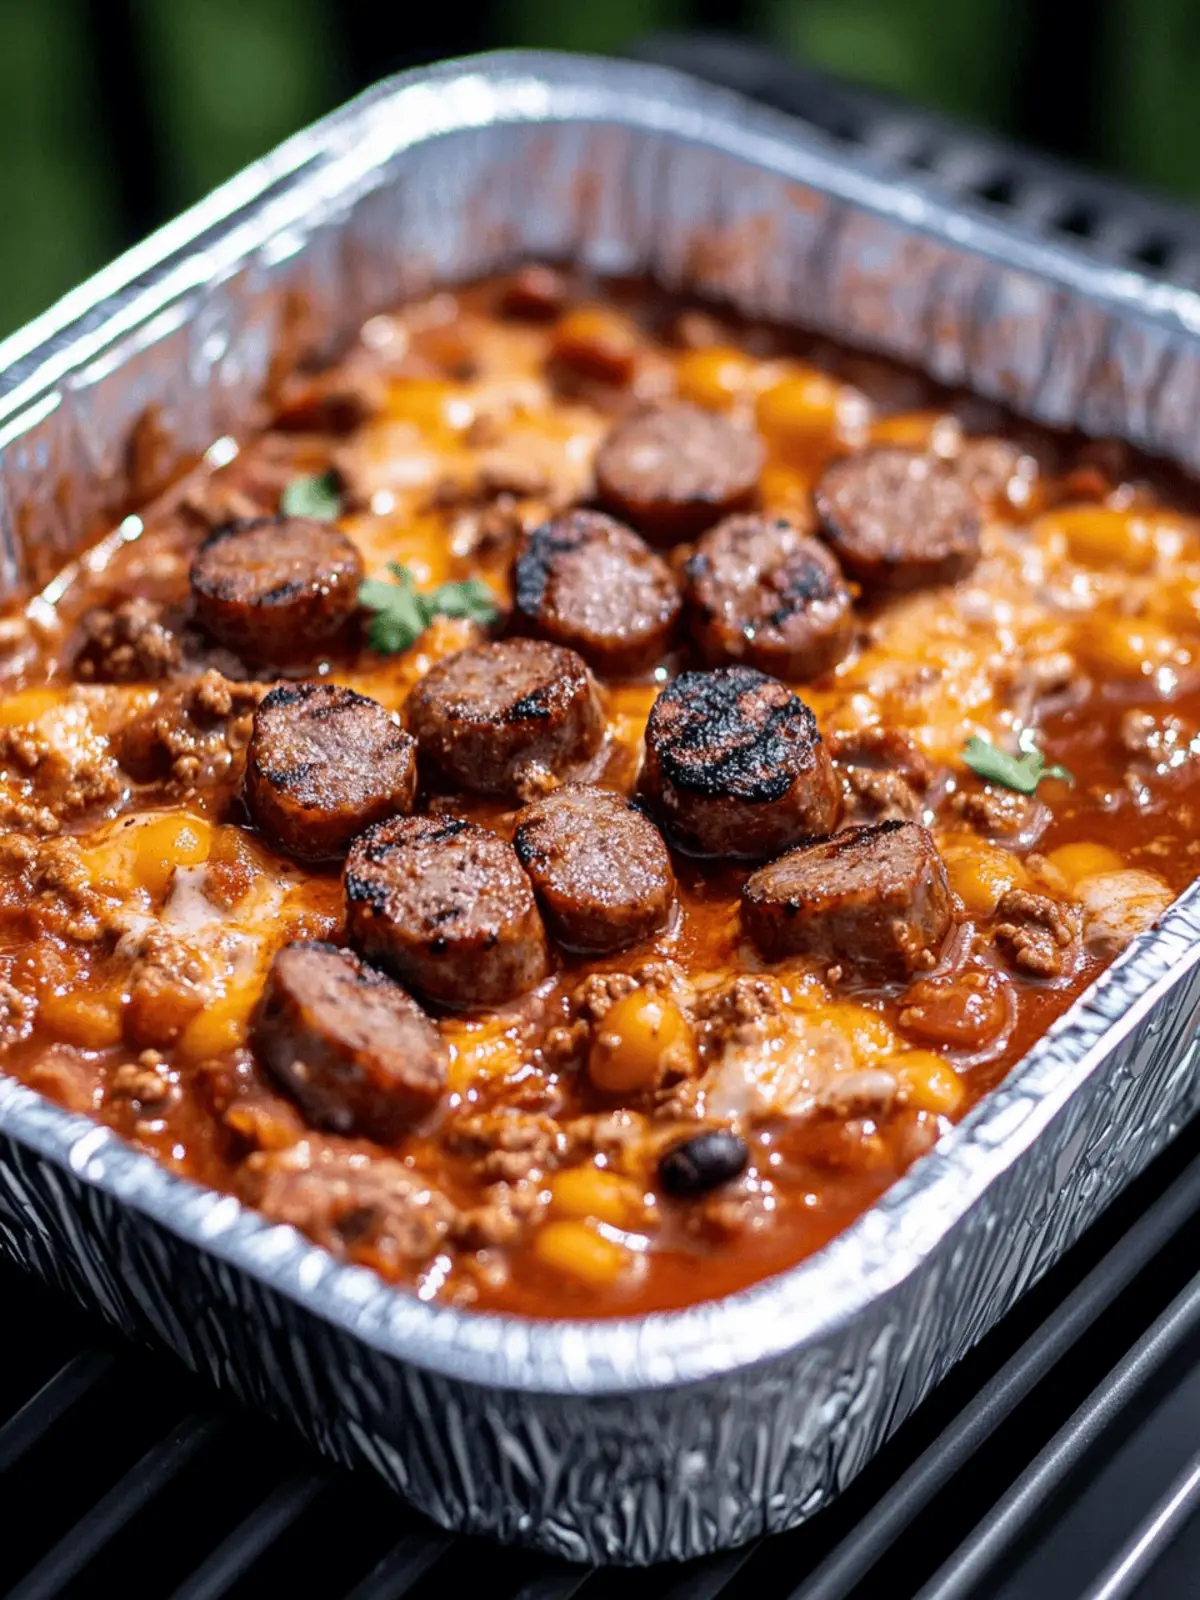
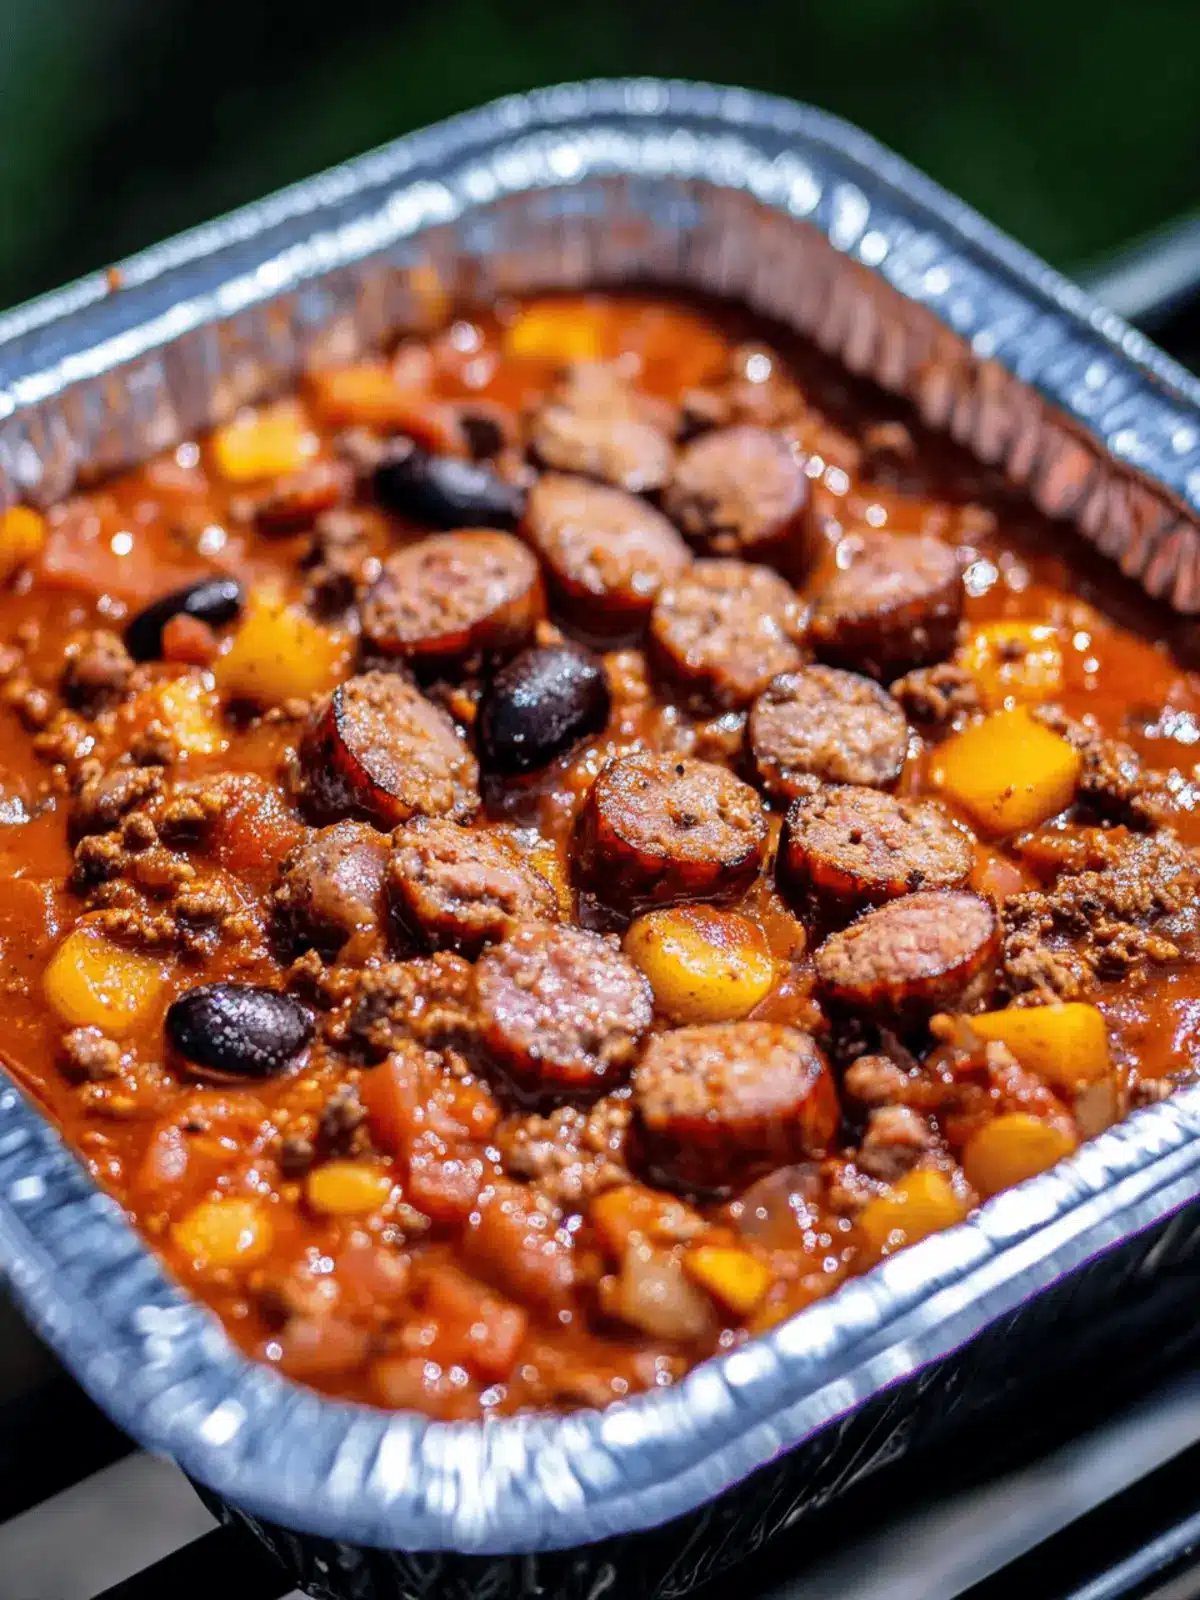
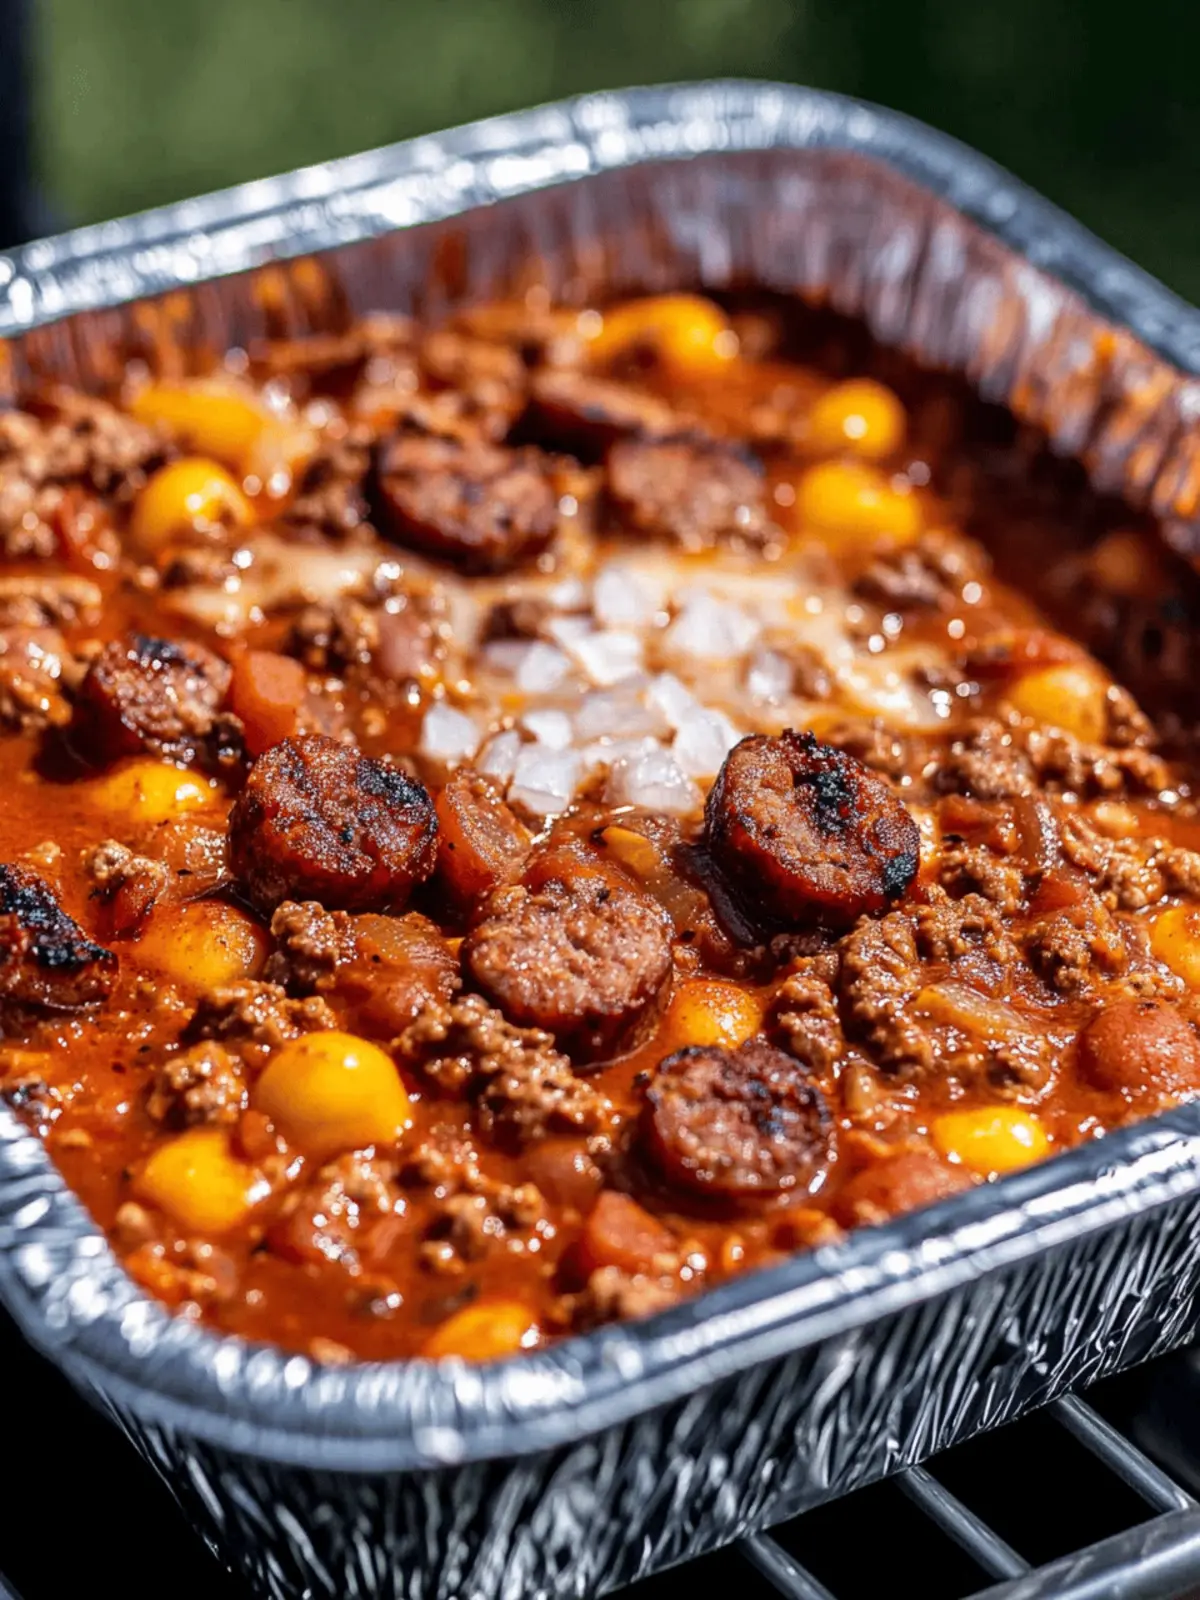
There’s nothing quite like the comforting embrace of a hearty chili to make you feel at home, especially as the temperature starts to dip. One evening, while experimenting with ingredients in my fridge, I decided to elevate the traditional chili recipe by throwing in some delicious grilled beer brats. The result? An amazing Grilled Beer Brat Chili that not only warms the soul but also fills the belly!
Picture this: tender bratwurst infused with the rich notes of your favorite beer, served alongside vibrant vegetables and seasoned perfectly to create an aromatic masterpiece. Whether you’re hosting game day or gathering the family around the dining table, this dish is bound to impress and satisfy even the hungriest of appetites. Plus, it’s as easy as it is flavorful, ensuring even those busiest of evenings can end with a delicious home-cooked meal. Grab your grill and some fresh ingredients, and let’s dive into this comforting culinary adventure!
Why is Grilled Beer Brat Chili a Must-Try?
Comforting Wholesomeness: This dish combines tender bratwurst with a rich chili that wraps you in warmth, perfect for cozy nights.
Flavors Unite: The beer-infused brats meld beautifully with spices and herbs, creating a flavor explosion that elevates this classic dish.
Easy Prep: With straightforward instructions, you’ll find this recipe manageable for any home cook, making it an ideal weeknight meal.
Versatile Options: Adjust ingredients to your preference—swap out meats or experiment with different beers for a unique twist.
Crowd-Pleasing Delight: Serve it at gatherings, and watch your guests bask in the flavorful experience; it’s sure to be the star of your table!
Don’t forget to check out more comforting recipes that can complement your meal!
Grilled Beer Brat Chili Ingredients
For the Chili Base
- Olive Oil — Adds moisture and a rich flavor to sautéed vegetables; avocado oil is a great alternative for higher heat.
- Onion — Provides sweetness and depth; use sweet onion for a milder taste.
- Ground Beef — Adds protein and heartiness; swap for ground turkey or a vegetarian option for a lighter meal.
- Bell Pepper — Offers color and sweetness; any color works, or try roasted red peppers for added depth.
- Chili Powder — Enhances spiciness and depth in the chili; adjust the amount to suit your heat preference.
- Paprika — Infuses mild pepper flavor; use smoked paprika for an extra smoky kick.
- Cumin — Brings warm, earthy notes that are essential for a comforting chili.
- Red Pepper Flakes — Adds heat; feel free to adjust or omit for a non-spicy version.
- Crushed Tomatoes — Forms the chili’s rich base; fresh tomatoes can be a delightful substitute.
- Diced Tomatoes — Provides texture; using both crushed and diced tomatoes deepens the flavor profile.
- Beer — Essential for flavor depth; a blonde ale or IPA is recommended for this grilled beer brat chili. Avoid overly bitter options.
- Black Beans — Adds fiber and texture; kidney beans can replace them, or you can omit for a bean-free version.
- Bratwurst — The star ingredient infused with flavor; ensure using beer-flavored brats for the best taste.
Make this hearty dish part of your cozy evening routine, and enjoy every delicious spoonful!
How to Make Grilled Beer Brat Chili
-
Prepare the Grill: Start by setting your grill to indirect heat at 350°F. Place two bottles of beer into a cast iron skillet and bring the beer to a rolling boil as your grill heats up.
-
Cook the Brats: Once the beer is boiling, add your bratwursts and let them simmer for about 20 minutes. This ensures they are infused with the beer flavor. Afterward, transfer them to direct heat and sear for about 3 minutes on each side until they turn a nice golden brown.
-
Chili Base Creation: In a Dutch oven, heat a splash of olive oil over medium-high heat. Toss in your chopped onions and bell peppers, sautéing until they are soft. Then, add the ground beef and cook until it’s nicely browned. Stir in minced garlic and spices, letting them mingle for about a minute.
-
Combine All Ingredients: Add in your crushed tomatoes, diced tomatoes, black beans, and the beer from the skillet, giving it all a good stir until everything is well mixed.
-
Finish It Off: Slice those grilled brats and stir them into your chili mix. Let this delicious concoction simmer on the grill over indirect heat for 60 to 90 minutes, letting all the flavors meld together beautifully. Look for softened veggies and a thickened chili consistency!
Optional: Serve with a sprinkle of chopped fresh cilantro for an added burst of flavor.
Exact quantities are listed in the recipe card below.
Grilled Beer Brat Chili Variations
Feel free to make this recipe your own with these delightful twists and swaps that will elevate your chili experience!
-
Dairy-Free: Instead of traditional cheese toppings, opt for a sprinkle of nutritional yeast for a cheesy flavor without dairy.
-
Vegan Option: Substitute ground beef with lentils or chickpeas, and use vegetable broth instead of beer for a plant-based delight.
-
Spicy Kick: Add finely chopped chipotles in adobo for a smoky, spicy depth to your chili, igniting your taste buds with every spoonful.
-
Smoked Flavor: Replace regular bratwurst with smoked sausage for an intense, savory twist that enhances the chili’s overall flavor profile.
-
Bean Boost: Mix in some white beans or kidney beans with the black beans for added texture and a fabulous protein boost that keeps you satisfied.
-
Savory Sweetness: Incorporate a tablespoon of brown sugar or honey to mellow the acidity of the tomatoes, creating a beautifully balanced dish.
-
Extra Veggie: Toss in some diced sweet corn or zucchini for a pop of sweetness and color, making it a deliciously hearty option.
With these variations, you can turn a classic grilled beer brat chili into a unique dish every time, ensuring it remains a staple for cozy nights in!
Expert Tips for Grilled Beer Brat Chili
- Grill Control: Avoid direct heat for the chili to prevent burning; a stable indirect heat creates a richer flavor.
- Simple Serving: Enhance your chili with toppings like sour cream or shredded cheese for added creaminess that complements the grilled beer brat chili.
- Prep Ahead: Grill brats the night before to make cooking on game day a breeze—an easy shortcut for busy cooks!
- Quality Pans: Use high-quality disposable pans during grilling for mess-free cooking and easy cleanup, letting you enjoy your time with family and friends.
- Perfect Consistency: Ensure that vegetables are softened before the simmering stage; you want a thick, hearty chili that’s perfect for scooping.
How to Store and Freeze Grilled Beer Brat Chili
- Fridge: Allow the chili to cool completely before transferring it to airtight containers. It will stay fresh for up to 3-4 days.
- Freezer: For longer storage, freeze the chili in sealed containers or heavy-duty freezer bags. It can be stored for up to 2 months without losing flavor.
- Reheating: Thaw overnight in the fridge before reheating on the stovetop or in the microwave. Stir well and heat thoroughly until it reaches a safe temperature.
- Keeping Texture: To avoid a watery consistency after freezing, let the chili simmer for a few minutes before serving; this revitalizes the hearty texture of your grilled beer brat chili.
Make Ahead Options
These Amazing Grilled Beer Brat Chili is an absolute time-saver for busy home cooks! You can prepare the chili base up to 3 days in advance—simply cook all the ingredients in the Dutch oven and allow it to cool completely before transferring to an airtight container for refrigerating. The brats can be pre-grilled up to 24 hours ahead, ensuring they maintain their delicious flavor. When you’re ready to serve, just add the grilled brat slices to the chili and let it simmer on the grill for 15-20 minutes, heating through for a comforting meal that’s just as good as when freshly made. This planning allows you to enjoy hearty, home-cooked goodness with minimal effort during busy weeknights!
What to Serve with Grilled Beer Brat Chili?
Cozy up your dinner table with delightful pairings that enhance the hearty flavors of this chili.
-
Cornbread: The slightly sweet, buttery bread pairs perfectly, soaking up the chili while adding a delightful textural contrast.
-
Tortilla Chips: Crunchy and perfect for scooping, tortilla chips add a satisfying crunch that balances the rich chili.
-
Sour Cream: A dollop adds creaminess and tang, softening the spices while enhancing the overall flavor experience.
-
Shredded Cheese: Melting cheese brings richness and warmth; cheddar or pepper jack works wonderfully to elevate your dish.
-
Pickled Jalapeños: They bring a zesty kick that complements the chili’s warmth without being overwhelming, making each bite exciting!
-
Crisp Salad: A refreshing green salad with a light vinaigrette offers a bright contrast to the hearty chili, cleansing the palate beautifully.
-
Beer Pairings: Enjoy with the same beer used in the chili, matching flavors to enhance your meal and keep the theme consistent.
-
Brownies: For dessert, the rich chocolate flavor in brownies creates a wonderful combination of sweet to wrap up your hearty dinner.
Grilled Beer Brat Chili Recipe FAQs
What should I look for when selecting beer bratwursts?
Absolutely! When choosing beer bratwursts, look for those that are labeled as beer-infused or have ingredients specifying their flavor. A good brat will have a robust, savory taste and often feature a blend of spices. Avoid brats that appear overly processed or do not specify their beer content.
How should I store leftover grilled beer brat chili?
The best method is to allow the chili to cool completely before transferring it to airtight containers. It will stay fresh in the fridge for about 3-4 days. Be sure to label the containers with the date so you can keep track!
Can I freeze grilled beer brat chili for later?
Yes! For long-term storage, freeze the chili in sealed containers or heavy-duty freezer bags. It can be stored for up to 2 months. Ensure to push out as much air as possible to prevent freezer burn.
What can I do if my chili turns out too watery after freezing?
If your grilled beer brat chili is too watery, don’t fret! Simply let it simmer on the stovetop for a few extra minutes. This allows excess moisture to evaporate, returning it to a hearty, thick consistency. Stir often to prevent sticking and taste to adjust seasoning if needed!
Are there any dietary considerations with this recipe?
Very! If you’re accommodating for dietary restrictions, consider substituting ground beef with ground turkey or a vegetarian meat alternative. Be sure to check the labels of your bratwurst for allergens, like gluten, and opt for gluten-free beer if necessary.
How should I adjust the spiciness level for picky eaters?
Good question! You can easily control the heat by moderating the amount of chili powder and red pepper flakes. For a milder version, start with less and gradually taste as you cook. If you’re cooking for little ones or those sensitive to spice, consider omitting the red pepper flakes altogether for a family-friendly dish.
Enjoy diving into your chili adventure with all these handy tips!
Hearty Grilled Beer Brat Chili for Cozy Nights In
Ingredients
Equipment
Method
- Prepare the Grill by setting it to indirect heat at 350°F. Place two bottles of beer into a cast iron skillet and boil them.
- Cook the Brats by adding them to the boiling beer for about 20 minutes, then sear on direct heat for 3 minutes per side.
- Create the Chili Base by heating olive oil in a Dutch oven, sauté onions and bell peppers, then add ground beef until browned.
- Combine all Ingredients by adding crushed tomatoes, diced tomatoes, black beans, and the beer from the skillet to the Dutch oven, stirring well.
- Finish It Off by slicing the grilled brats and stirring them into the chili mix. Let it simmer over indirect heat for 60 to 90 minutes.

