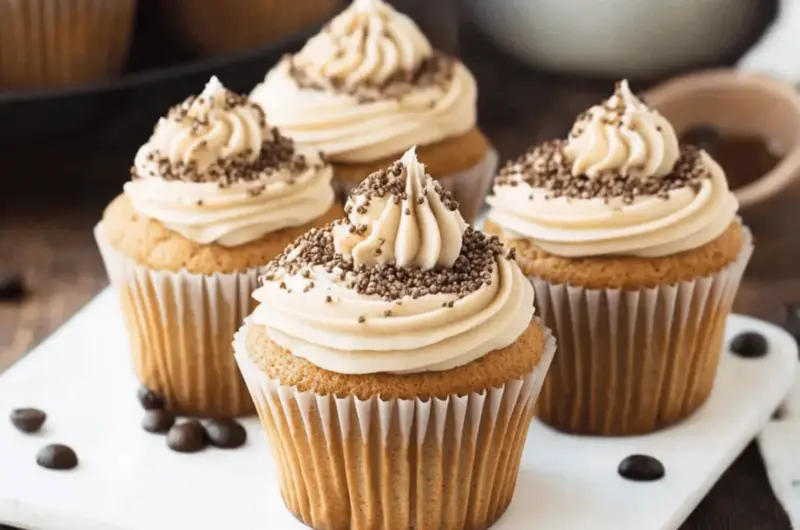
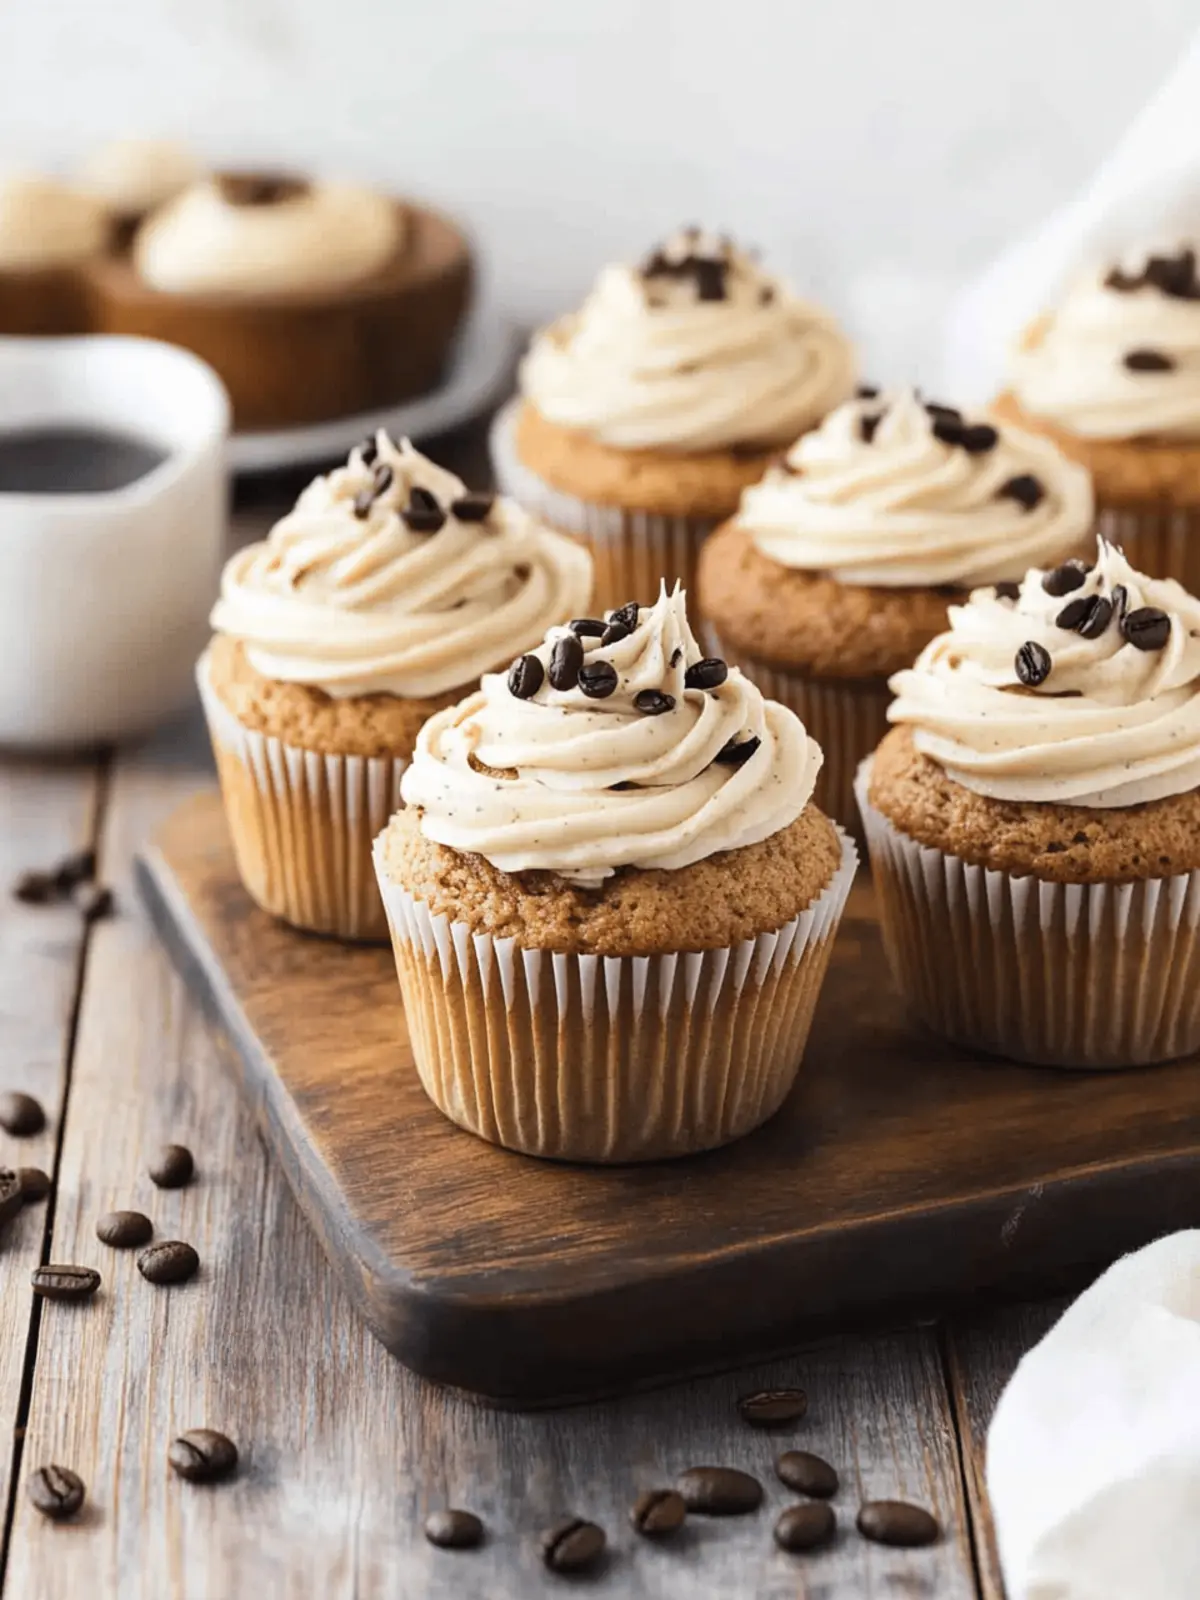
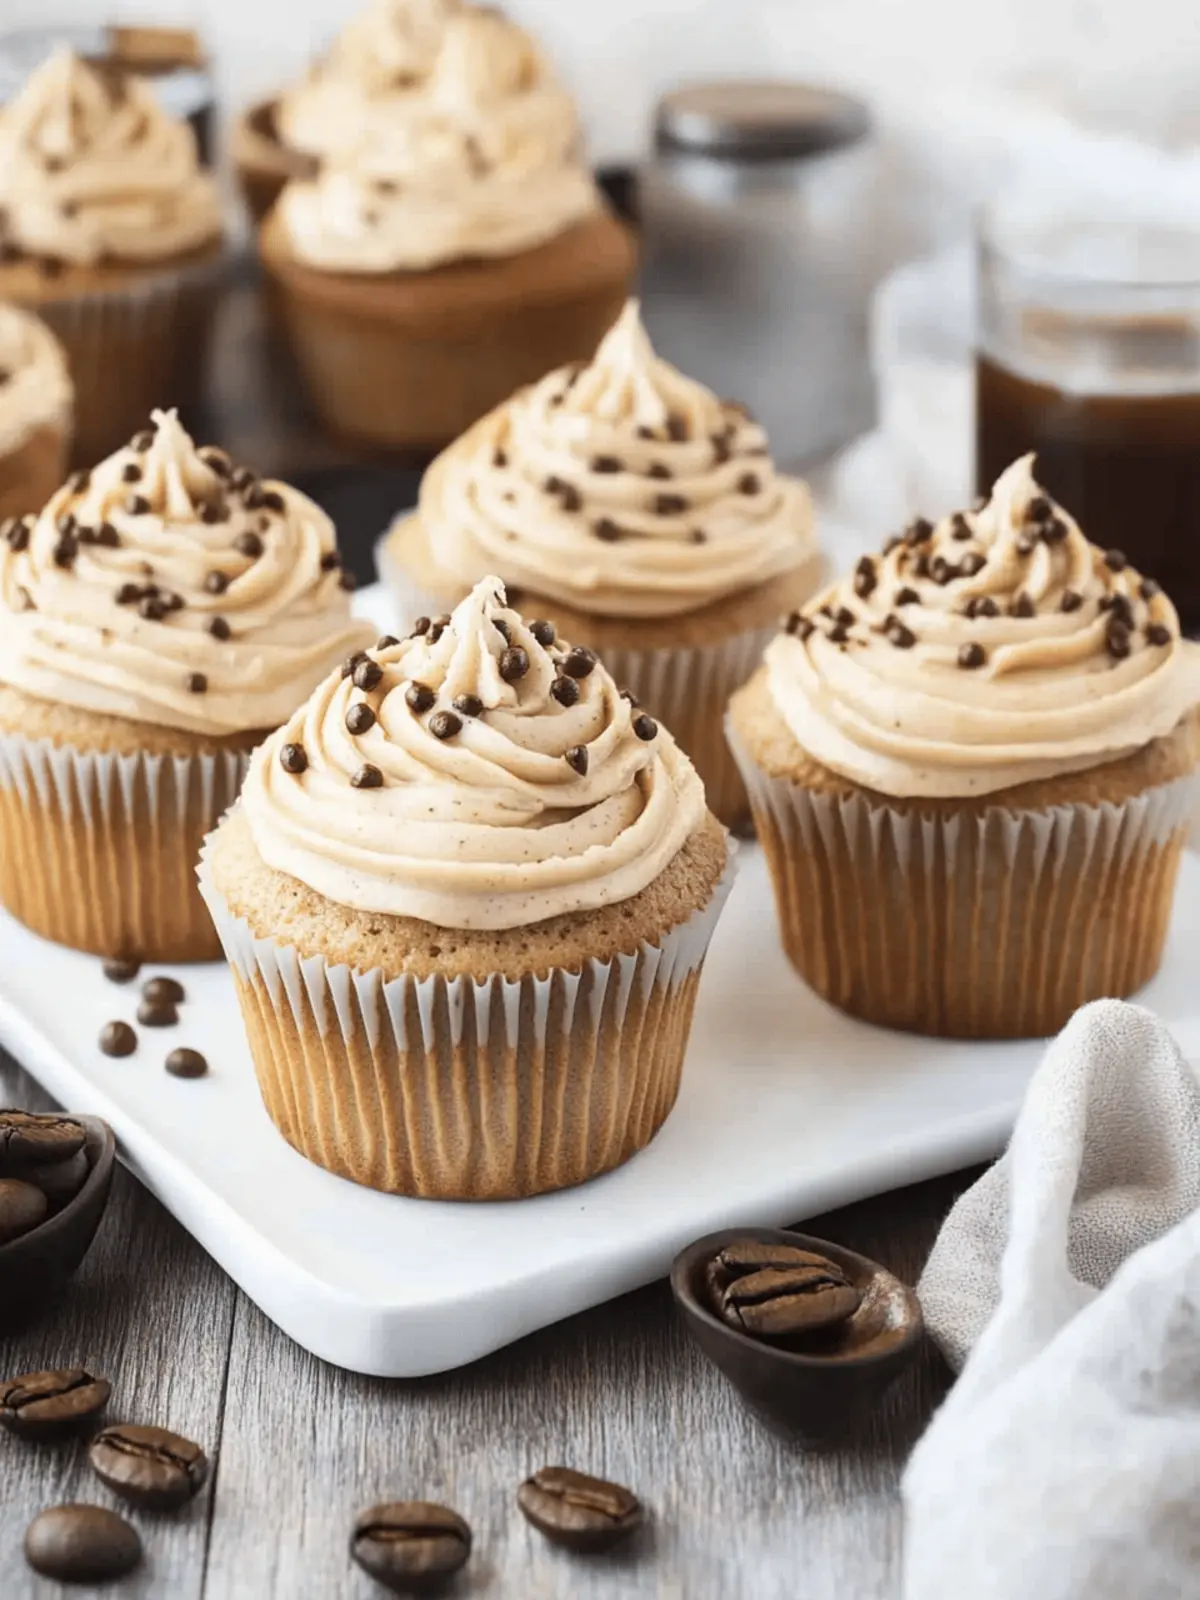
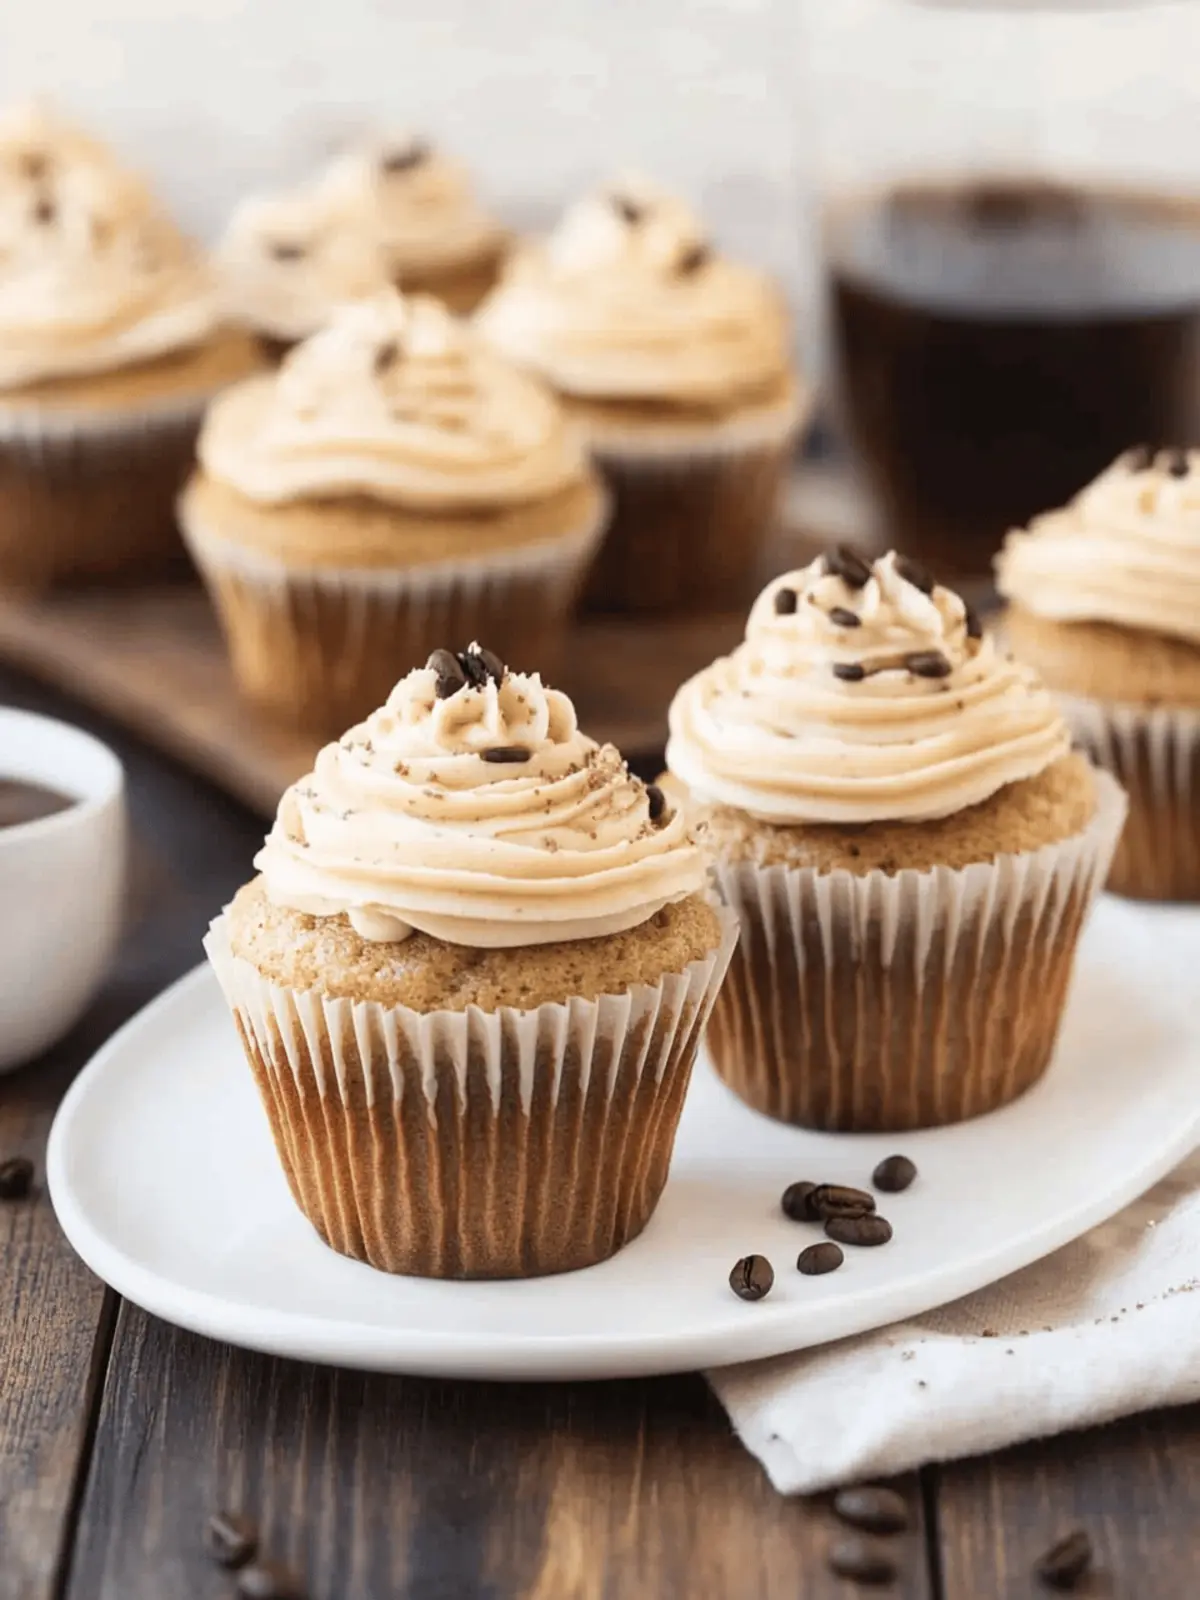
There’s something irresistibly cozy about the smell of coffee wafting through the kitchen, isn’t there? I remember the first time I decided to transform my love for a rich cup of java into a delightful dessert—enter my Gluten-free Coffee Cupcakes. These are not just any cupcakes; they capture the robust flavor of coffee in a soft, tender cake, topped with the creamiest coffee-infused frosting.
Perfect for an afternoon treat or a unique addition to any gathering, these gluten-free delights are a celebration of simple ingredients and the joy of baking. Whether you’re seeking to impress guests or simply indulge in something sweet, these cupcakes offer all the flavor without the fuss. So, roll up your sleeves and let’s turn that coffee craving into something extraordinary!
Why will you love these Gluten-free Coffee Cupcakes?
Irresistible aroma: Baking these cupcakes fills your kitchen with the warm, inviting scent of coffee, creating a cozy atmosphere.
Delicate texture: Each bite offers a soft, fluffy cake that melts in your mouth, paired perfectly with creamy coffee frosting.
Gluten-free goodness: These cupcakes cater to dietary needs while not sacrificing flavor, making them a hit for everyone!
Quick and easy: In just 30 minutes, you can whip up a batch that’s perfect for any occasion or a comforting snack.
Crowd-pleaser: These delights are sure to impress friends and family, making it a fantastic addition to your dessert repertoire!
Gluten-free Coffee Cupcake Ingredients
For the Cupcakes
• 1/2 cup milk of choice – Adds moisture to the cupcakes; feel free to use almond or soy milk for a dairy-free option.
• 2 tbsp instant coffee granules – Elevates the coffee flavor; use decaf if you’re avoiding caffeine.
• 1/2 cup butter, softened – Provides richness; can substitute with coconut oil for a dairy-free version.
• 1 cup sugar – Sweetens the batter; for a healthier option, substitute with coconut sugar.
• 2 eggs – Binds the ingredients; for a vegan alternative, try flax or chia eggs.
• 1 tsp vanilla – Enhances the flavor profile; use pure vanilla extract for the best taste.
• 1 1/3 cup gluten-free all-purpose flour – Keeps the cupcakes gluten-free without sacrificing texture.
• 1 tsp baking powder – Helps the cupcakes rise; ensure it’s gluten-free for the safe choice.
• 1/4 tsp salt – Balances the sweetness; don’t skip this for well-rounded flavors.
For the Frosting
• 2 tbsp milk of choice – Helps blend the frosting; can be replaced with cream or a dairy-free alternative.
• 2 tsp instant coffee granules – Intensifies the coffee flavor in the frosting; choose decaf if desired.
• 1/2 cup butter, softened – Creaminess perfection; substitute with a vegan butter for a dairy-free option.
• 1 tsp vanilla – Adds depth to the frosting; pure vanilla extract will give the best flavor.
• 2 cups powdered sugar – Sweetens and thickens the frosting; sift it for a smoother consistency.
These Gluten-free Coffee Cupcakes are simple to make and even easier to love! You’re just a few ingredients away from a delightful treat that will elevate any moment.
How to Make Gluten-free Coffee Cupcakes
-
Preheat your oven to 350°F and line a muffin tin with cupcake liners for easy removal and a decorative touch.
-
Combine instant coffee granules with milk in a small bowl, stirring until dissolved. This will enrich your batter with that delicious coffee flavor.
-
Beat together the softened butter and sugar in a large mixing bowl until creamy and light. Then, mix in the eggs, vanilla, and the milk/coffee mixture until fully combined.
-
Mix the gluten-free flour, baking powder, and salt into the same bowl. Stir until your batter is smooth and free of lumps, ready to rise beautifully in the oven.
-
Pour the batter into the cupcake liners, filling them about 3/4 full for the perfect rise. Make sure you create a lovely level for even baking!
-
Bake in the oven for 18-20 minutes. They should feel springy to the touch, and a toothpick inserted should come out clean when they’re ready.
-
Cool the cupcakes completely on a cooling rack before frosting them. This is crucial to prevent the frosting from melting off.
-
Stir together milk and instant coffee granules in a small bowl, combining until smooth. This is going into your creamy frosting for an extra coffee kick!
-
Beat softened butter in a medium mixing bowl until creamy. Add vanilla, the milk/coffee mixture, and powdered sugar, mixing on low until everything is well blended and delightful.
-
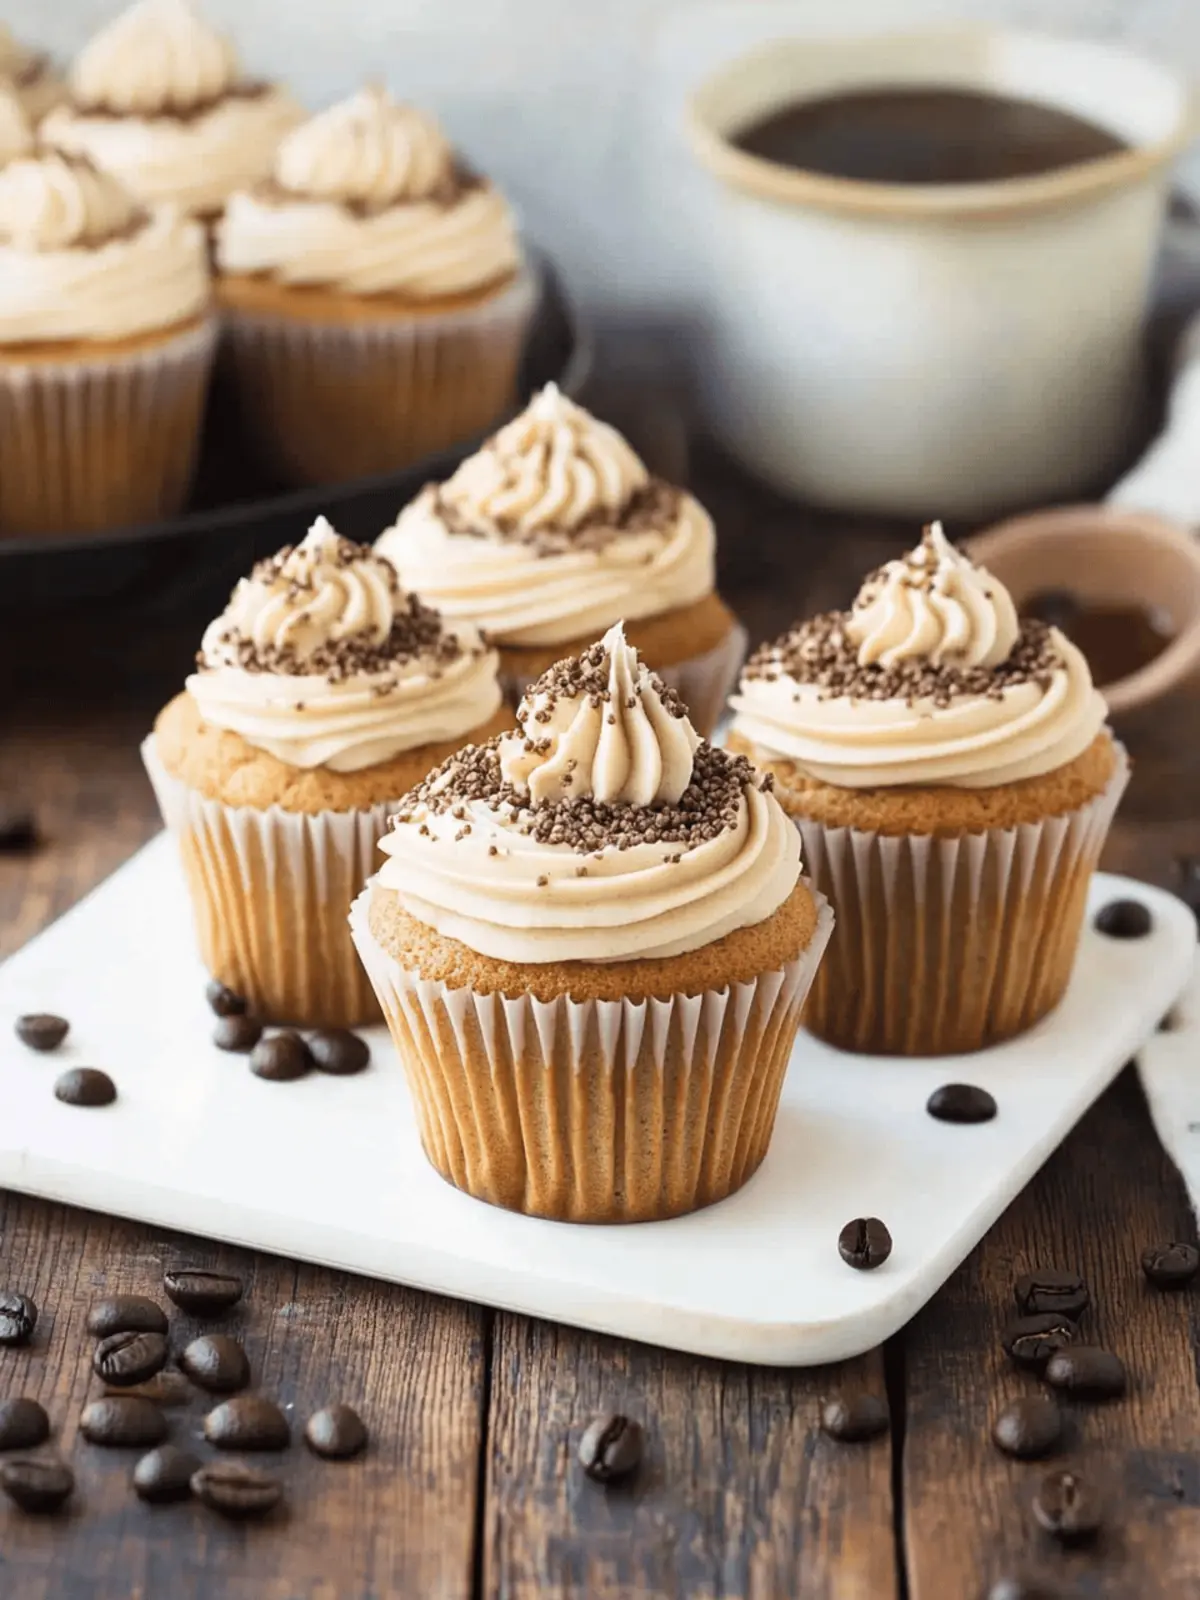
Frost your cooled cupcakes by piping or spreading the creamy mixture on top. Add sprinkles for a fun finish, if desired!
Optional: Garnish with chocolate shavings for an extra indulgent touch!
Exact quantities are listed in the recipe card below.
Expert Tips for Gluten-free Coffee Cupcakes
-
Choose Quality Coffee: Use high-quality instant coffee granules to enhance flavor. Avoid cheap brands, which can taste bitter in your cupcakes.
-
Don’t Overmix: When combining the dry ingredients, mix just until incorporated. Overmixing can lead to dense cupcakes instead of light and fluffy ones.
-
Cool Completely: Allow cupcakes to cool completely before frosting. This prevents the frosting from melting and ensures a beautifully finished treat.
-
Measure Accurately: Use proper measuring cups for dry and wet ingredients. Accurate measurements are crucial for gluten-free baking to achieve the right texture.
-
Experiment with Flavors: Feel free to add a hint of cinnamon or chocolate to your batter for a twist on these gluten-free coffee cupcakes!
How to Store and Freeze Gluten-free Coffee Cupcakes
Room Temperature: Store cooled cupcakes in an airtight container at room temperature for up to 2 days, ensuring they stay fresh and delicious.
Fridge: If you won’t finish them in time, keep cupcakes in the fridge for up to 5 days. Just remember to seal them well to avoid absorbing fridge odors.
Freezer: For longer storage, freeze the cupcakes (without frosting) in a single layer on a baking sheet, then transfer to airtight containers for up to 3 months.
Reheating: To enjoy frozen gluten-free coffee cupcakes, let them thaw in the fridge overnight and bring them to room temperature before frosting and serving.
Gluten-free Coffee Cupcakes Variations
Feel free to get creative with these delightful cupcakes, adjusting them to suit your taste and dietary needs!
-
Dairy-Free: Use almond, oat, or coconut milk and substitute butter with coconut oil or vegan butter for a dairy-free version.
-
Decaf Delight: For a milder treat, swap instant coffee granules for decaf to enjoy these cupcakes any time without the caffeine buzz.
-
Chocolate Twist: Add 1/2 cup of cocoa powder to the cupcake batter for a rich chocolate flavor that pairs beautifully with coffee.
-
Nutty Flavor: Stir in 1/2 cup of chopped walnuts or pecans to the batter for a delightful crunch and nutty aroma.
-
Fruity Surprise: Incorporate 1/2 cup of finely chopped cherries or raspberries into the batter for a refreshing fruity burst with your coffee.
-
Frosting Variations: Experiment with flavored extracts in your frosting, such as hazelnut or almond, to create a unique twist on the classic coffee frosting.
-
Spiced Up: Add a pinch of cinnamon or a dash of nutmeg to the cupcake batter for a warm, spiced flavor that complements the coffee nicely.
-
Gluten-Free Flour Mix: Try different gluten-free flour blends to find your favorite combination, ensuring a moist and delicious cupcake every time!
Make Ahead Options
These Gluten-free Coffee Cupcakes are perfect for meal prep, allowing you to enjoy the deliciousness without the last-minute rush! You can bake the cupcakes up to 3 days in advance; simply let them cool completely before storing them in an airtight container at room temperature to maintain their soft texture. The frosting can be prepared up to 24 hours ahead— just keep it in the fridge in a tightly sealed container. When you’re ready to serve, take the cupcakes and frosting out, let them come to room temperature, and then frost them for that fresh-baked feel. This way, you can savor these delightful treats any day of the week with minimal effort!
What to Serve with Gluten-free Coffee Cupcakes?
Creating the perfect experience around your baking is a delightful way to elevate any occasion. Pair these coffee-infused treats with some lovely complements for a complete indulgence!
-
Whipped Cream:
This light, airy topping adds a creamy layer that pairs beautifully with the richness of the cupcakes. -
Fresh Berries:
Raspberries or strawberries offer a refreshing contrast to the sweet coffee flavor, bringing a burst of freshness to each bite. -
Chocolate Drizzle:
A silky chocolate sauce adds a touch of decadence, enhancing the flavor profile with a sweet, indulgent experience. -
Espresso Martini:
For an adult twist, this coffee cocktail pairs wonderfully, highlighting the coffee flavor while providing a fun pick-me-up. -
Milk Steamer:
A warm, frothy milk drink softly complements the cupcakes, enhancing the cozy coffee experience and making for a heartwarming pairing. -
Ice Cream:
Vanilla or coffee-infused ice cream delivers a creamy chill, creating a satisfying contrast with the warm cupcakes. Each bite is sure to evoke sweet moments. -
Nutty Biscotti:
These crunchy cookies provide a lovely texture contrast and are perfect for dipping into your favorite coffee or tea while enjoying the cupcakes. -
Caramel Sauce:
Drizzling this sweet sauce allows for an enticing and gooey contrast, elevating your dessert experience while providing a taste of luxury.
Gluten-free Coffee Cupcakes Recipe FAQs
What type of coffee granules should I use for these cupcakes?
Absolutely! I recommend using high-quality instant coffee granules for the best flavor. Cheaper brands can sometimes taste bitter, which might affect the overall taste of your delightful gluten-free coffee cupcakes.
How should I store leftover cupcakes?
To keep your cupcakes fresh, store them in an airtight container at room temperature for up to 2 days. If you need them to last longer, refrigerate the cupcakes for up to 5 days. Just ensure they are sealed tightly to prevent them from absorbing any odors from the fridge.
Can I freeze gluten-free coffee cupcakes?
Of course! To freeze, start by placing the cooled cupcakes (without frosting) in a single layer on a baking sheet. Once frozen solid, transfer them to an airtight container or freezer bag, where they can last for up to 3 months. When you’re ready to enjoy, simply let them thaw in the fridge overnight, then bring them to room temperature and frost them!
What should I do if my cupcakes don’t rise properly?
If your cupcakes don’t rise, it could be due to expired baking powder or overmixing the batter, which can lead to denser cupcakes. For the best results, check the expiration date on your baking powder and mix the batter just until all the ingredients are combined to achieve that light and fluffy texture.
Are these cupcakes safe for those with nut allergies?
Yes, these gluten-free coffee cupcakes can be made without nuts! Just ensure that your gluten-free all-purpose flour blend does not contain any nut flours, making it safe for those with nut allergies. Additionally, always double-check ingredient labels to avoid cross-contamination.
Delicious Gluten-free Coffee Cupcakes to Energize Your Day
Ingredients
Equipment
Method
- Preheat your oven to 350°F and line a muffin tin with cupcake liners for easy removal and a decorative touch.
- Combine instant coffee granules with milk in a small bowl, stirring until dissolved.
- Beat together the softened butter and sugar in a large mixing bowl until creamy and light. Then, mix in the eggs, vanilla, and the milk/coffee mixture until fully combined.
- Mix the gluten-free flour, baking powder, and salt into the same bowl. Stir until your batter is smooth and free of lumps.
- Pour the batter into the cupcake liners, filling them about 3/4 full.
- Bake in the oven for 18-20 minutes until springy to the touch and a toothpick comes out clean.
- Cool the cupcakes completely on a cooling rack before frosting them.
- Stir together milk and instant coffee granules in a small bowl, combining until smooth.
- Beat softened butter in a medium mixing bowl until creamy. Add vanilla, the milk/coffee mixture, and powdered sugar, mixing on low until well blended.
- Frost your cooled cupcakes by piping or spreading the creamy mixture on top. Add sprinkles for a fun finish.

