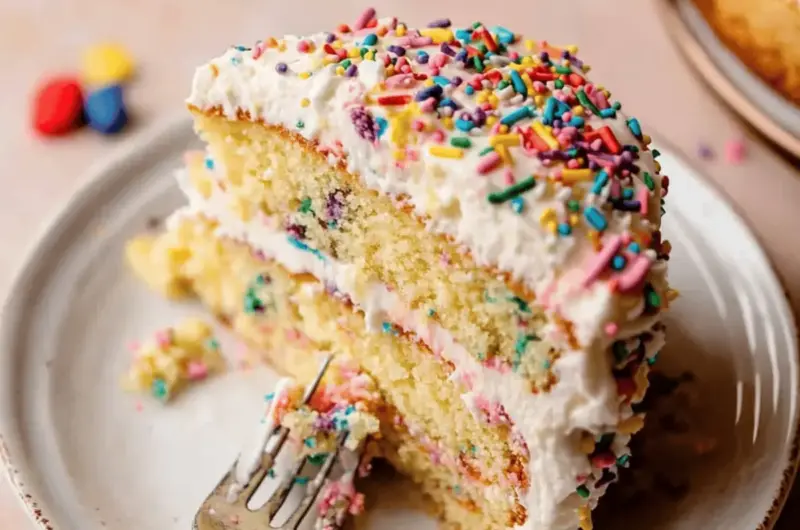
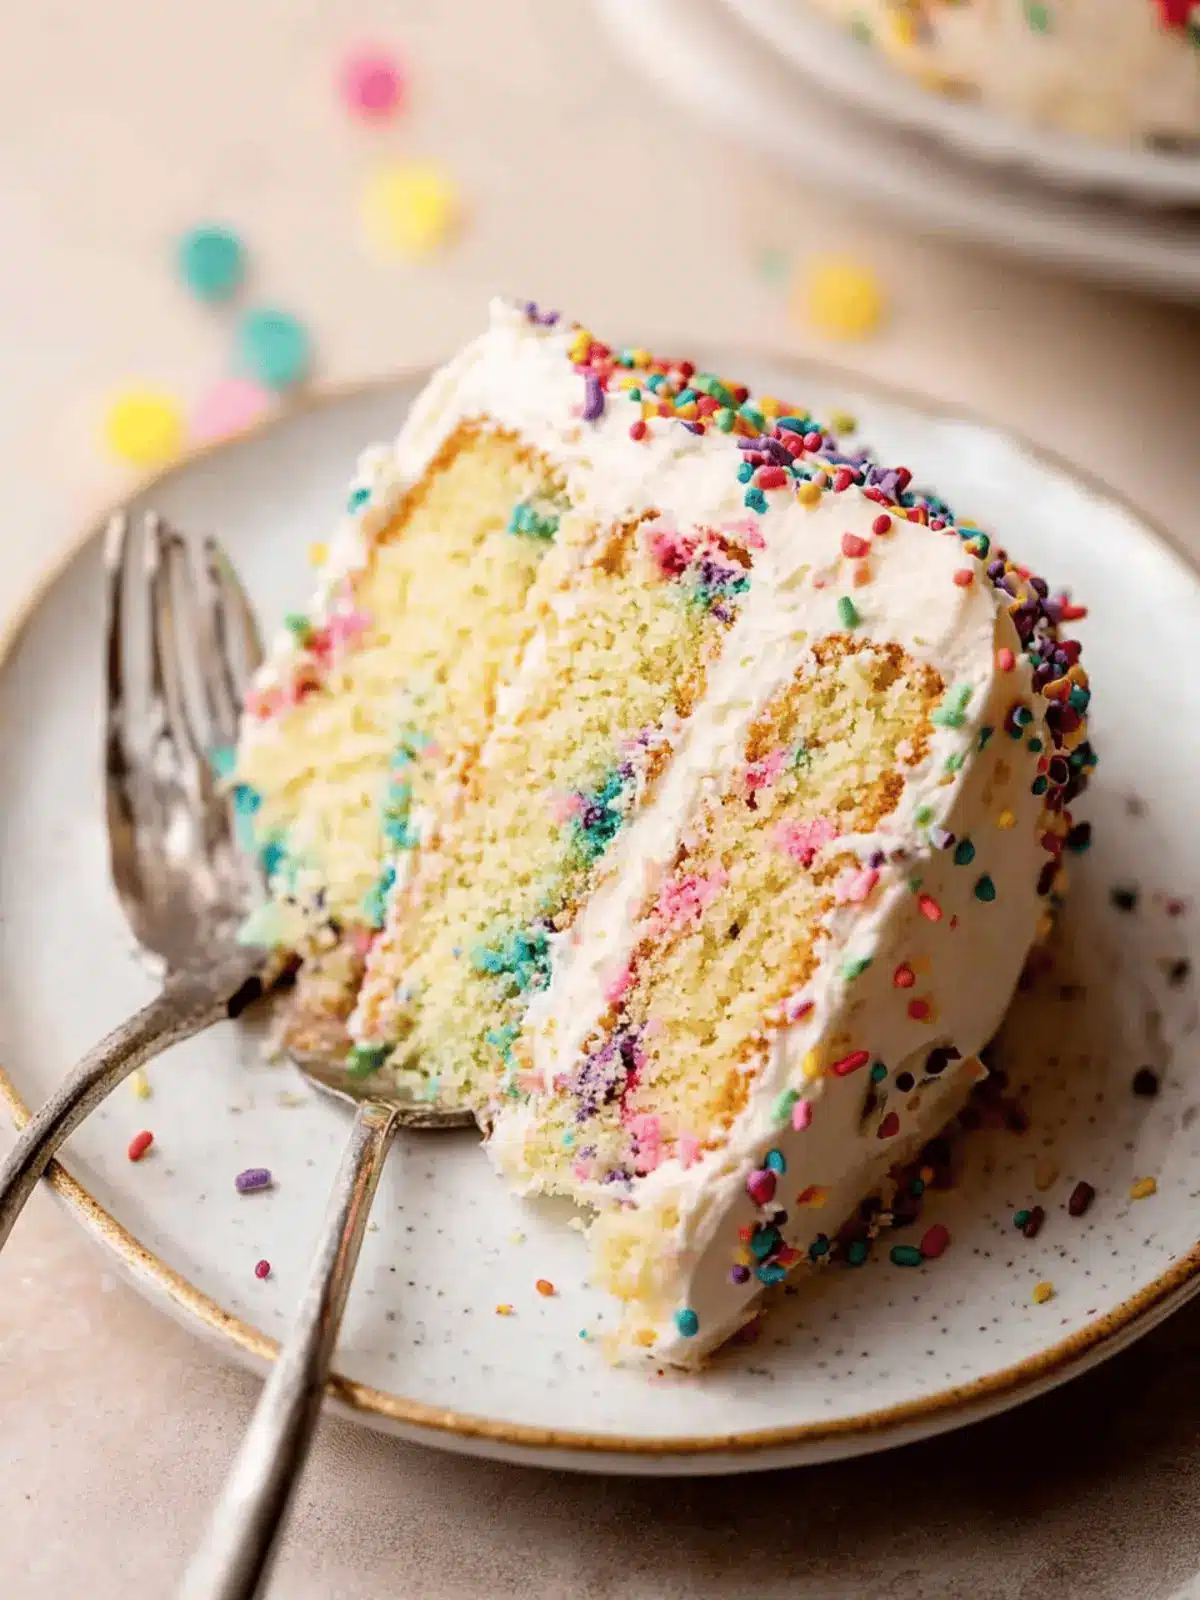
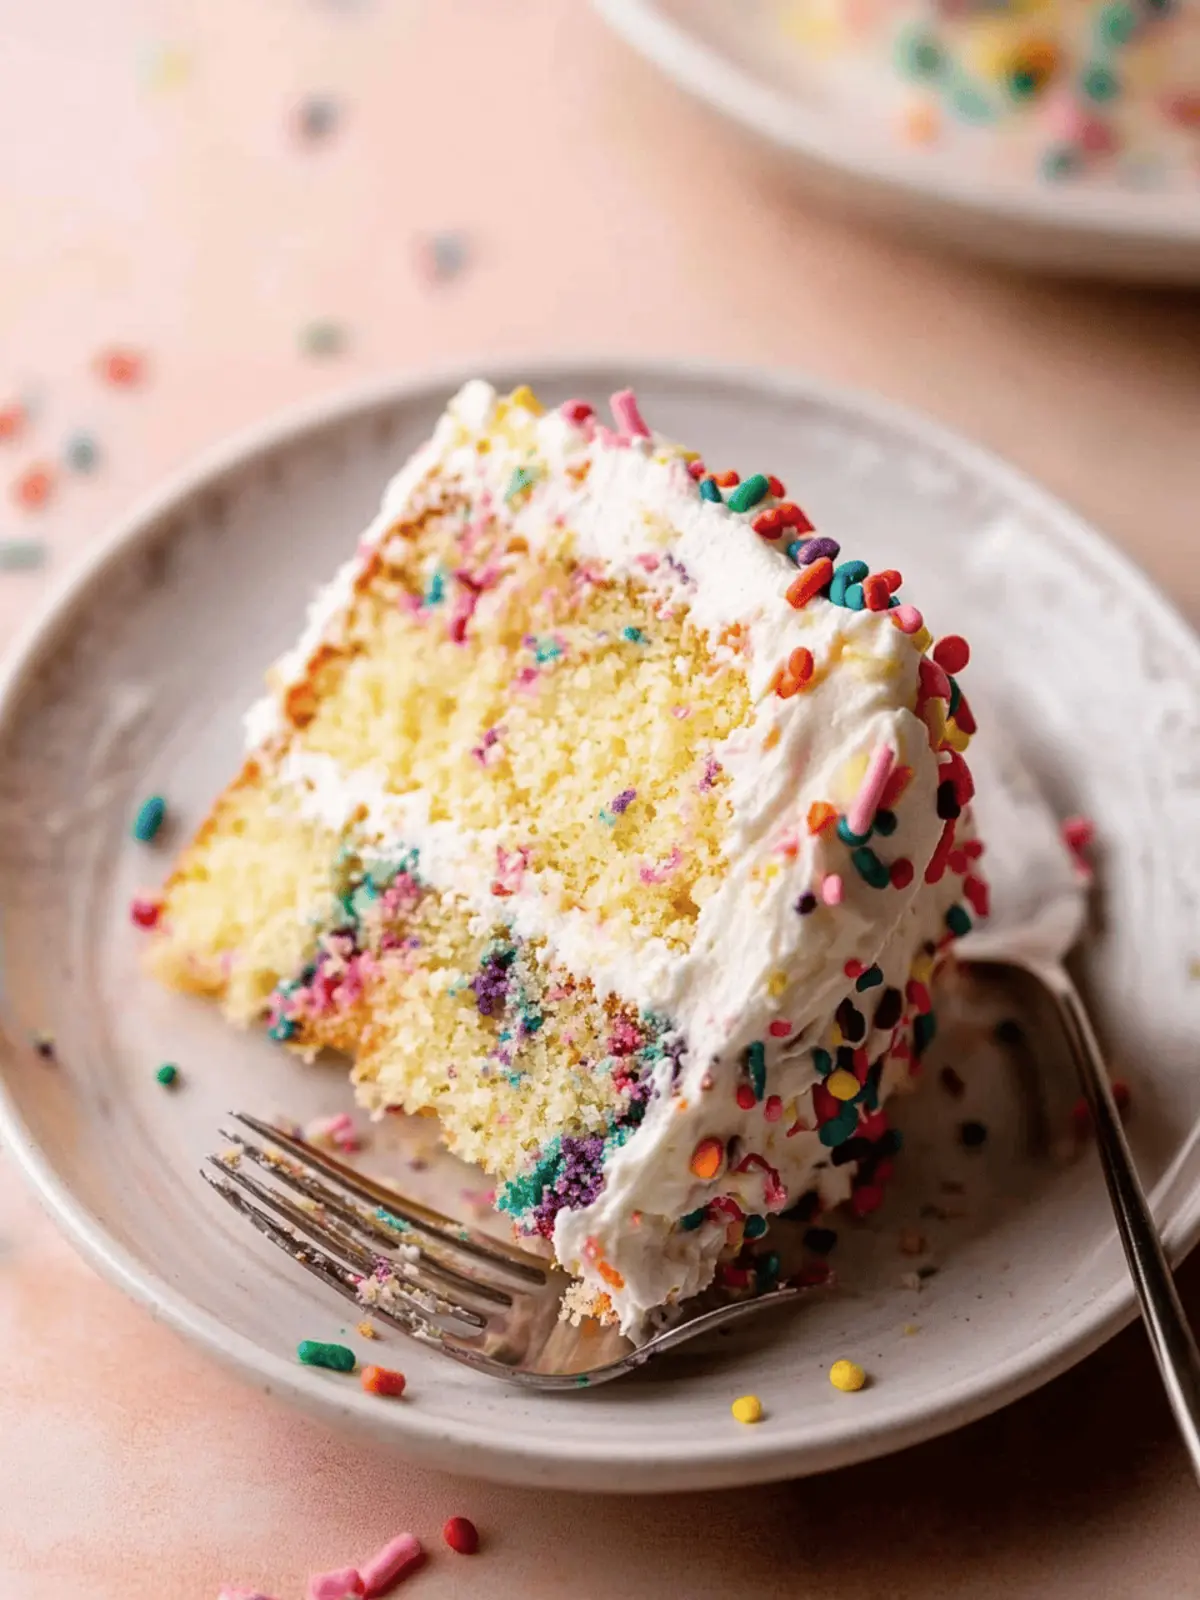
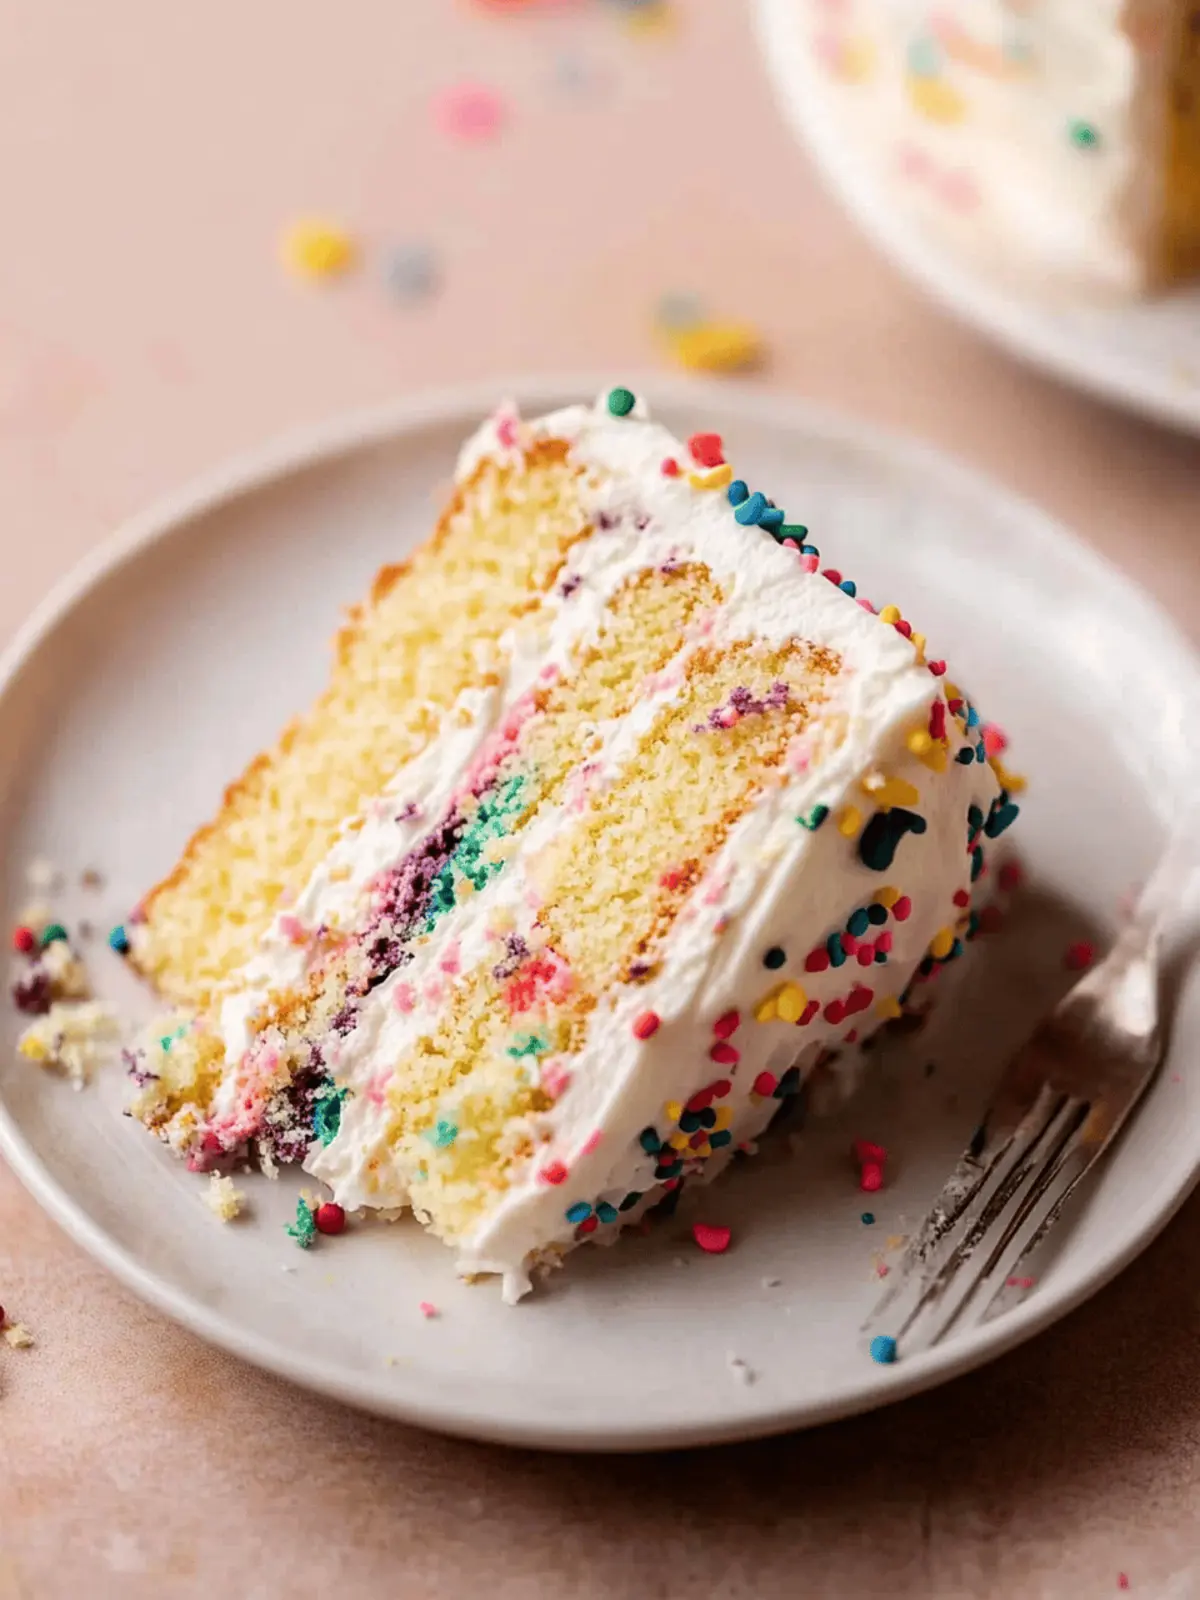
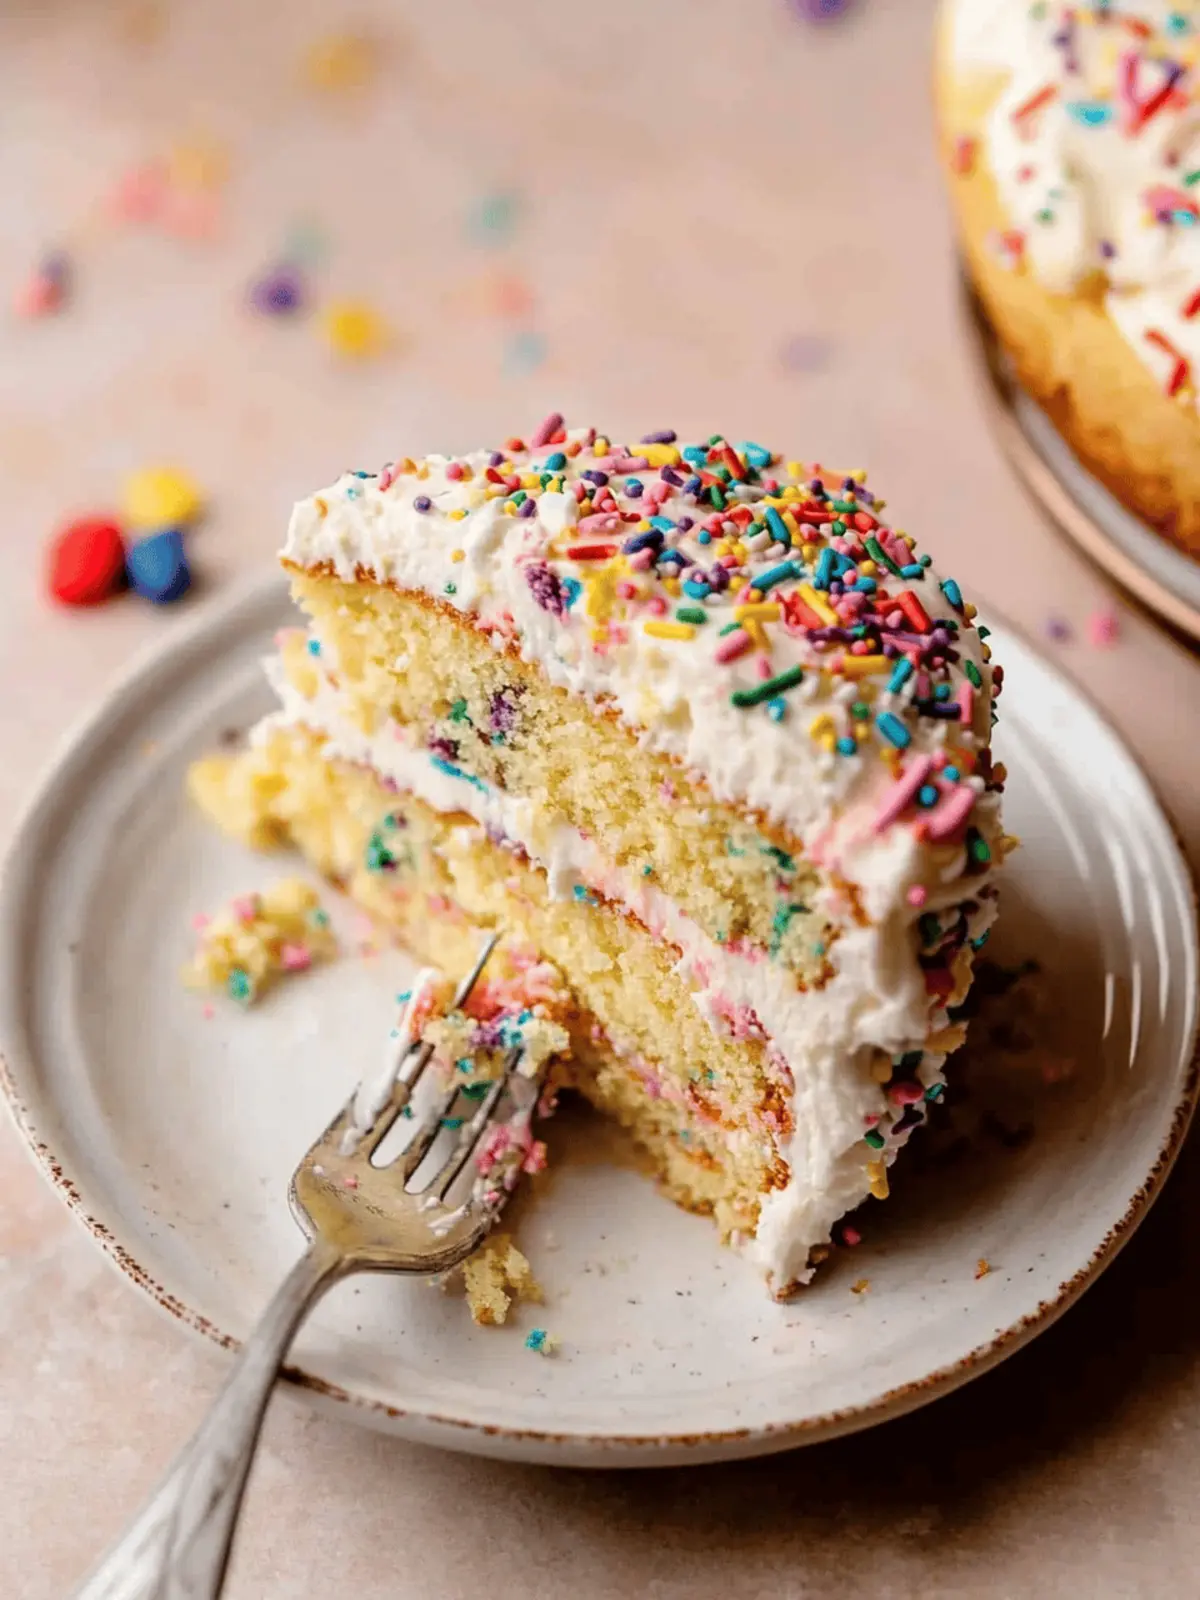
There’s a nostalgic charm that comes alive with every slice of a Funfetti Cake, evoking joyous memories of birthday parties and celebrations. As the vibrant rainbow sprinkles tumble from the cake, their colors dance in the light, promising joy before you even take a bite. This homemade Funfetti Cake is not just a treat; it’s an experience that transforms simple moments into cherished memories. When I decided to venture away from store-bought options, I never imagined how much richer and more flavorful a homemade version could be.
Forget those dry, boxed mixes! This cake is remarkably moist, boasting a buttery vanilla flavor that melts in your mouth. Topped with a heavenly vanilla buttercream frosting, it’s ideal for any celebration—or simply when you want to brighten your day. So, grab your mixing bowl and join me in creating a Funfetti Cake that’s better than the bakery, and let’s celebrate every sweet moment together!
Why is this Funfetti Cake That’s Better Than The Bakery?
Unparalleled Moisture: The unique blend of ingredients ensures a cake that’s irresistibly moist and buttery.
True Homemade Taste: This recipe harnesses the pure flavors of real vanilla for a richer experience.
Visual Delight: The vibrant rainbow sprinkles offer a pop of color and fun in every slice.
Easy to Make: With simple steps, anyone can master this cake without the fuss of complicated techniques.
Perfect for All Occasions: Whether it’s for birthdays or casual gatherings, this cake will impress every guest, making it a true crowd-pleaser.
-
Ingredients
• • Funfetti Cake That’s Better Than The Bakery Ingredients -
For the Cake
- Cake Flour – Provides a soft, tender crumb essential for a moist texture; substitutions not recommended.
- Granulated Sugar – Sweetness and structure; no direct substitution for best results.
- Baking Powder – Leavening agent to help the cake rise; ensure it’s fresh for effectiveness.
- Vanilla Powder – Enhances flavor depth; alternatively, use real vanilla extract for a more natural flavor.
- Sea Salt – Balances sweetness and enhances flavor.
- Unsalted Butter – Adds richness and moisture; use room temperature for easy mixing.
- Large Eggs – Provides structure and stability; use room temperature for even mixing.
- Whole Milk, Heavy Cream, and Sour Cream – Contributes creaminess and moisture; all should be at room temperature.
- Vegetable Oil – Adds moisture and tenderness; do not substitute with olive oil for flavor.
- Imitation Vanilla – Gives a nostalgic cake flavor; optional if preferring natural vanilla.
- Rainbow Jimmies Sprinkles – Provides color and fun; ensure they are added at the end to keep them intact in the batter.
- For the Frosting
- Salted and Unsalted Butter – Creates a creamy base for the buttercream; using a mix enhances flavor.
- Powdered Sugar – Sweetens the frosting texture; do not reduce to maintain frosting consistency.
- Heavy Cream and Pure Vanilla Bean Paste – Adds creaminess and authentic flavor to the frosting.
How to Make Funfetti Cake That’s Better Than The Bakery
-
Preheat: Begin by preheating your oven to 325°F (160°C). Prepare three 8-inch cake pans by greasing, flouring, and lining them with parchment paper to ensure easy cake release.
-
Mix Dry Ingredients: In a stand mixer, combine the cake flour, granulated sugar, baking powder, vanilla powder, and sea salt. Blend in the unsalted butter until the mixture resembles a fine, sandy texture.
-
Combine Wet Ingredients: In a separate bowl, whisk together large eggs, whole milk, heavy cream, sour cream, vegetable oil, and imitation vanilla. Gradually combine this mixture with half of the dry mixture until it’s moistened, then add the remaining dry mix and gently fold in the rainbow jimmies until just incorporated.
-
Bake the Batter: Distribute the batter evenly among your prepared pans. Bake in the preheated oven for 25-30 minutes or until the edges are golden brown and a toothpick inserted into the center comes out with moist crumbs.
-
Cool Down: Allow the cakes to cool in the pans for 20-30 minutes before transferring them to wire racks to cool completely. This step is vital to prevent crumbly layers.
-
Make the Frosting: In the meantime, whip the softened butter for the frosting until it’s light and fluffy. Gradually sift in the powdered sugar, mixing well, and then add heavy cream and vanilla bean paste until the frosting reaches a smooth, spreadable consistency.
-
Assemble the Cake: Once the cake layers are completely cool, spread frosting between each layer and stack them. Chill the assembled cake in the refrigerator for 20-30 minutes before frosting the top and sides. Decorate with extra sprinkles for a fun touch!
Optional: Add a scoop of vanilla ice cream alongside for an extra indulgent treat!
Exact quantities are listed in the recipe card below.
What to Serve with Funfetti Cake That’s Better Than The Bakery?
Indulging in a slice of this vibrant Funfetti Cake is a delightful experience, but pairing it with the right accompaniments can elevate your dessert moments even further.
-
Vanilla Ice Cream: The creamy richness of vanilla ice cream perfectly contrasts the cake’s sweet, buttery flavor, providing a nostalgic touch to every bite. It’s a classic combination that never fails to impress.
-
Whipped Cream: Light and airy, whipped cream adds a fluffy texture that enhances the funfetti’s moistness. Consider adding a sprinkle of actual jimmies on top for an extra pop of color!
-
Fresh Berries: Juicy strawberries, blueberries, or raspberries bring a refreshing tartness that complements the cake’s sweetness. Their vibrant hues also create an eye-catching presentation on your dessert table.
-
Chocolate Ganache: Drizzling warm, silky chocolate ganache over slices of Funfetti Cake adds a rich, decadent layer. The bitterness of chocolate balances beautifully with the sweet vanilla frosting.
-
Sparkling Lemonade: A fizzy, zesty drink like sparkling lemonade offers a bright contrast that cuts through the cake’s richness, making your dessert experience feel festive and fun.
-
Fruit Salad: A medley of seasonal fruits brings a fresh, juicy element to the table. Consider a mix of vibrant fruits to not only taste great but present a colorful feast for the eyes.
-
Mocha Coffee: For an adult touch, serve with a cup of rich, aromatic mocha coffee. The bitter notes of coffee balance the sugary delight of the cake, making for a satisfying pairing.
-
Chocolate-Covered Pretzels: The salty crunch of chocolate-covered pretzels offers a delightful texture contrast while their sweetness harmonizes perfectly with the cake’s flavor profile.
Make Ahead Options
Making the Funfetti Cake That’s Better Than The Bakery in advance is a superb strategy for busy home cooks looking to save time without compromising on quality! You can prepare the cake layers up to 3 days ahead by baking them, allowing them to cool completely, and then wrapping them tightly in plastic wrap before refrigerating. This not only keeps them fresh but also allows the flavors to deepen. For the frosting, you can also make it up to 24 hours in advance; just store it in an airtight container in the fridge. When you’re ready to serve, let the cake layers come to room temperature, frost, and decorate with sprinkles, resulting in a delightful treat that’s just as tasty!
Expert Tips for Funfetti Cake
-
Accurate Measurements: Measure dry ingredients using the spoon-level method to ensure accuracy; this prevents miscalculations that could ruin your Funfetti Cake.
-
Use Cake Flour: Stick to store-bought cake flour for the best texture; homemade flour blends may lead to dryness and a denser cake.
-
Room Temperature Ingredients: Ensure all dairy and eggs are at room temperature to allow for even mixing and a fluffy texture in your Funfetti Cake.
-
Imitation vs. Real Vanilla: Use imitation vanilla in the batter for that nostalgic boxed cake flavor, and switch to real vanilla in the frosting for a gourmet finish.
-
Add Sprinkles Last: Fold in rainbow jimmies at the very end of mixing to keep them intact throughout the batter, preserving the fun, colorful bursts in your cake.
How to Store and Freeze Funfetti Cake
Room Temperature: Keep the cake covered at room temperature for up to 2 days. This keeps it moist without drying out.
Fridge: For longer freshness, store leftover slices in an airtight container in the fridge for up to 5 days. Be sure to separate layers with parchment to avoid sticking.
Freezer: Wrap individual slices in plastic wrap and then place them in a freezer-safe bag. Your Funfetti Cake can be frozen for up to 1 month, ready for easy future enjoyment.
Reheating: When ready to eat, allow to thaw in the fridge overnight. Warm in the microwave for a few seconds if you’d like a fresh-from-the-oven taste!
Funfetti Cake Variations
Looking to shake things up? Customize your Funfetti Cake with these delicious twists that will take your baking adventure to new heights!
-
Pure Vanilla: Swap imitation vanilla with real vanilla extract for an authentic flavor that elevates every bite.
-
Chocolate Sprinkles: Switch rainbow sprinkles for chocolate ones to offer a rich, delightful contrast to the cake’s buttery charm.
-
Fruity Filling: Add a layer of strawberry or raspberry jam between cake layers for a fruity surprise that bursts with flavor.
-
Nutty Crunch: Fold in crushed pecans or walnuts into the batter for added texture and a delightful nutty flavor.
-
Coconut Dream: Incorporate shredded coconut in the batter for a tropical twist that complements the sweetness of the cake beautifully.
-
Lemon Zing: Mix in some fresh lemon zest to the batter for a zesty brightness that balances the cake’s sweetness.
-
Spicy Kick: Add a pinch of cinnamon or even cayenne pepper for a warm, spicy note that dances on the palate.
-
Almond Joy: Swap some of the butter for almond extract to impart a delightful nutty aroma and taste that’s simply enchanting.
Funfetti Cake That’s Better Than The Bakery Recipe FAQs
What type of cake flour should I use for the best results?
I highly recommend using store-bought cake flour; it’s specifically blended to create the soft, tender crumb that makes your Funfetti Cake so irresistibly moist. Avoid substitutions, as they can lead to a denser and drier texture.
How should I store leftover Funfetti Cake?
For the best preservation, keep leftover slices in an airtight container in the fridge for up to 5 days. Be sure to separate the layers with parchment paper to prevent sticking. Alternatively, you can store it at room temperature for up to 2 days if it’s covered!
Can I freeze Funfetti Cake?
Absolutely! Wrap individual slices tightly in plastic wrap, and then place them in a freezer-safe bag. Your cake can be frozen for up to 1 month. When you’re ready to indulge, simply thaw in the fridge overnight and warm briefly in the microwave if you desire that fresh-baked taste.
What if my cake layers sink in the middle?
If your cake layers sink, it’s often due to underbaking or using too much leavening agent. To ensure perfect baking, always check the cake’s center with a toothpick; it should come out with a few moist crumbs. If in doubt, bake for an additional 5 minutes before taking it out of the oven.
Are there any allergy considerations for this Funfetti Cake?
This recipe contains common allergens, including eggs, dairy, and gluten. If you need to accommodate gluten-free eaters, consider using a gluten-free cake flour blend. Additionally, for a dairy-free version, substitute dairy with plant-based alternatives like almond milk or coconut cream. Always check ingredient labels to ensure safety for those with allergies.
Can I adjust the sweetness of the frosting?
Certainly! If you find the frosting too sweet, you can gradually reduce the powdered sugar to your preferred level of sweetness. Just keep in mind that reducing the sugar too much may affect the frosting’s consistency, so add it in small increments while mixing.
Homemade Funfetti Cake That’s Better Than The Bakery
Ingredients
Equipment
Method
- Preheat your oven to 325°F (160°C). Prepare three 8-inch cake pans by greasing, flouring, and lining them with parchment paper.
- In a stand mixer, combine the cake flour, granulated sugar, baking powder, vanilla powder, and sea salt. Blend in the unsalted butter until the mixture resembles a fine, sandy texture.
- In a separate bowl, whisk together large eggs, whole milk, heavy cream, sour cream, vegetable oil, and imitation vanilla. Gradually combine this mixture with half of the dry mixture until it's moistened.
- Add the remaining dry mix and gently fold in the rainbow jimmies until just incorporated.
- Distribute the batter evenly among your prepared pans. Bake in the preheated oven for 25-30 minutes or until the edges are golden brown and a toothpick comes out with moist crumbs.
- Allow the cakes to cool in the pans for 20-30 minutes before transferring them to wire racks to cool completely.
- In the meantime, whip the softened butter for the frosting until it’s light and fluffy. Gradually sift in the powdered sugar, mixing well, and then add heavy cream and vanilla bean paste until the frosting reaches a smooth consistency.
- Once the cake layers are completely cool, spread frosting between each layer and stack them, then chill the assembled cake in the refrigerator for 20-30 minutes before frosting the top and sides.
- Decorate with extra sprinkles for a fun touch!

