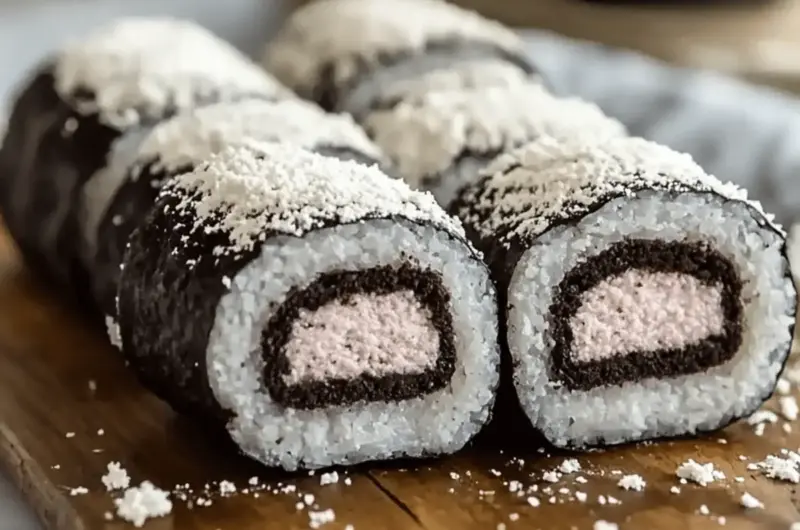
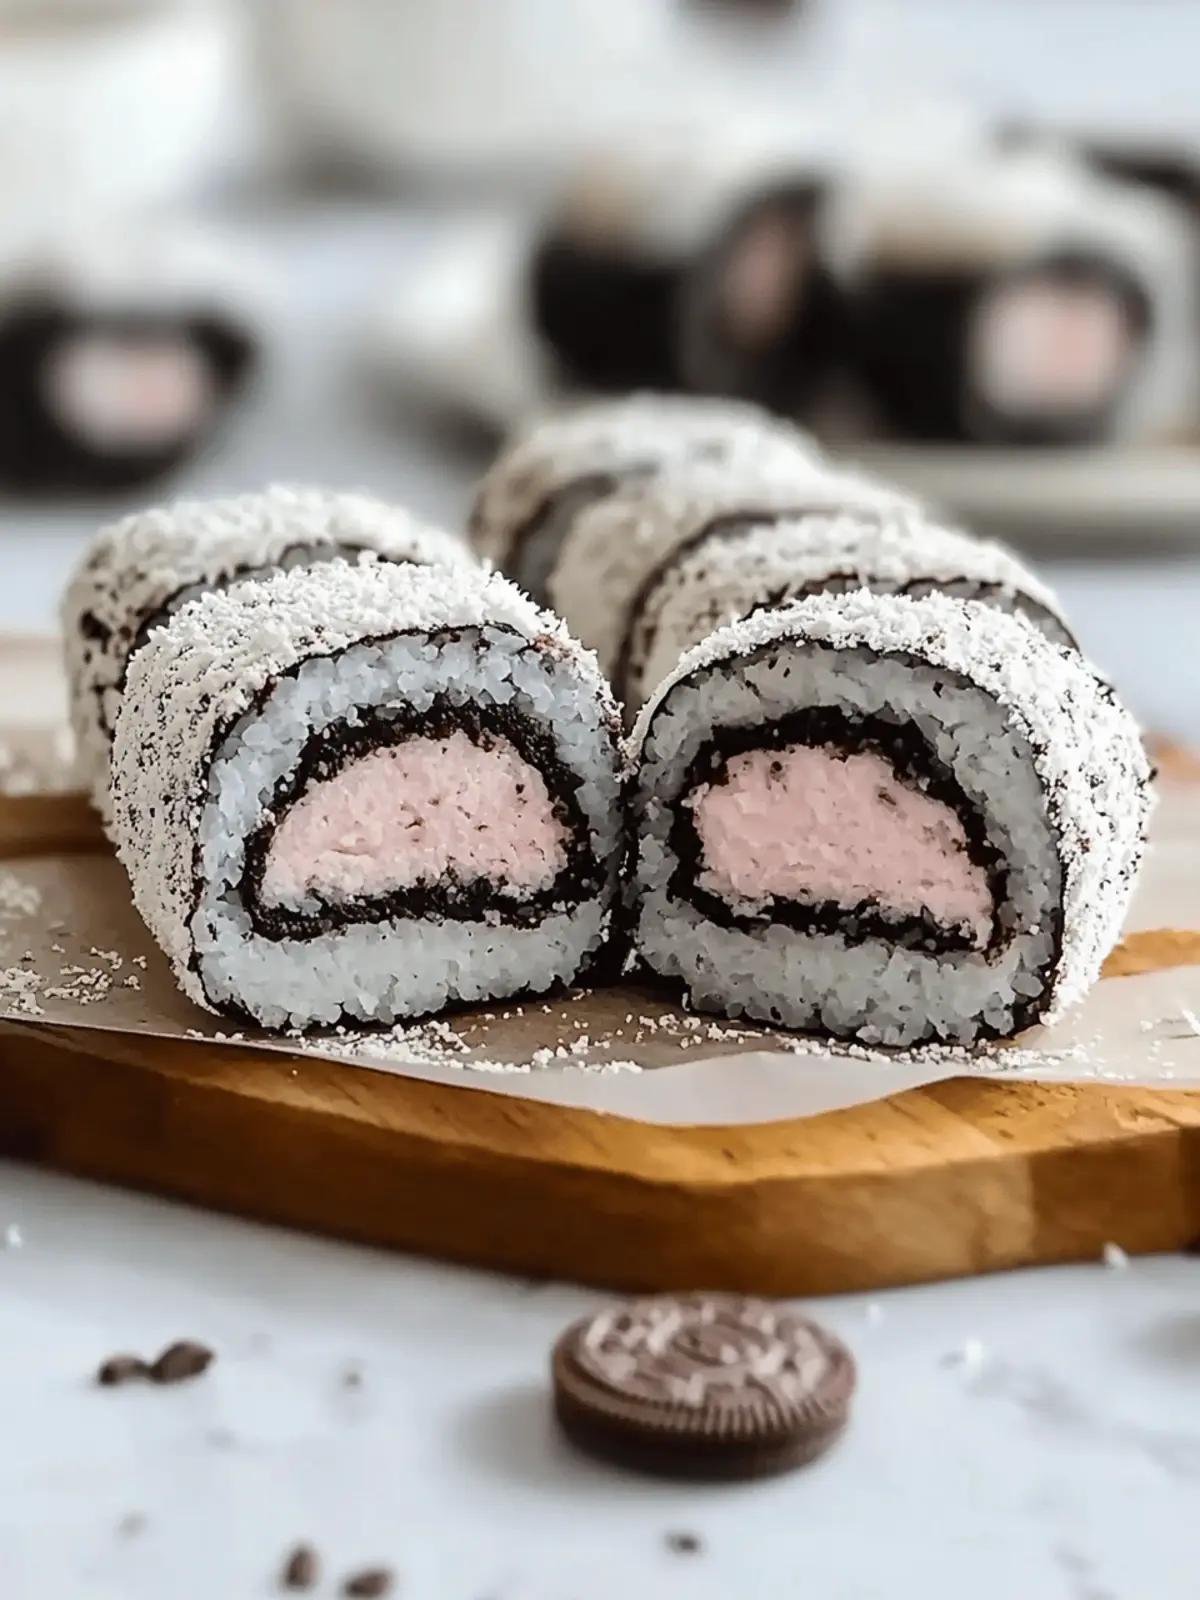
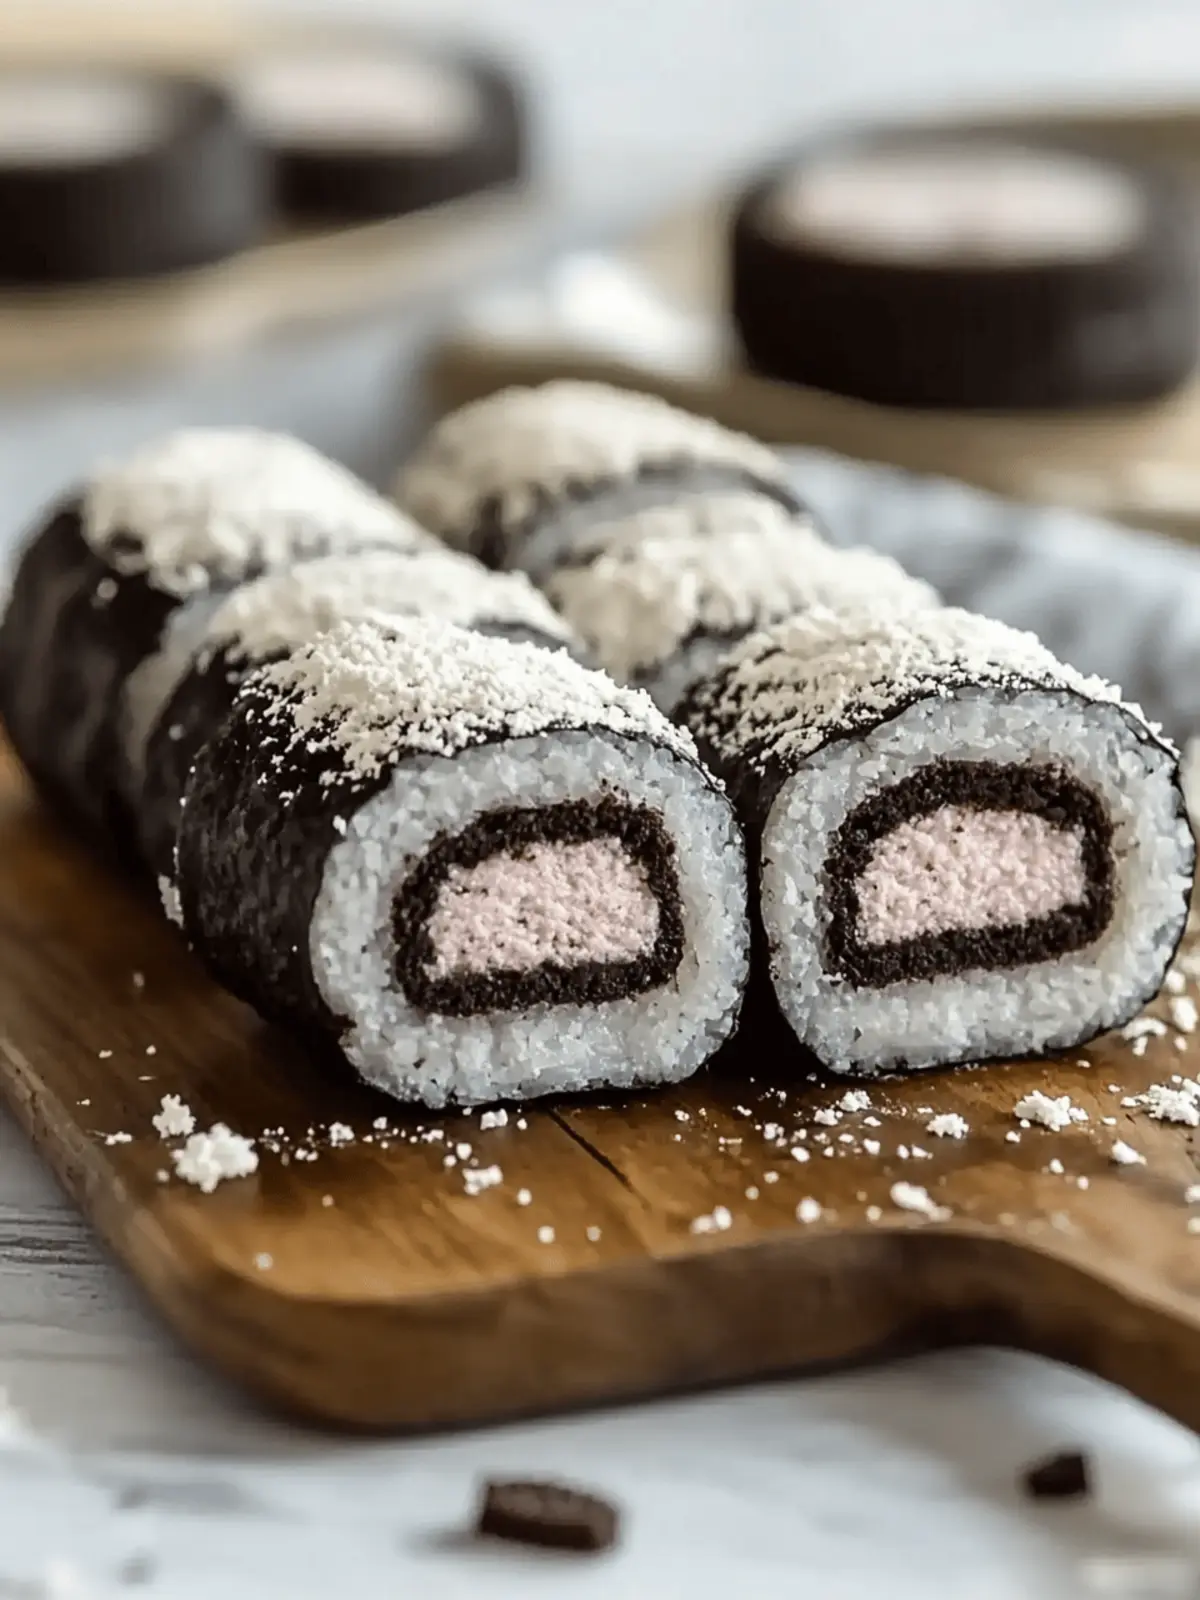
When a friend of mine shared a picture of a vibrant dessert resembling sushi, I was intrigued—could dessert really come in a roll? It turns out, yes! Enter the world of Fun and Easy Oreo Sushi Rolls, where the classic Oreo cookie gets a playful twist that’s bound to impress both kids and adults alike. With just two simple ingredients—Oreos and milk—this no-bake treat serves up a delightful combo of crunchy cookie crumbs and creamy filling, all wrapped up like sushi.
Perfect for parties, family gatherings, or even a cozy movie night at home, making Oreo Sushi is a kid-friendly activity that will have everyone clamoring for seconds. Plus, you can customize it to your heart’s content, adding fresh fruit or drizzling it with chocolate for that extra touch of indulgence. Let’s dive into this fun dessert adventure and learn how to roll your way to a sweet masterpiece!
Why will you love Fun and Easy Oreo Sushi Rolls?
Simplicity at its Best: This recipe is incredibly easy to follow, requiring just two ingredients and minimal prep time.
Kid-Friendly Fun: Involve your little ones in the kitchen! Rolling and assembling the sushi is an engaging activity that will delight kids of all ages.
Customizable Delight: Get creative! Whether you want to mix in fruit or experiment with different Oreo flavors, the possibilities are endless.
Indulgent Yet Light: With the perfect balance of crunchy and creamy, each bite of these rolls is a delightful treat that feels special without being overly heavy.
Perfect for Any Occasion: From birthday parties to family movie nights, these sushi rolls are sure to impress and please any crowd, making you the star of the show!
Be sure to serve them with fun toppings for even more wow factor!
Fun and Easy Oreo Sushi Rolls Ingredients
For the Sushi Rolls
- Oreo Cookies – The star of the show! Feel free to try different flavors for a unique twist, like peanut butter or mint.
- Milk (Any Variety) – Helps bind the crushed cookies into a dough-like paste; use dairy or non-dairy options based on your preference.
Optional Customizations
- Fresh Fruit – Add sliced strawberries, bananas, or kiwi for a refreshing touch.
- Toppings – Elevate your rolls by dipping them in melted chocolate or drizzling with caramel; nut sprinkles or coconut flakes add a fun crunch.
- Chocolate Sauce – A delightful dipping sauce that pairs perfectly with the sweetness of the Oreo Sushi.
Each bite of these Fun and Easy Oreo Sushi Rolls promises a playful blend of flavors, inviting everyone to dive into a sweet, sushi-style adventure!
How to Make Fun and Easy Oreo Sushi Rolls
-
Separate Oreos: Gently twist the Oreo cookies to remove the cream filling and place it in a bowl. Store the cookie halves in a zip-top bag for the next step.
-
Crush Cookies: Seal the bag tightly, making sure to remove excess air. Use a rolling pin to crush the cookies into fine crumbs, enjoying the satisfying crunch as you go.
-
Mix Dough: Pour the crushed cookie crumbs into a bowl and gradually add milk, stirring until you achieve a thick, dough-like consistency that holds together well.
-
Assemble Roll: Lay out a sheet of plastic wrap on a flat surface. Spread the cookie paste evenly over the wrap, then layer the cream filling from the Oreos on top for that delicious, creamy center.
-
Roll and Slice: Carefully use the plastic wrap to roll the mixture tightly into a log shape. Once you have a secure roll, slice it into bite-sized pieces that resemble sushi.
-
Serve: Arrange the rolls on a playful plate and enjoy them as is or with dipping sauces like chocolate sauce for an indulgent twist!
Optional: Serve with a sprinkle of coconut flakes for a delightful finishing touch.
Exact quantities are listed in the recipe card below.
Expert Tips for Fun and Easy Oreo Sushi Rolls
-
Achieve the Right Consistency: Ensure your cookie paste is thick enough; add milk slowly until it holds together well and resists falling apart.
-
Roll Tight: Roll the mixture tightly with the plastic wrap to avoid gaps, securing an even shape for slicing.
-
Use a Hot Knife: For cleaner, neater slices, dip your knife in hot water before cutting, wiping it clean between each slice.
-
Experiment Freely: Don’t hesitate to customize your Fun and Easy Oreo Sushi Rolls with different Oreo flavors or toppings to make them uniquely yours.
-
Storage Solutions: Keep any leftovers in an airtight container at room temperature for up to two days or refrigerate for a firmer texture.
What to Serve with Fun and Easy Oreo Sushi Rolls?
These delightful sushi rolls are fun and perfect for any gathering or movie night!
-
Whipped Cream: A light, fluffy topping enhances the sweetness of the sushi rolls and adds a refreshing creaminess.
-
Fresh Berries: Strawberries, raspberries, or blueberries bring a burst of natural sweetness, brightening each bite while adding color and freshness.
-
Chocolate Sauce: A rich, gooey drizzle pairs beautifully with the Oreo flavor, making each roll even more indulgent.
-
Coconut Flakes: Sprinkle some sweetened coconut on top for an exotic touch, adding texture and a lovely tropical flavor contrast.
-
Fruit Smoothies: A refreshing smoothie made with bananas and strawberries complements the sweetness of the dessert and provides a nutritious balance.
-
Ice Cream: Pair your Oreo Sushi with a scoop of vanilla or chocolate ice cream for a creamy contrast that makes each bite decadent and delicious.
Feel free to mix and match these delightful options, creating a meal that’s sure to impress!
Fun and Easy Oreo Sushi Rolls Variations
Let your creativity shine by customizing these delightful rolls! Each unique twist adds charm and flavor to your dessert experience.
-
Different Oreo Flavors: Swap traditional Oreos for specialty flavors like mint or lemon for a tasty surprise. Each bite will transport you into a new taste adventure.
-
Fresh Fruit Addition: Layer slices of strawberries, bananas, or peaches along with the cream filling for a refreshing twist. The bright fruit will provide a scrumptious balance to the rich creaminess.
-
Nutty Crunch: Add chopped nuts such as almonds or pecans into the cookie mixture for extra texture and flavor. A nutty element not only enhances the taste but adds a delightful crunch to each bite.
-
Choco-Dipped Delight: After slicing, dip the rolls in melted chocolate and let it set. This indulgent upgrade adds a silky smooth layer that enhances the cookie goodness.
-
Coconut Flakes: Roll the finished sushi logs in shredded coconut before slicing for a tropical vibe. The coconut will introduce a sweet chew to the already delightful texture.
-
Frozen Treats: Freeze the rolls for a cool, refreshing dessert on hot days. Just slice and serve them straight from the freezer for a delightful summer treat.
-
Drizzles & Sauces: Experiment with drizzling caramel, chocolate, or berry sauce over the finished pieces for an eye-catching presentation. These drizzles will playfully enhance the sweetness and flavor profile.
-
Spicy Kick: Add a dash of cinnamon or chili powder to the cookie crumbs for a subtle heat that complements the sweetness. Embrace bold flavors for an unexpected twist that tickles your taste buds.
How to Store and Freeze Fun and Easy Oreo Sushi Rolls
Room Temperature: Store leftover rolls in an airtight container at room temperature for up to 2 days to maintain freshness.
Fridge: For a firmer texture, refrigerate the sushi rolls, which will keep them delicious for up to 3 days.
Freezer: If you want to extend their shelf life, freeze the rolls wrapped tightly in plastic wrap for up to 1 month; they make for a cool treat on warm days.
Reheating: Thaw frozen rolls in the fridge overnight before serving. They’re best enjoyed cold, but you can drizzle with warm chocolate sauce for a touch of indulgence.
Make Ahead Options
These Fun and Easy Oreo Sushi Rolls are perfect for busy home cooks looking to streamline their meal prep! You can prepare the cookie mixture and roll it up up to 24 hours in advance, ensuring you save time when it’s time to serve. Simply complete steps 1-5, then wrap your log tightly in plastic wrap and refrigerate to maintain its freshness and prevent it from drying out. When you’re ready to enjoy, just slice the rolls into bite-sized pieces and serve with your favorite dipping sauce. This make-ahead approach guarantees that your Oreo Sushi will be just as delicious and visually appealing, making it a go-to sweet treat for any occasion!
Fun and Easy Oreo Sushi Rolls Recipe FAQs
What type of Oreos should I use for Oreo Sushi?
Absolutely! You can use any flavor of Oreos that you prefer. Classic, peanut butter, or mint Oreos all work beautifully—just think of the unique taste combinations you can create! Mix and match to find your favorite combination.
How should I store leftover Oreo Sushi Rolls?
You can store any leftover rolls in an airtight container at room temperature for 2 days. If you’d like a firmer texture, place them in the fridge, where they will stay fresh for up to 3 days. Just make sure they’re well wrapped to avoid drying out!
Can I freeze Oreo Sushi Rolls for later?
Yes! To freeze, wrap the Fun and Easy Oreo Sushi Rolls tightly in plastic wrap or place them in a freezer-safe bag; they’ll last up to 1 month. For the best experience, thaw them overnight in the refrigerator before serving to retain that delicious flavor and texture.
What should I do if my cookie paste is too crumbly?
If your mixture is too crumbly to hold together, try adding a little more milk, one tablespoon at a time. Mix well after each addition until you reach a thick, dough-like consistency that can be easily rolled. Pay attention to ensure it’s not too wet either, as balance is key!
Are these Oreo Sushi Rolls safe for kids with allergies?
Be cautious with allergies; the recipe contains Oreos, which may not be suitable for those with gluten or dairy sensitivities. If you’re accommodating special diets, consider using gluten-free Oreos and a dairy-free milk alternative to ensure everyone can enjoy this fun treat!
Fun and Easy Oreo Sushi Rolls That Kids Will Love
Ingredients
Equipment
Method
- Separate Oreos: Gently twist the Oreo cookies to remove the cream filling and place it in a bowl. Store the cookie halves in a zip-top bag for the next step.
- Crush Cookies: Seal the bag tightly, making sure to remove excess air. Use a rolling pin to crush the cookies into fine crumbs.
- Mix Dough: Pour the crushed cookie crumbs into a bowl and gradually add milk, stirring until you achieve a thick, dough-like consistency.
- Assemble Roll: Lay out a sheet of plastic wrap on a flat surface. Spread the cookie paste evenly over the wrap and layer the cream filling on top.
- Roll and Slice: Carefully use the plastic wrap to roll the mixture tightly into a log shape and slice it into bite-sized pieces.
- Serve: Arrange the rolls on a plate and enjoy them with dipping sauces or toppings.

