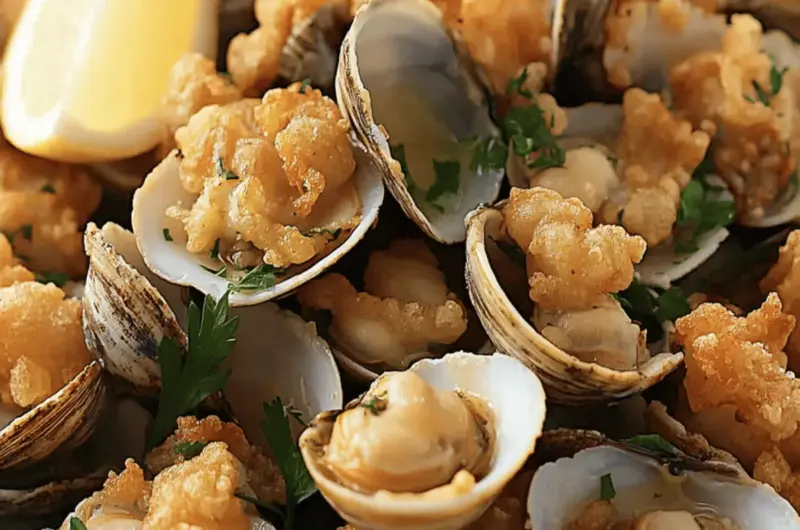
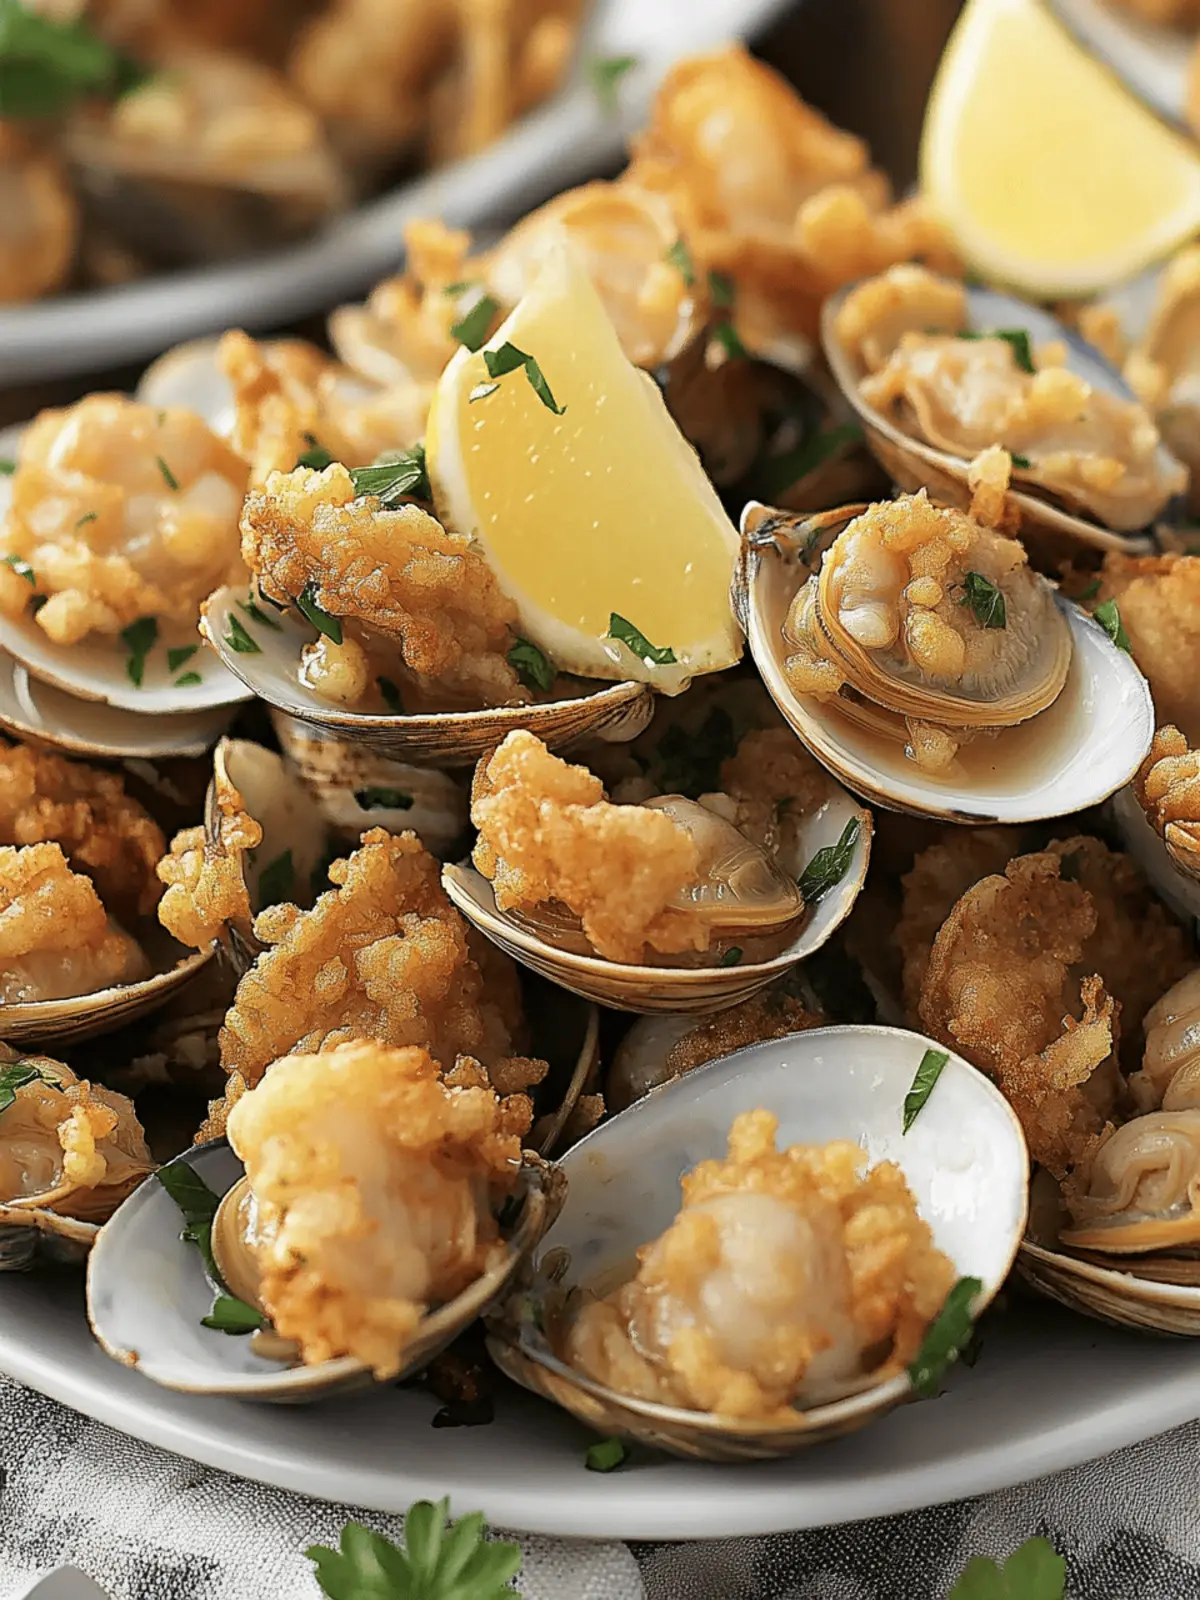
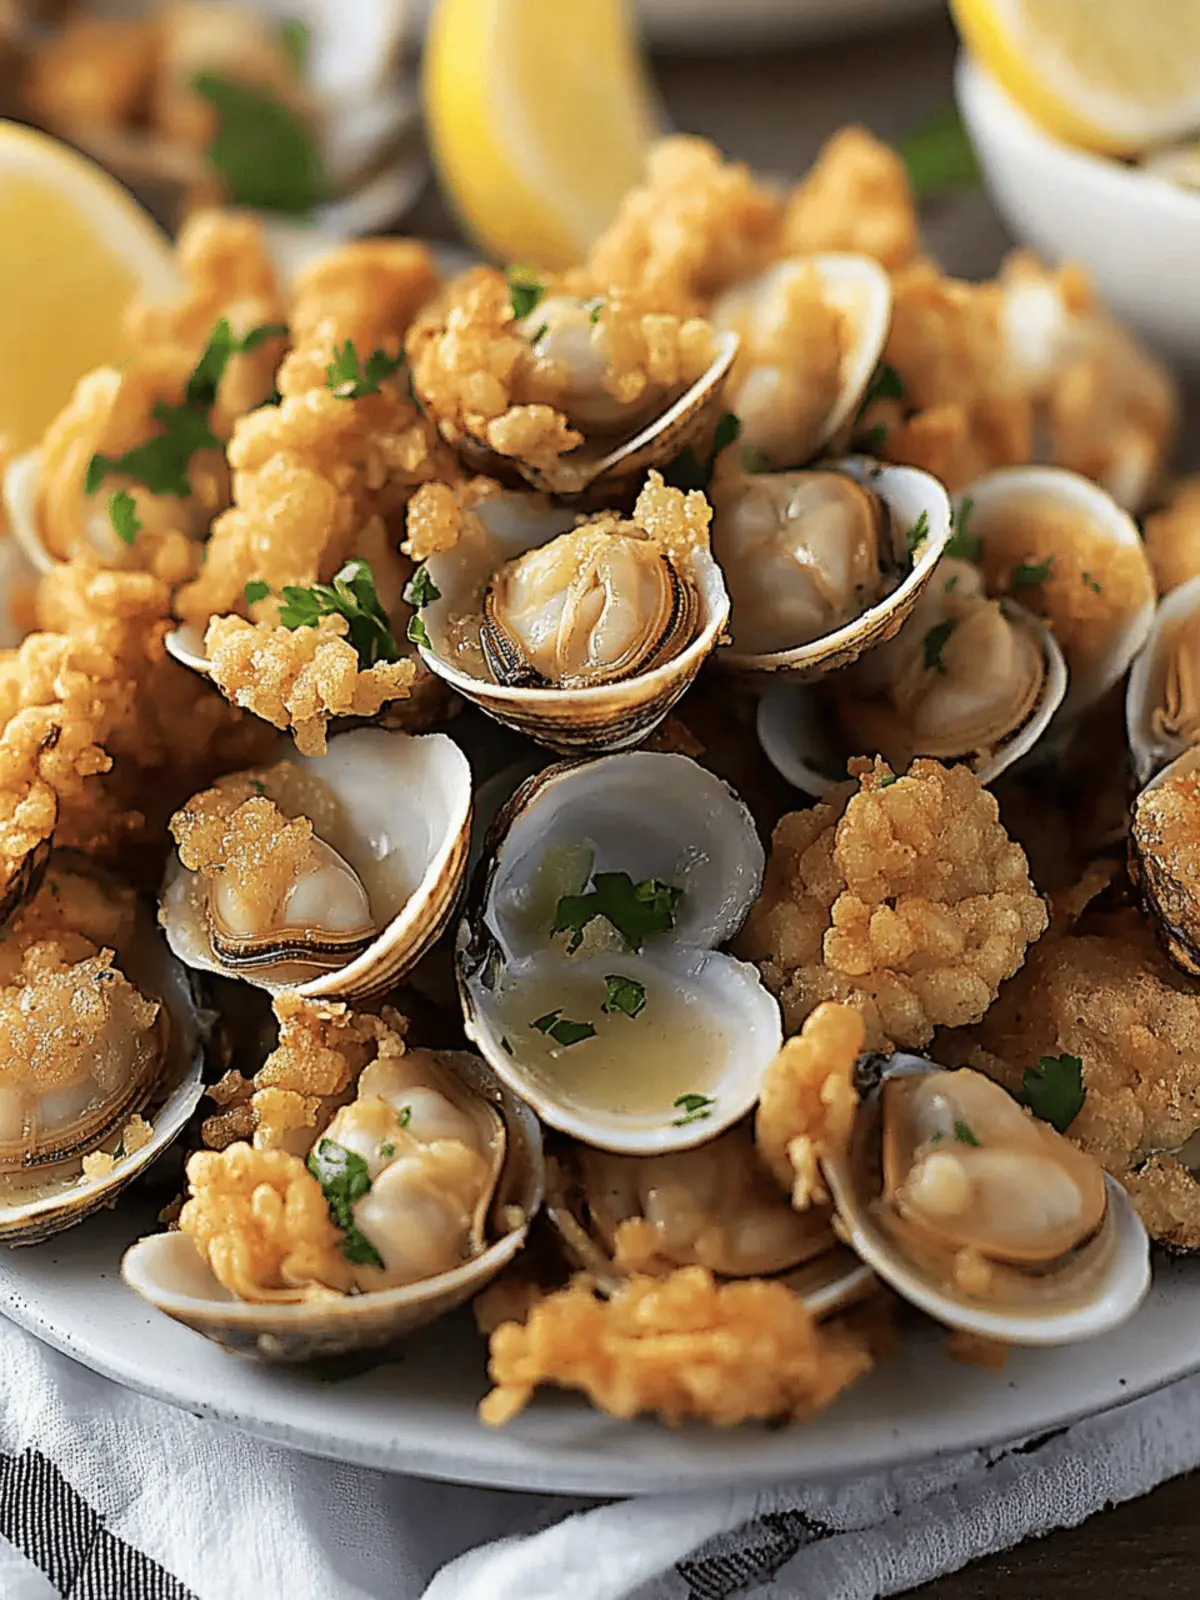
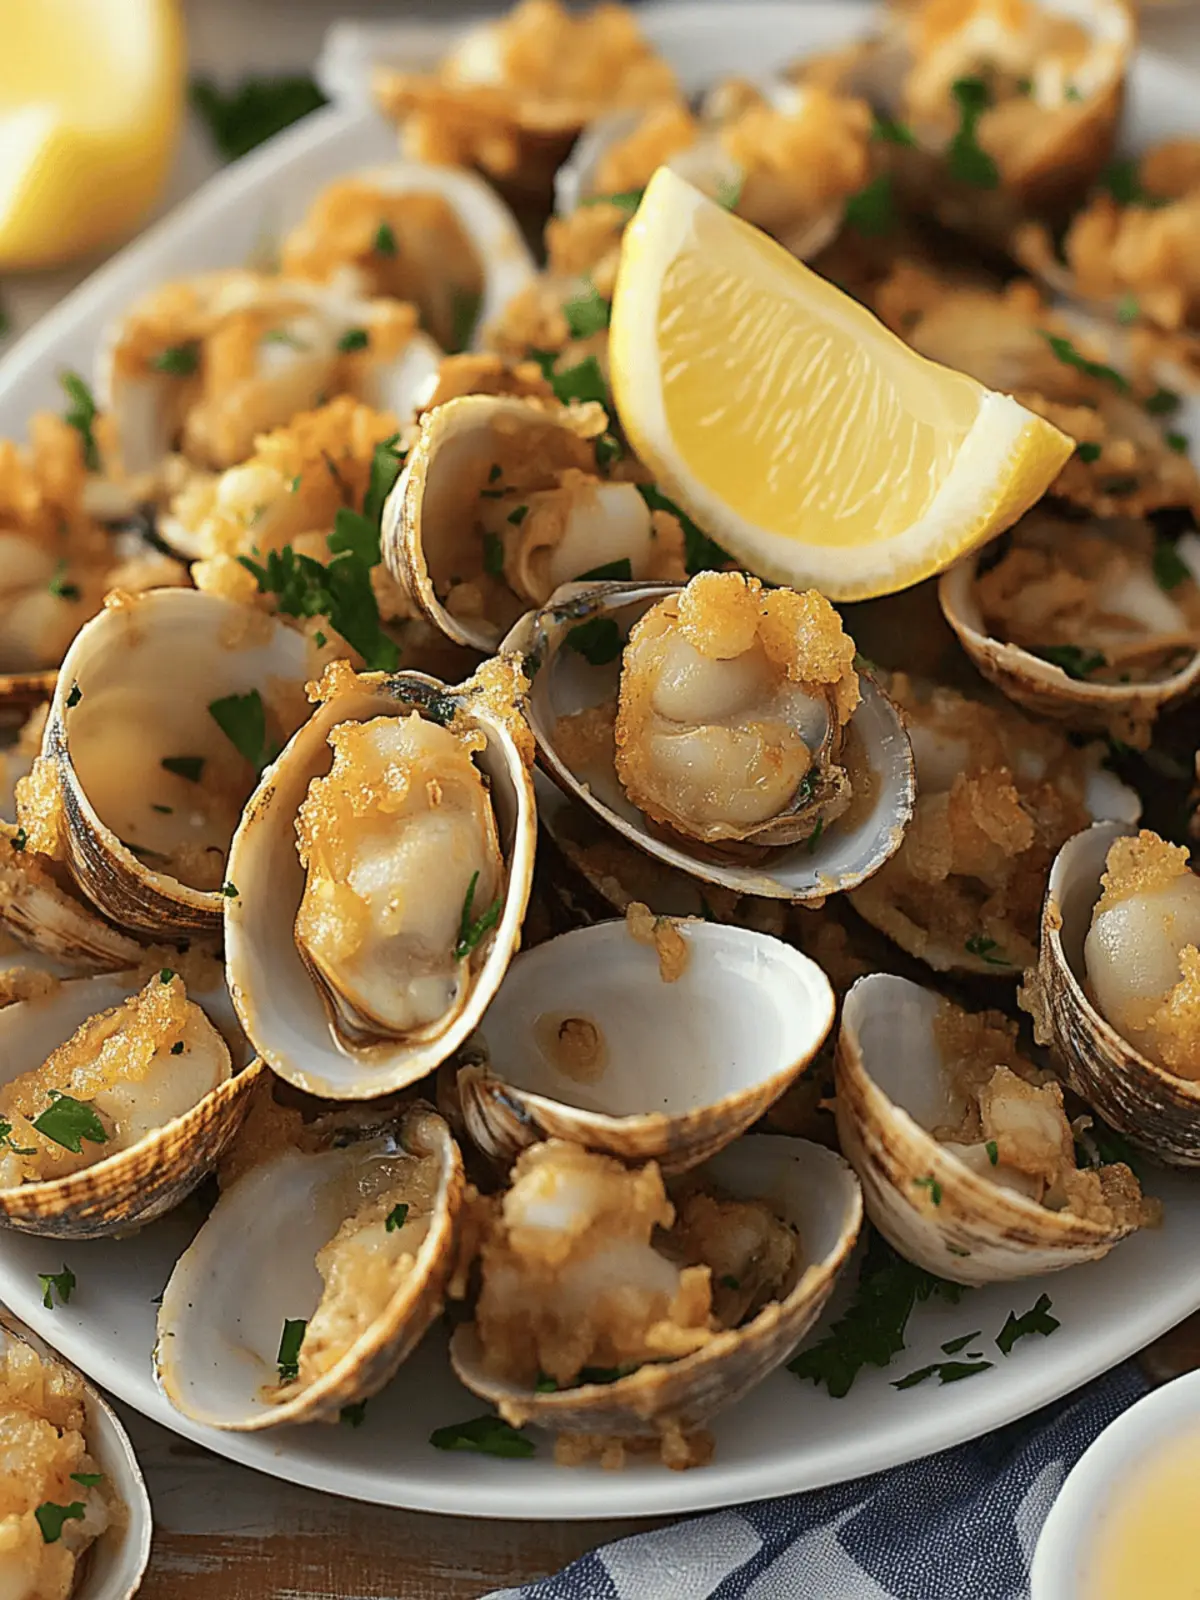
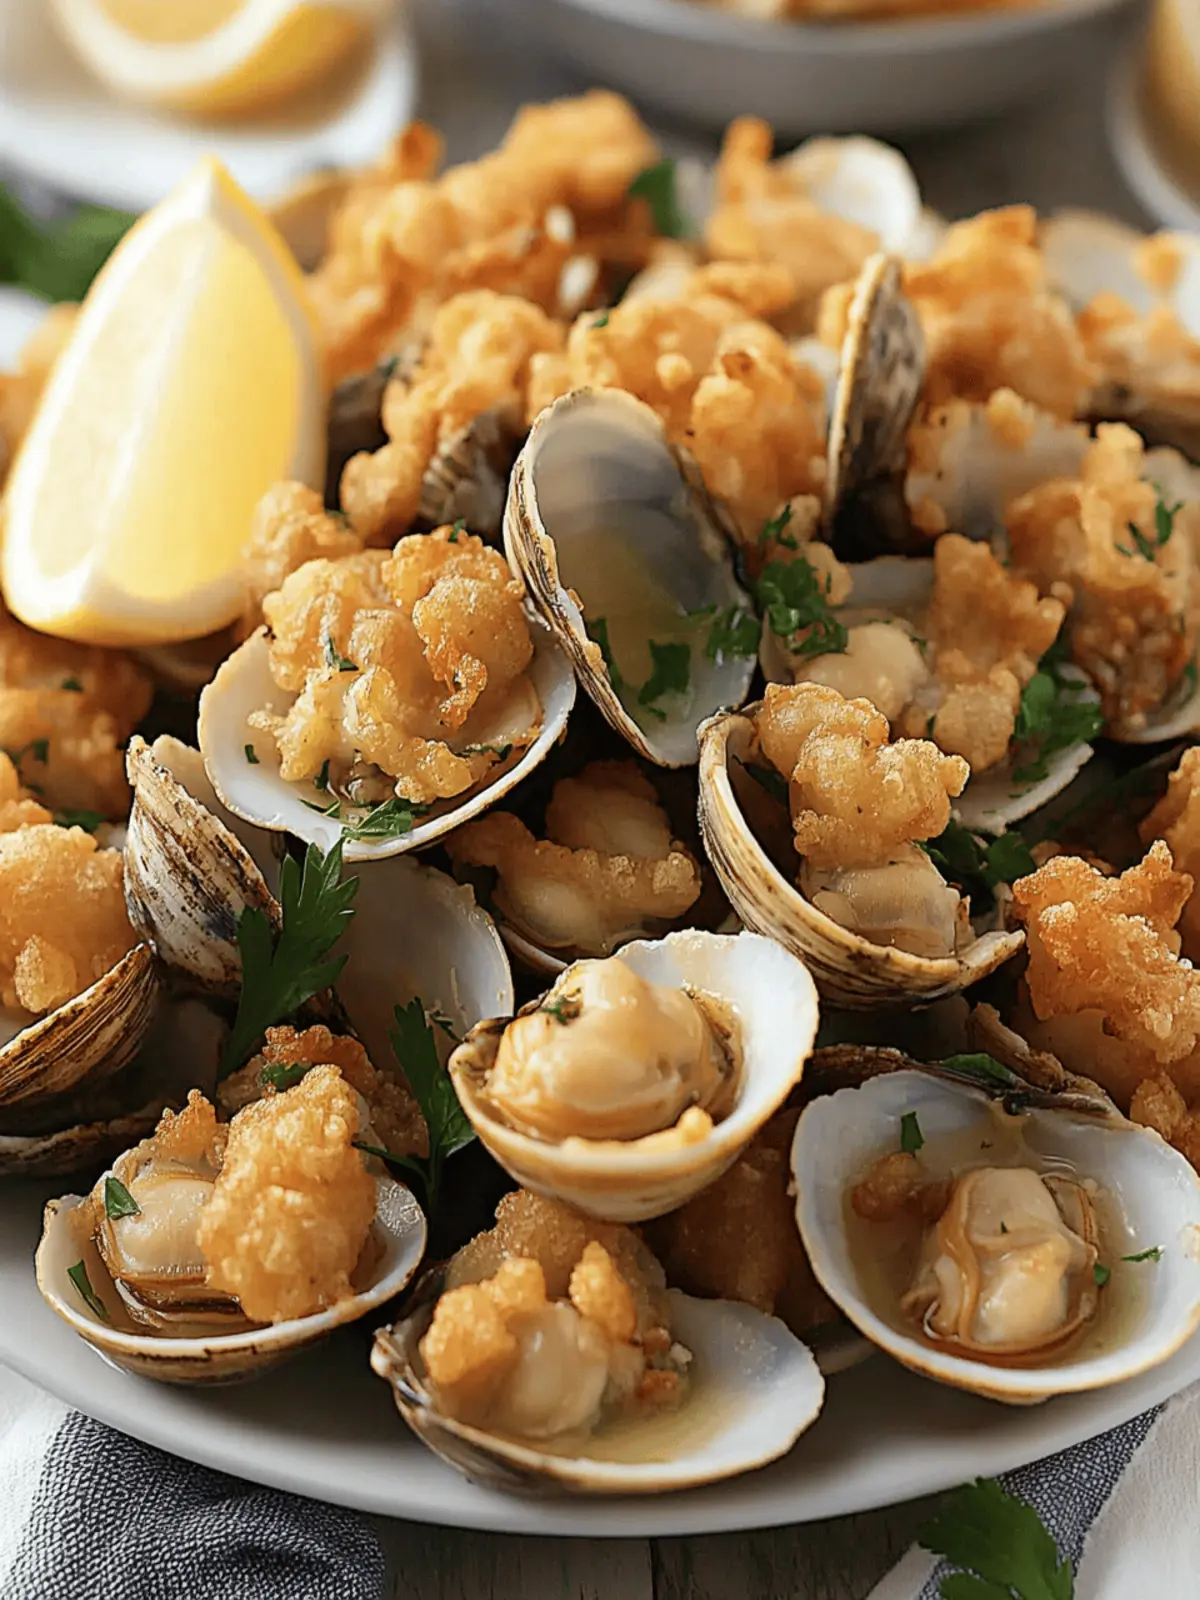
The first bite of crispy fried clams transports me back to summer evenings spent by the shore, where the salty sea breeze mingled with the tantalizing aroma of freshly fried seafood. This recipe takes that nostalgic experience and makes it accessible right in your own kitchen. With a crispy coating that crackles under your teeth and a tender, juicy center that bursts with flavor, these homemade clams are the star of any gathering.
Perfect for impressing friends or simply indulging your seafood cravings, this dish shines when paired with a zesty dipping sauce and a squeeze of fresh lemon. In just a few simple steps, you can transform ordinary clams into a mouthwatering masterpiece. So, whether you’re looking to break free from the fast-food routine or explore new culinary delights, join me as we dive into the delicious world of crispy fried clams!
Why You’ll Love Fried Clams
Irresistible crunch: The light, crispy coating made from a blend of corn and all-purpose flour offers a satisfying crunch that perfectly complements the tender clams within.
Gourmet experience: By creating this dish at home, you’ll enjoy a restaurant-quality seafood dish without the wait or cost.
Flavorful versatility: This recipe invites you to experiment with various spices and dipping sauces, ensuring every bite is a delightful surprise.
Quick and easy: With just a few simple steps, you’ll have a plate of golden-brown clams ready to impress at any gathering.
Crowd-pleaser: These fried clams are sure to be the star of your next party, making them a fantastic way to bring people together over delicious homemade food.
For more seafood delights, check out our fun seafood recipes to keep your cooking fresh and exciting!
Fried Clams Ingredients
For the Batter
• Shucked Clams – The main ingredient providing the seafood flavor; you can substitute with cherrystones, littlenecks, or Manila clams for variety.
• Corn Flour – Adds a crisp texture to the coating, essential for achieving the crunchy exterior.
• All-Purpose Flour – Provides structure and absorbs moisture during frying; a gluten-free flour can be used as a substitute.
• Salt – Enhances overall flavor and is essential for seasoning the batter.
• Freshly Ground Black Pepper – Offers a mild heat; adjust to personal preference.
• Cayenne Pepper – Adds a kick for those who enjoy spiciness; feel free to omit for a milder flavor.
For Dipping
• Buttermilk or Evaporated Milk – Provides moisture to help the batter stick to the clams.
• Oil for Frying – Necessary for frying, with peanut oil preferred for its high smoke point; vegetable oil can be an alternative.
With these easily sourced fried clams ingredients, you’ll be ready to whip up a delicious and satisfying seafood meal that’ll make you forget about fast food!
How to Make Fried Clams
-
Prepare Clams: Start by ensuring your shucked clams are grit-free; a quick rinse under cold water works wonders. Pat them dry with paper towels to avoid excess moisture when frying.
-
Mix Batter: In a large bowl, combine corn flour, all-purpose flour, salt, freshly ground black pepper, and cayenne pepper. Whisk together until evenly mixed; this will create a deliciously crispy coating.
-
Coat Clams: Dip each clam into buttermilk or evaporated milk, ensuring they are thoroughly coated. This step is crucial to help the flour adhere nicely.
-
Preheat Oven: Set your oven to 200°F, and position a rack over a baking sheet. This will keep your fried clams warm and crispy while you finish the batch.
-
Heat Oil: In a deep pot, heat oil to 360°F. Use a thermometer to maintain the perfect frying temperature, as this ensures that your clams fry evenly.
-
Fry Clams: Carefully coat clams in the flour mixture, shaking off any excess. Fry them in small batches for about 90 seconds to 2 minutes, until golden brown and deliciously crispy.
-
Keep Warm: After frying, transfer the clams onto the rack in the oven to keep warm while you finish frying the rest. This keeps them crisp and prevents sogginess.
-
Serve: Enjoy your fried clams immediately with zesty dipping sauces and fresh lemon wedges. The lively flavors will elevate your dining experience!
Optional: Sprinkle fresh herbs over the clams for an aromatic touch.
Exact quantities are listed in the recipe card below.
How to Store and Freeze Fried Clams
Fridge: Store leftover fried clams in an airtight container in the refrigerator for up to 2 days. Make sure they are completely cooled before sealing to prevent moisture buildup.
Freezer: To keep your fried clams longer, freeze them in a single layer on a baking sheet. Once frozen solid, transfer them to a freezer-safe bag for up to 2 months.
Reheating: For best results when reheating, place frozen or refrigerated fried clams in a preheated oven at 375°F for about 10-15 minutes. This helps maintain their crispy texture, allowing you to enjoy the delightful crunch of homemade fried clams once again.
Room Temperature: It’s best to avoid leaving fried clams at room temperature for extended periods. If left out, consume within 2 hours to ensure food safety.
Expert Tips for Fried Clams
• Batch Frying: Fry in small batches to keep the oil temperature stable, ensuring that each clam crisps up perfectly without getting soggy.
• Oil Temperature: Always maintain the oil at 360°F before frying. Use a thermometer to check; if it’s too low, the clams will absorb excess oil.
• Coating Adherence: Make sure to coat the clams evenly in buttermilk before dredging them in the flour mixture. This is key for achieving a deliciously crispy fried clams exterior.
• Avoid Microwaving: Never reheat leftover fried clams in the microwave. Instead, place them in the oven to maintain their crunch and avoid a chewy texture.
• Spice it Up: Feel free to personalize the seasoning in your flour mixture. Adding herbs or spices like Old Bay can enhance the fried clams’ flavor profile to suit your taste!
Make Ahead Options
These fried clams are perfect for meal prep, saving you time during busy weeknights! You can prep the batter by combining the corn flour and all-purpose flour with the seasonings (up to 24 hours in advance) and store it in an airtight container in the fridge. The clams can also be rinsed, dried thoroughly, and coated in buttermilk, then refrigerated for up to 3 days before frying. To keep them fresh, make sure to cover them tightly to prevent moisture loss. When you’re ready to serve, simply heat the oil and fry the clams as directed for that deliciously crispy texture, ensuring your homemade dish is just as mouthwatering as when prepared fresh!
What to Serve with Fried Clams?
Bring your meal to life by adding delightful sides that elevate your fried clams experience!
-
Classic Coleslaw:
This crunchy, tangy salad complements the crispy fried clams, balancing richness with fresh flavors. The crunch from cabbage adds a delightful texture alongside the tender clams. -
Zesty Potato Salad:
Creamy with a hint of tang, potato salad enriches your plate while the cool flavors contrast beautifully with the warm clams. -
French Fries:
Golden, crispy fries offer a satisfying crunch that pairs perfectly with fried clams. Dipped in your favorite sauce, they create a classic seaside experience. -
Corn on the Cob:
Sweet, buttery corn perfectly complements the savory flavor of fried clams, adding a burst of sweetness that rounds out your meal. -
Lemon Wedges:
A simple yet refreshing addition, a squeeze of lemon enhances the clams’ flavor while cutting through the richness of the dish. -
Crispy Green Beans:
Their vibrant color and crunchy texture make them a fantastic addition, creating a delightful contrast to the tender clams. -
Beer or White Wine:
Pair your meal with a cold beer or a glass of crisp white wine for a refreshing finish that enhances the seafood experience.
Adding these sides allows you to create a complete and satisfying seafood meal, sure to charm your guests and elevate your homemade fried clams!
Fried Clams Variations & Substitutions
Feel free to explore different twists on this classic recipe to suit your taste buds and dietary needs.
-
Gluten-Free: Substitute all-purpose flour with a gluten-free flour blend. The crispy results will still satisfy your seafood cravings!
-
Dairy-Free: Use almond milk or oat milk instead of buttermilk for a nutritious dairy-free option that still provides moisture for the batter.
-
Herb-Enhanced: Mix in finely chopped fresh herbs like parsley or dill into your flour mixture, adding a delightful aroma and flavor to each bite.
-
Spicy Kick: For an extra zing, toss minced jalapeños or dashes of hot sauce into the buttermilk mix. The heat pairs beautifully with the clams!
-
Crispy Panko: Combine panko breadcrumbs with the flour mix for an added layer of crunch that will make your fried clams even more irresistible.
-
Zesty Citrus: Add a sprinkle of lemon or lime zest to the flour mixture for a bright, refreshing flavor that elevates the fried clams to new heights.
-
Seasoned Twist: Try adding a teaspoon of Old Bay seasoning to the flour mixture for a classic coastal flavor that beautifully complements the seafood.
With these variations, you can create your own unique take on crispy fried clams. Enjoy making them your own!
Fried Clams Recipe FAQs
How do I choose the best clams?
Absolutely! Look for clams that are tightly closed or only slightly open. If you find any clams that are gaping wide or have dark spots all over, it’s best to avoid them as they may be dead. Fresh clams should smell briny and like the ocean, a sure sign of quality!
What’s the best way to store leftover fried clams?
Store leftover fried clams in an airtight container in the refrigerator for up to 2 days. Make sure they’re completely cooled before sealing to prevent moisture build-up which can lead to sogginess. For the best reheating results, I often recommend using the oven to revive them!
Can I freeze fried clams? How?
Yes, you can freeze fried clams to enjoy later! First, allow them to cool completely. Then, place them in a single layer on a baking sheet and freeze until solid. After freezing, transfer the clams to a freezer-safe bag. They can last up to 2 months. Reheat them straight from the freezer in a preheated oven at 375°F for about 10-15 minutes for that fresh-out-of-the-fryer taste!
What if my fried clams are soggy?
Very! If your fried clams turn out soggy, it’s often due to oil temperature being too low or overcrowding the fryer. Make sure you’re frying in small batches and keep the oil at a steady 360°F. A good trick is to test the oil with a small piece of bread; it should sizzle immediately upon contact.
Are fried clams safe for pets?
Be cautious! Fried clams aren’t recommended for pets. While clams themselves are safe, the batter and oil used during frying can upset your pet’s stomach. It’s best to keep these tasty treats just for you and your loved ones.
Can I use a different flour for the coating?
Absolutely! If you prefer a gluten-free version of fried clams, you can use gluten-free flour instead of all-purpose flour. Just ensure that you mix it with the corn flour for that classic crunch!
Crispy Fried Clams That'll Make You Ditch Fast Food Forever
Ingredients
Equipment
Method
- Prepare Clams: Rinse shucked clams under cold water and pat dry with paper towels.
- Mix Batter: Combine corn flour, all-purpose flour, salt, black pepper, and cayenne pepper in a large bowl; whisk until evenly mixed.
- Coat Clams: Dip each clam into buttermilk, ensuring they are thoroughly coated.
- Preheat Oven: Set oven to 200°F and position a rack over a baking sheet.
- Heat Oil: In a deep pot, heat oil to 360°F using a thermometer.
- Fry Clams: Coat clams in flour mixture and fry in batches for 90 seconds to 2 minutes until golden brown.
- Keep Warm: Transfer fried clams onto the rack in the oven to keep warm.
- Serve: Enjoy immediately with dipping sauces and fresh lemon wedges.

