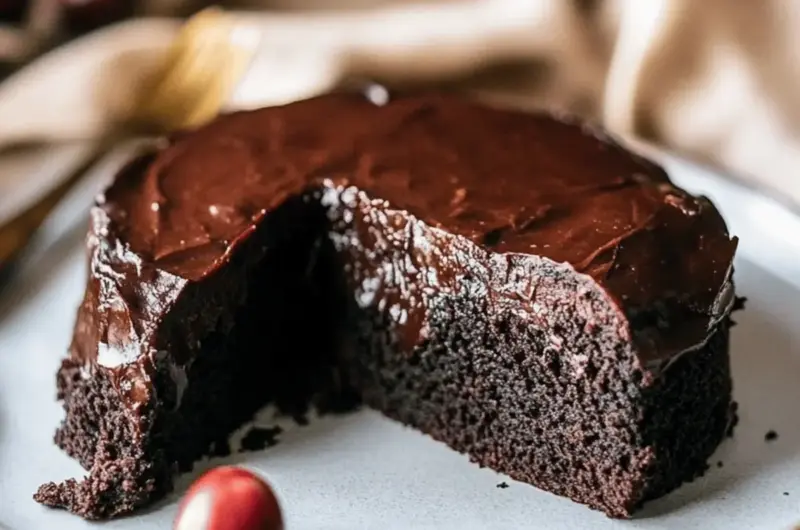
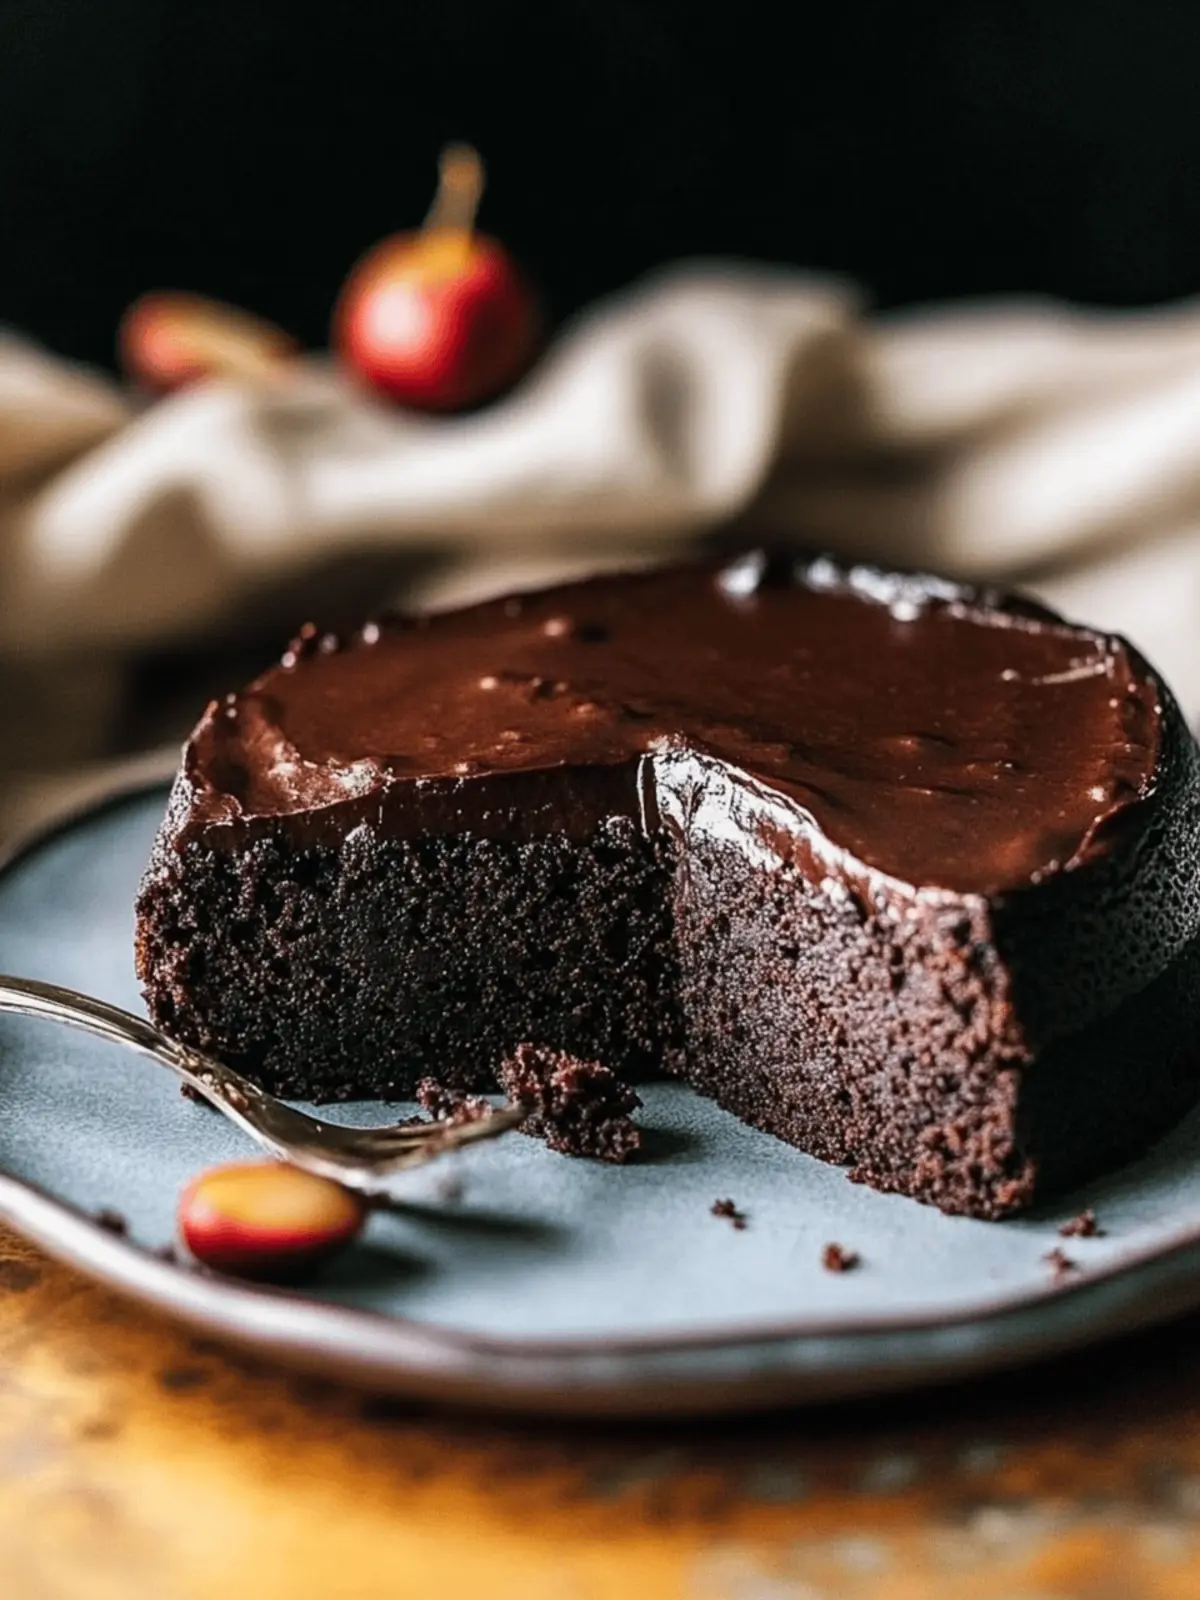
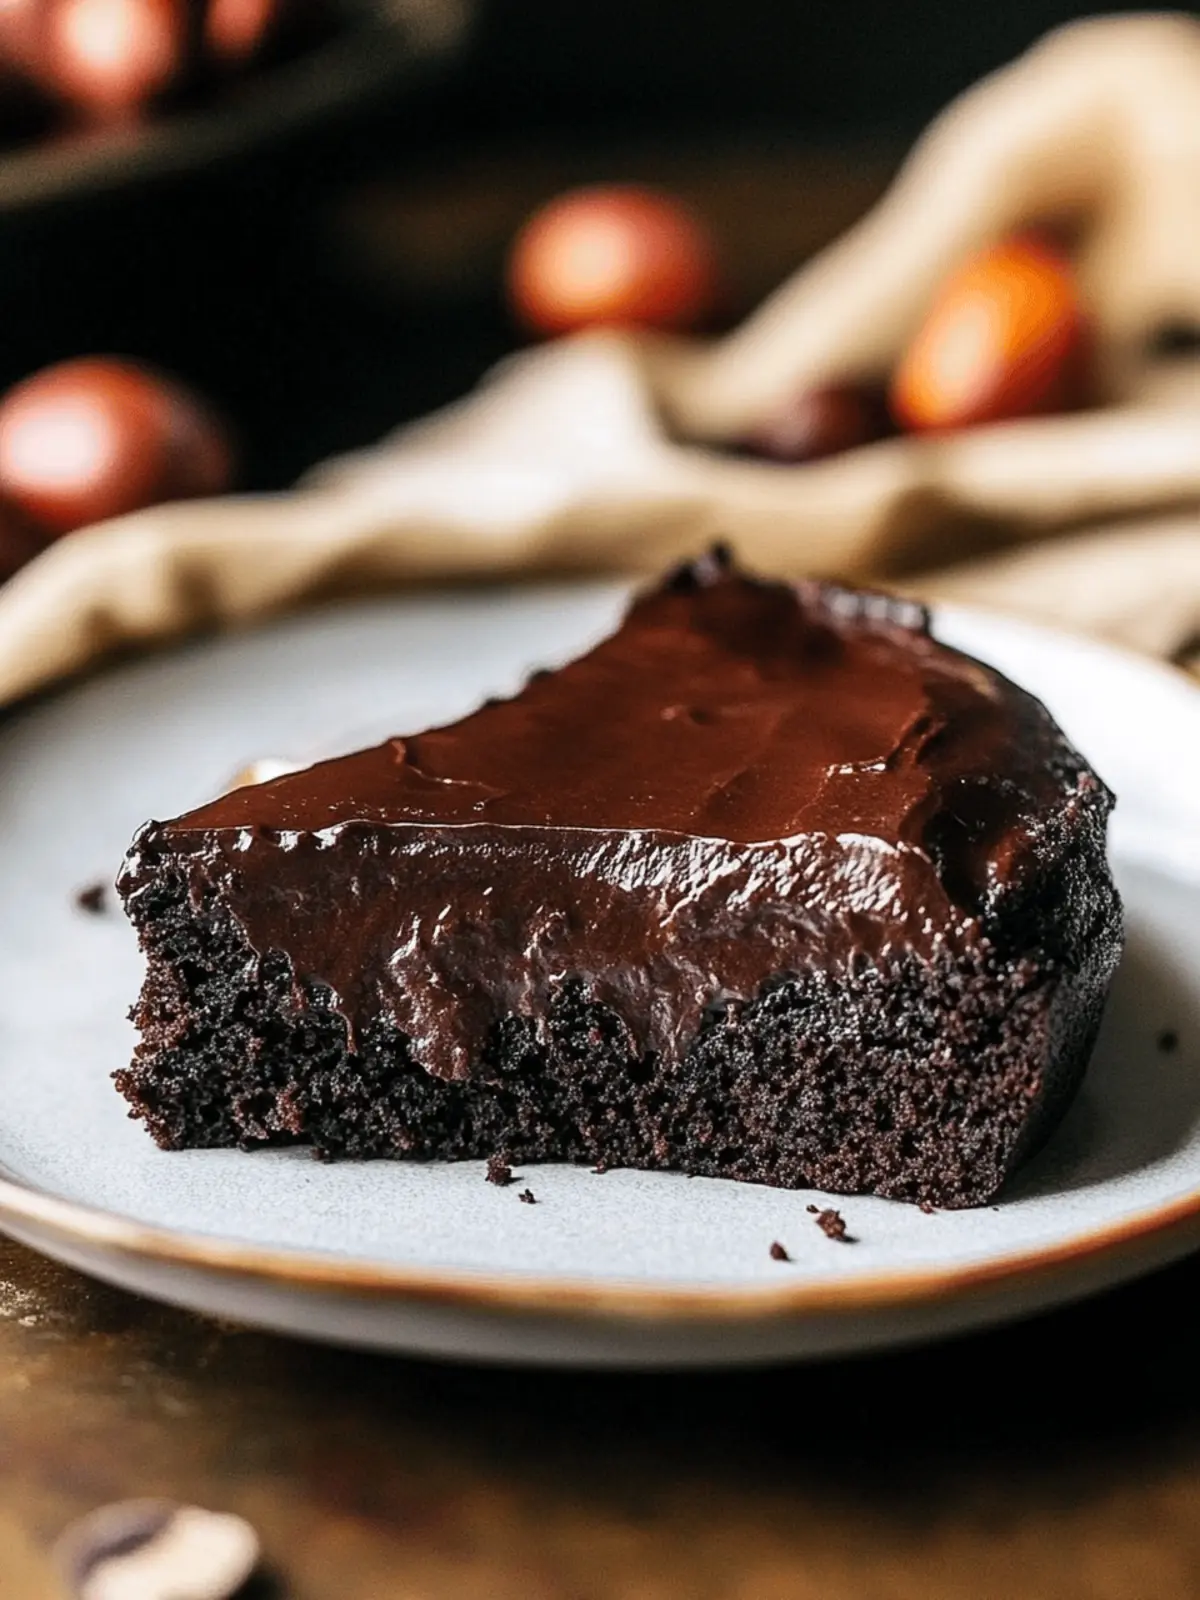
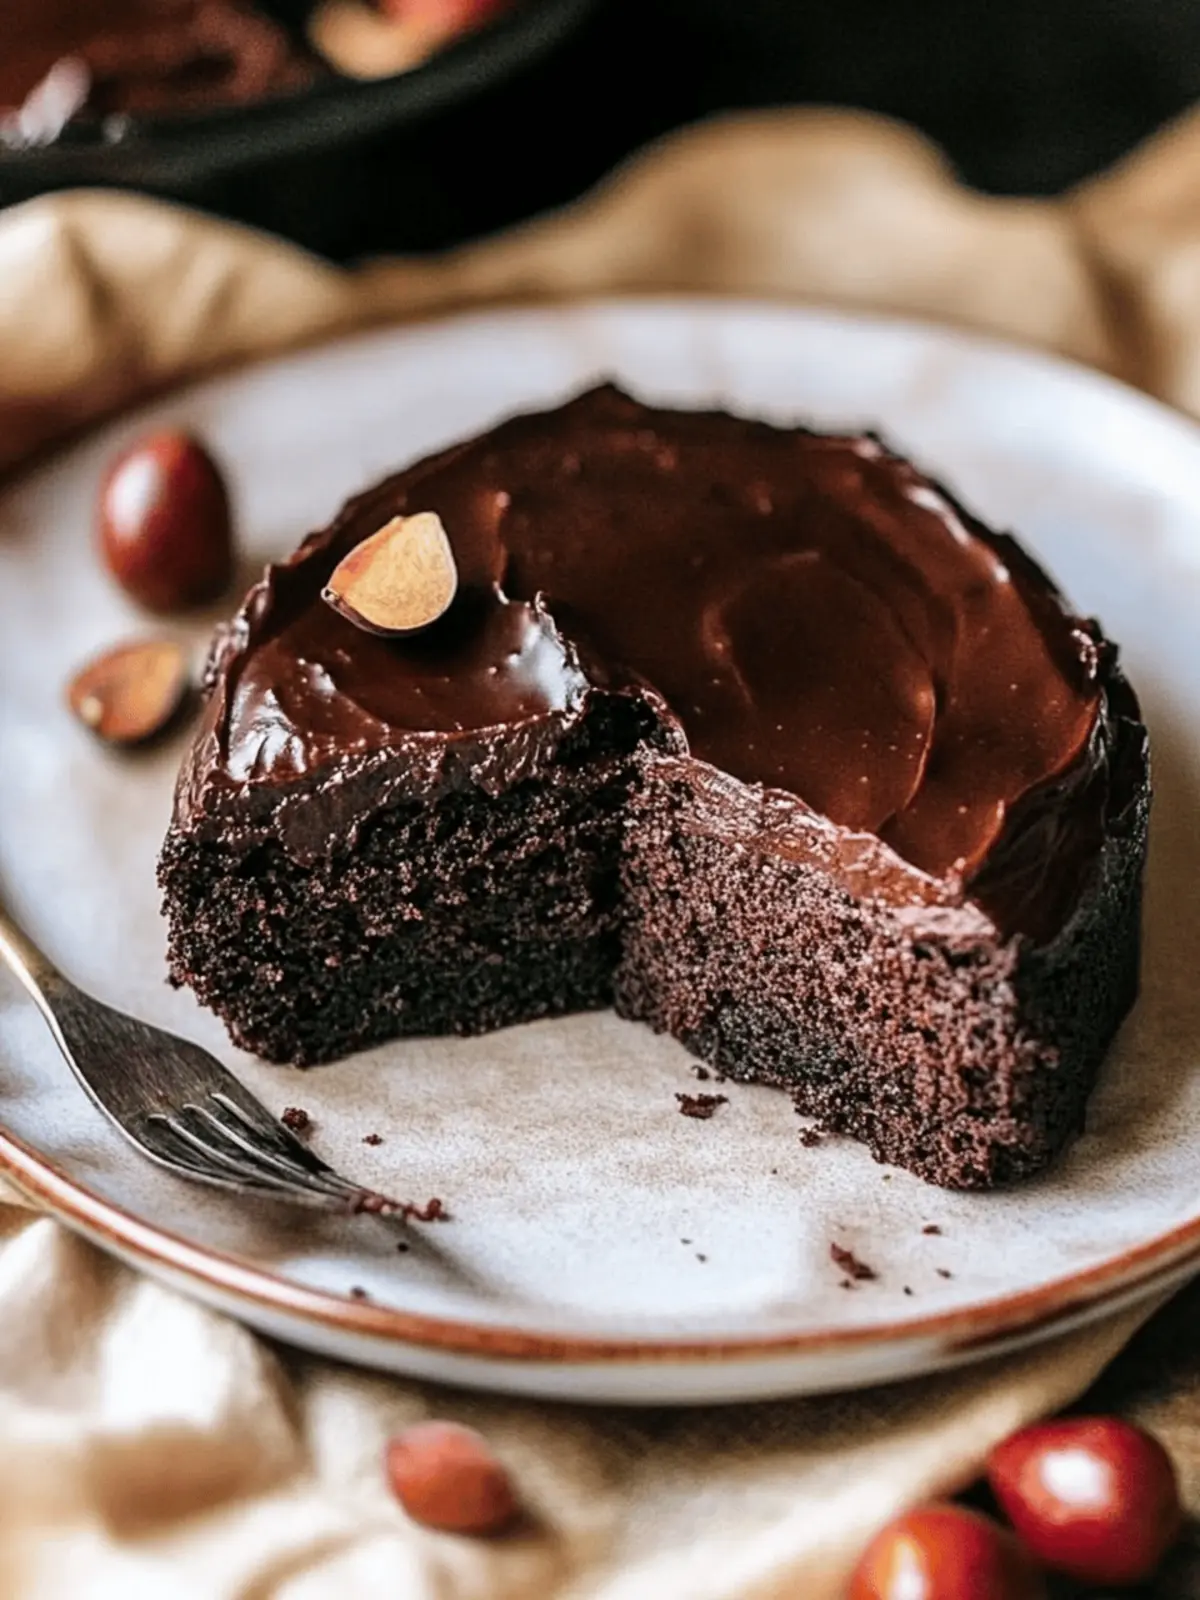
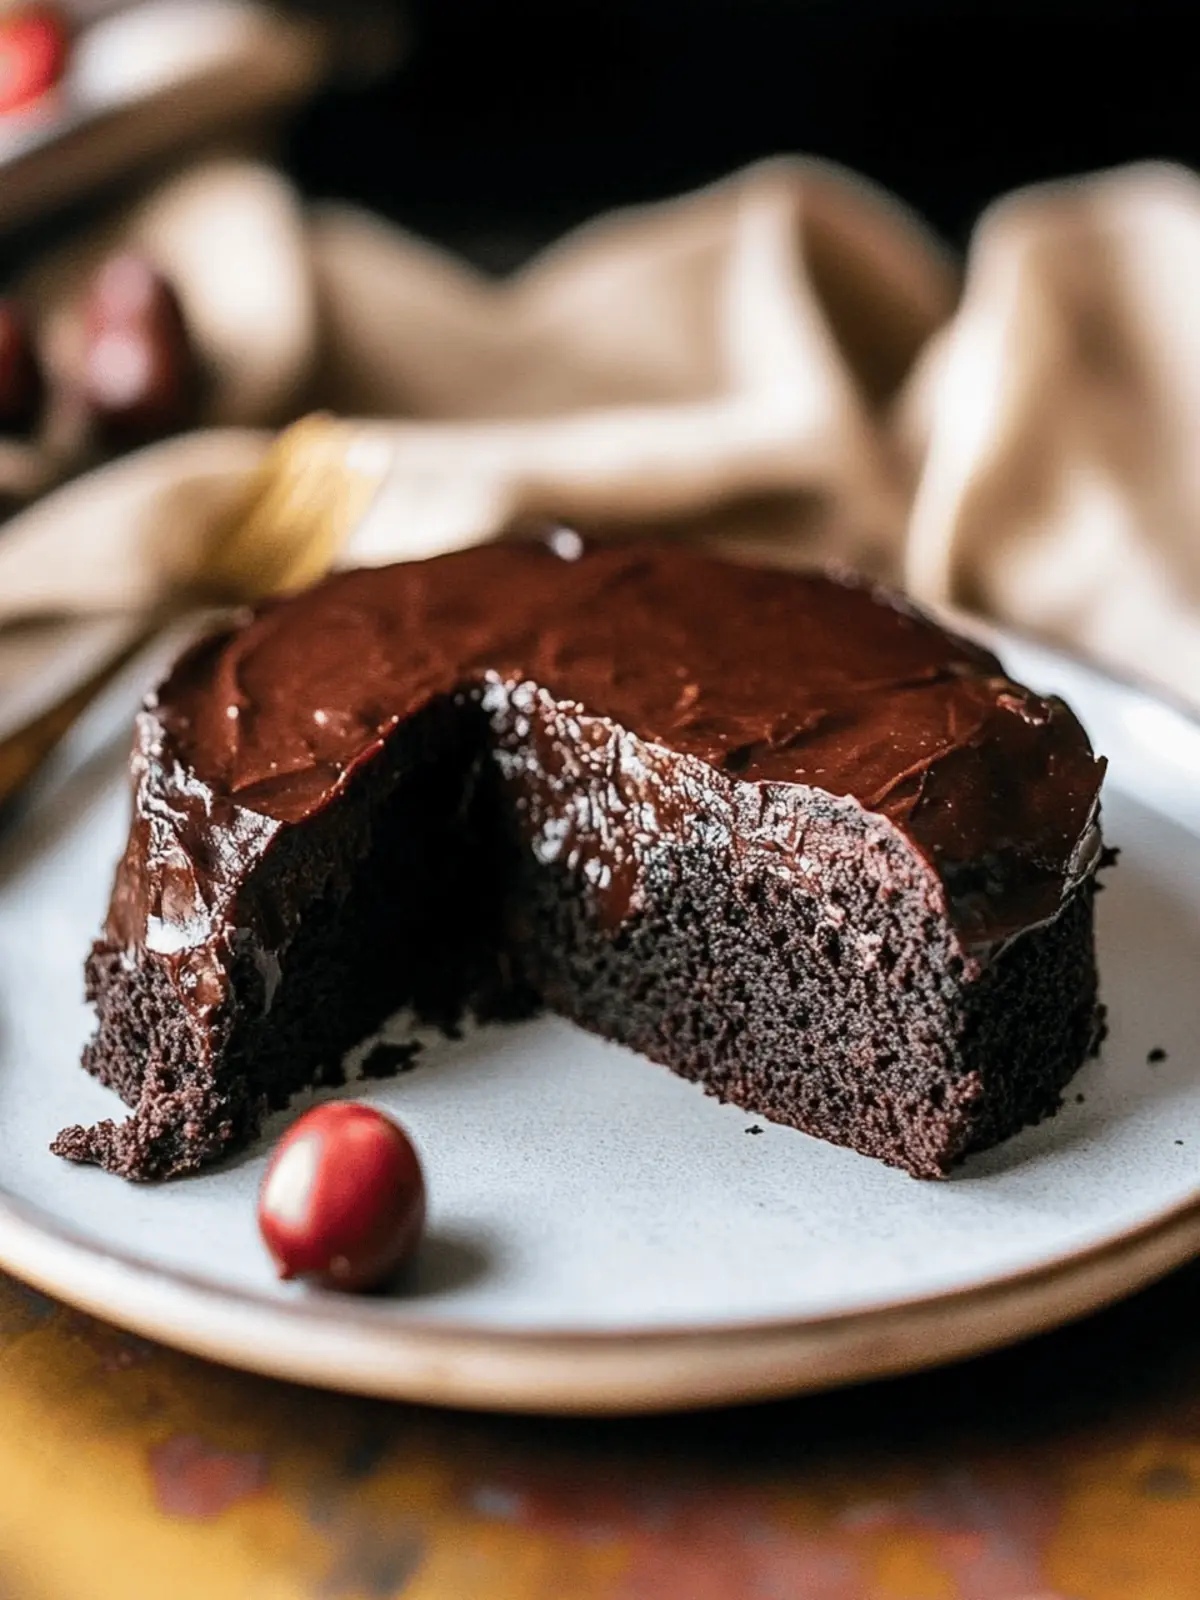
There’s something truly enchanting about the way chocolate transforms a simple dessert into an indulgent experience. When I first whipped up this flourless chocolate cake, the rich aroma of melting chocolate and butter filled my kitchen, instantly making me feel like a professional pastry chef. This cake is a dream for chocolate lovers, boasting a dense, fudge-like texture that simply melts in your mouth.
What’s more, it’s a breeze to prepare with only a handful of common ingredients—perfect for those moments when you crave something sweet but don’t want to spend all day in the kitchen. Naturally gluten-free and easily adaptable with dairy-free options, it’s an excellent choice for anyone seeking a deliciously decadent treat without the fuss. Whether you’re hosting a gathering or just treating yourself, this flourless chocolate cake topped with silky ganache is the answer to your dessert dreams!
Why is Flourless Chocolate Cake a Must-Try?
Decadent flavor awaits you as this cake brings rich chocolate goodness in every bite. Gluten-free and simple, it’s the ideal dessert for all dietary needs without sacrificing taste. Versatile to customize, you can easily adjust it to be dairy-free or infuse unique flavors. Perfect for gatherings, its delicious taste is sure to impress family and friends alike. Finally, quick preparation means you can whip it up easily when cravings hit! For more delightful recipes, check out our section on easy gluten-free desserts.
Flourless Chocolate Cake Ingredients
This rich and decadent flourless chocolate cake is as simple to make as it is delicious!
For the Cake
- Salted Butter – Adds richness and moisture; can be substituted with Miyokos plant-based butter for a dairy-free version.
- Mini Semi-Sweet Chocolate Chips – Provides sweet chocolate flavor and richness; consider using dairy-free chocolate chips for a vegan option.
- Unsweetened Cocoa Powder – Contributes intense chocolate flavor and color; prefer high-quality cocoa for the best results.
- Granulated Sugar – Sweetens the cake and balances the bitterness of cocoa; no direct substitutes advised.
- Espresso Powder (optional) – Enhances chocolate flavor; can be omitted if not available.
- Pure Vanilla Extract – Adds depth and warmth to flavor; imitation vanilla can be used in a pinch.
- Salt – Balances sweetness and enhances flavors; sea salt or kosher salt can be used interchangeably.
- Large Eggs (room temperature) – Provides structure and moisture; ensure they are at room temperature for better blending.
For the Ganache
- Heavy Cream – Adds creaminess and a silky texture; for a dairy-free version, use Silk Dairy Free Heavy Cream.
- Milk Chocolate or Dark Chocolate Chips – Creates a smooth and glossy ganache; choose according to your sweetness preference.
How to Make Flourless Chocolate Cake
-
Preheat the oven to 350°F (175°C). Prepare an 8-inch springform pan by lining the bottom with parchment paper and greasing the sides to ensure easy removal later.
-
Melt the salted butter and mini semi-sweet chocolate chips together. You can do this in a microwave, heating in 30-second intervals and stirring in between, or use a double boiler for a gentler method until smooth.
-
Combine the unsweetened cocoa powder with the melted chocolate mixture, stirring well until fully incorporated. Then, add the granulated sugar, optional espresso powder, pure vanilla extract, and salt, mixing until everything is combined seamlessly.
-
Incorporate the large eggs one at a time into your chocolate mixture. Make sure to mix thoroughly after each addition, ensuring that the batter is smooth and shiny before adding the next egg.
-
Pour the luscious batter into the prepared springform pan. Use a spatula to gently smooth the top, then place the cake in the preheated oven. Bake for 40-50 minutes, or until the top looks slightly crackly and a toothpick inserted in the center comes out with a few moist crumbs.
-
Cool the cake for 15 minutes in the pan before carefully removing it from the springform. Let it cool completely on a wire rack.
-
Prepare the ganache by heating heavy cream over medium heat until bubbles form. Remove from heat and whisk in the chocolate chips until the mixture is smooth and glossy. Allow it to thicken slightly before using.
-
Pour the ganache over the cooled cake, making sure it covers the top evenly. Let it set for about 15 minutes before slicing into this delectable creation and serving with your favorite garnish.
Optional: Top with fresh raspberries or a sprinkle of sea salt for an extra special touch!
Exact quantities are listed in the recipe card below.
Expert Tips for Flourless Chocolate Cake
-
Perfect Texture: Ensure that you melt the chocolate and butter gradually to avoid overheating; this keeps the cake’s texture creamy and rich.
-
Egg Temperature: Always use room temperature eggs for the best incorporation into the batter, creating a smoother and richer cake.
-
Sticky Ganache: Whisk the ganache until it’s silky and smooth; this is key to achieving a glossy finish on your flourless chocolate cake.
-
Baking Time: Keep an eye on baking; overbaking can lead to a dry texture. The top should be slightly crackly, indicating it’s done.
-
Cooling Tips: Allow the cake to cool completely before adding the ganache for the best presentation and to prevent melting.
How to Store and Freeze Flourless Chocolate Cake
-
Room Temperature: Store your flourless chocolate cake in an airtight container for up to 3 days. This helps retain its decadent flavor and moist texture.
-
Fridge: If you prefer a firmer texture, refrigerate the cake in an airtight container for up to 5 days. Just let it sit at room temperature for 15 minutes before serving.
-
Freezer: Freeze slices of the cake wrapped tightly in plastic wrap and then placed in an airtight container for up to 3 months. Thaw in the fridge overnight before enjoying.
-
Reheating: When ready to serve, gently reheat slices in the microwave for about 10-15 seconds to enhance that fudgy flavor of the flourless chocolate cake.
Flourless Chocolate Cake Variations
Feel free to explore and customize this delightful flourless chocolate cake with these fun twists!
-
Dairy-Free: Substitute traditional butter and cream with plant-based options for a vegan-friendly version.
-
Nutty Twist: Add a spoonful of almond or hazelnut extract to the batter for a warm, nutty flavor that complements the chocolate beautifully.
-
Fresh Fruit Topping: Serve with fresh berries or sliced bananas on top for a refreshing contrast to the rich chocolate.
-
Spicy Kick: For a bold flavor, mix in a pinch of cayenne pepper or chili powder to the batter, bringing a surprising heat.
-
Salted Caramel Drizzle: Enhance indulgence by drizzling homemade or store-bought salted caramel over the ganache for a sweet-salty experience.
-
Zesty Citrus: Incorporate orange or lemon zest into the batter for a bright burst of flavor that beautifully balances the chocolate richness.
-
Add Nuts: Fold in some chopped walnuts or pecans into the batter to boost texture and add a delightful crunch.
-
Coffee Boost: Enhance the chocolate flavor further with additional espresso powder, bringing an extra depth that coffee lovers will adore.
Make Ahead Options
This Decadent Flourless Chocolate Cake is perfect for meal prep if you’re looking to save time during a busy week! You can prepare the cake up to 24 hours in advance; simply bake it and let it cool completely before wrapping it tightly in plastic wrap to keep it moist. The ganache can also be made ahead; just refrigerate it after preparing, but make sure to reheat gently to restore its silky texture before pouring it on the cake. When you’re ready to serve, add fresh toppings like berries for a delightful finish. This way, you enjoy a rich, delicious dessert with minimal fuss!
What to Serve with Flourless Chocolate Cake?
Indulging in a slice of flourless chocolate cake creates moments of sheer delight, but pairing it with the right sides elevates the experience.
-
Fresh Berries: The tartness of berries like raspberries or strawberries contrasts beautifully with the rich fudgy cake, adding a refreshing burst of flavor.
-
Whipped Cream: A dollop of freshly whipped cream provides a light, airy texture that complements the cake’s density, enhancing its decadent delight.
-
Vanilla Ice Cream: The creaminess of vanilla ice cream balances the cake’s richness, creating a luxurious dessert duo that’s hard to resist.
-
Espresso: Sipping a rich cup of espresso alongside the cake intensifies the chocolate flavors, creating a delightful synergy for coffee lovers.
-
Chocolate Sauce: Drizzling additional chocolate sauce provides an extra layer of decadence and visual appeal—perfect for the ultimate chocolate experience!
-
Macerated Citrus: Lightly macerated oranges or lemons add a zesty brightness, cutting through the cake’s richness and awakening the palate.
-
Caramel Sauce: A drizzle of warm caramel sauce brings a wonderful contrast in flavor and sweetness, making each bite even more delicious.
-
Nutty Toppings: A sprinkle of toasted nuts or seeds adds a satisfying crunch, introducing an earthy flavor that enhances the overall dessert experience.
Flourless Chocolate Cake Recipe FAQs
How do I choose the best chocolate for my flourless chocolate cake?
Absolutely! For a rich flavor, opt for high-quality semi-sweet or dark chocolate chips with at least 60% cocoa content. These ensure that each bite is packed with chocolatey decadence. If you need a dairy-free option, look for dairy-free chocolate chips that fit your taste preference.
What is the best way to store leftover flourless chocolate cake?
You can store your flourless chocolate cake in an airtight container at room temperature for up to 3 days. If you prefer a firmer texture, placing it in the refrigerator extends its life for up to 5 days. Just remember to let it sit at room temperature for about 15 minutes before serving, allowing the flavors to shine.
Can I freeze my flourless chocolate cake, and if so, how?
Absolutely! To freeze, slice the cake into individual portions and tightly wrap each piece in plastic wrap, then place them in an airtight container. This method preserves flavor and texture for up to 3 months. When you’re ready to enjoy a slice, simply thaw it in the refrigerator overnight or at room temperature for a few hours.
What can I do if my cake turned out too dry?
If your cake ends up a bit dry, it may have been overbaked. Be sure to check it at the 40-minute mark, and remember that the toothpick should come out with moist crumbs, not completely clean. To remedy a dry cake, consider serving it with a drizzle of ganache or whipped cream to add moisture back into every delicious bite!
Is this flourless chocolate cake suitable for someone with nut allergies?
Yes! This flourless chocolate cake is generally safe for those with nut allergies, as it doesn’t contain any nuts. Always check the ingredients on your chocolate and other products used to ensure they haven’t been processed in a facility that handles nuts, just for safety.
What flourless chocolate cake variations can I try?
The more the merrier! You can easily adapt your flourless chocolate cake by substituting dairy ingredients with plant-based options, such as using Miyoko’s butter or dairy-free chocolate chips. Additionally, experiment with different flavored extracts, like almond or hazelnut, or top it with fresh berries for a delightful twist.
Decadent Flourless Chocolate Cake Your New Favorite Dessert
Ingredients
Equipment
Method
- Preheat the oven to 350°F (175°C). Prepare an 8-inch springform pan by lining the bottom with parchment paper and greasing the sides.
- Melt the salted butter and mini semi-sweet chocolate chips together in a microwave or double boiler until smooth.
- Combine the unsweetened cocoa powder with the melted chocolate mixture, then add the granulated sugar, espresso powder, vanilla extract, and salt.
- Incorporate the large eggs one at a time, mixing thoroughly after each addition.
- Pour the batter into the prepared springform pan and smooth the top. Bake for 40-50 minutes until the top looks crackly.
- Cool the cake for 15 minutes in the pan before removing it. Let it cool completely on a wire rack.
- Prepare the ganache by heating heavy cream and whisking in the chocolate chips until smooth.
- Pour the ganache over the cooled cake, let it set for 15 minutes before slicing and serving.

