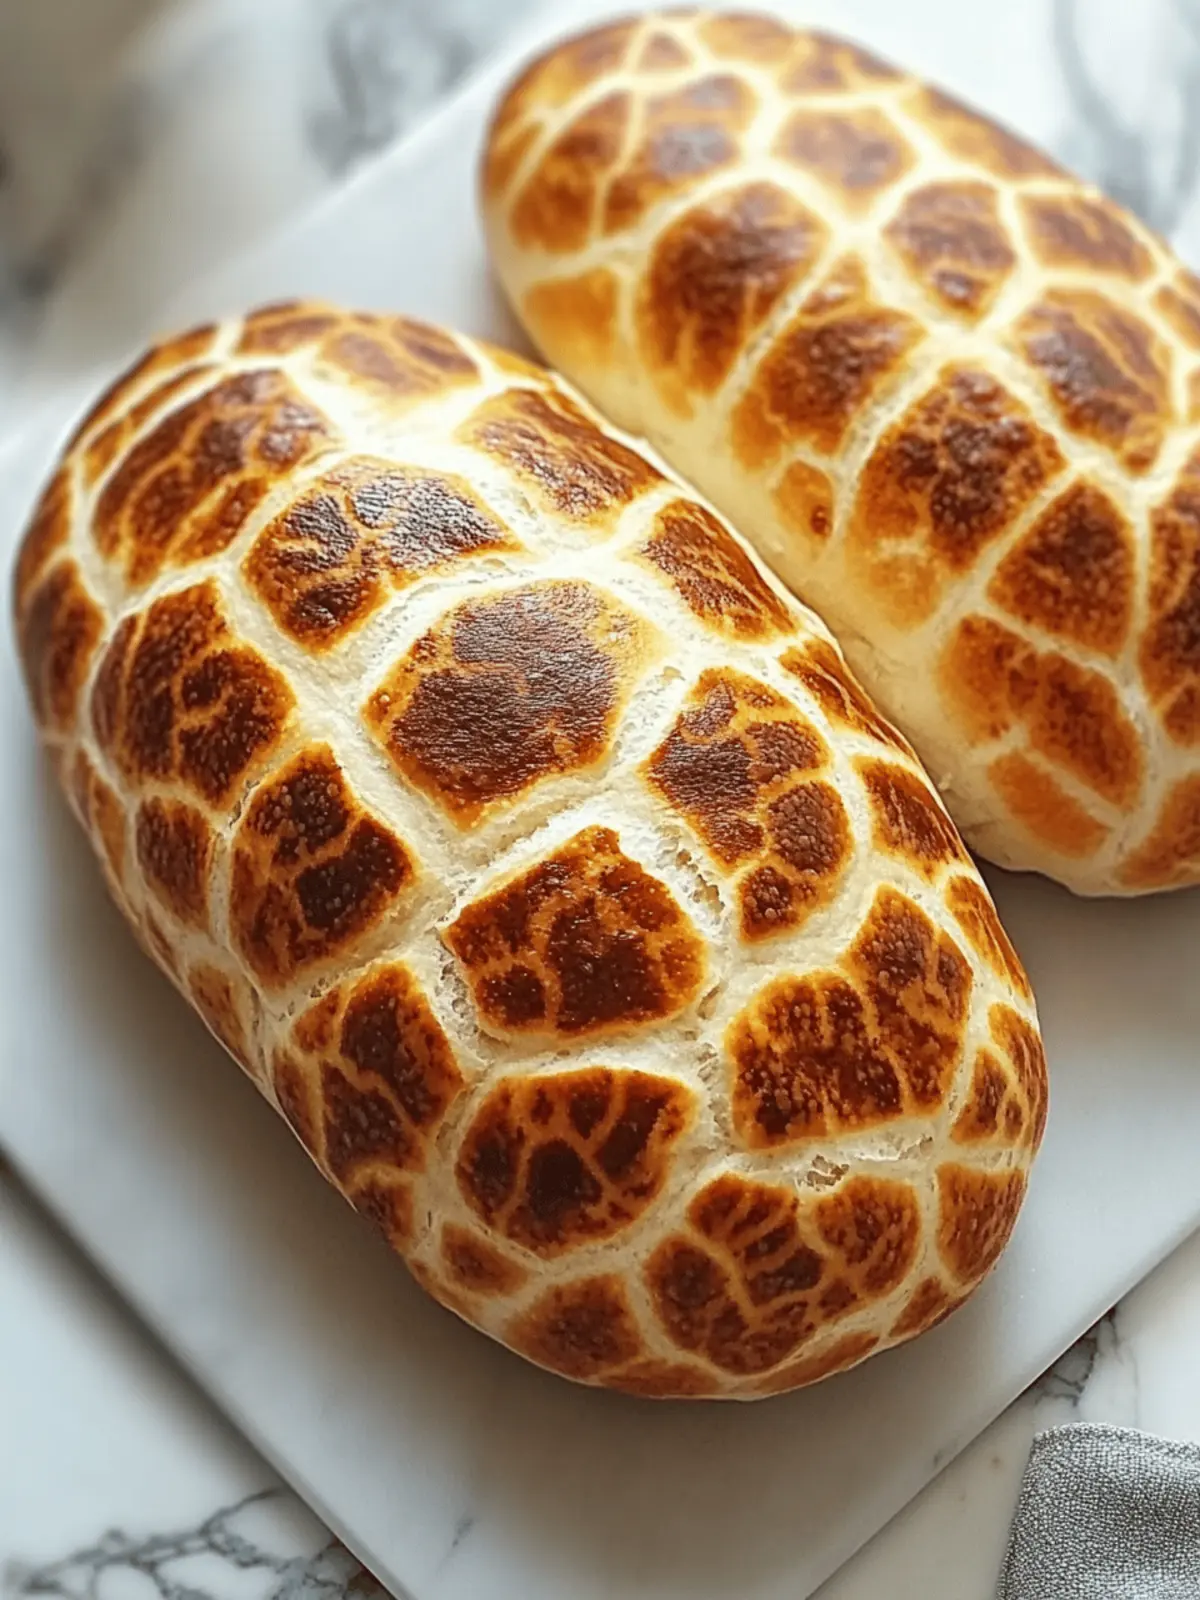
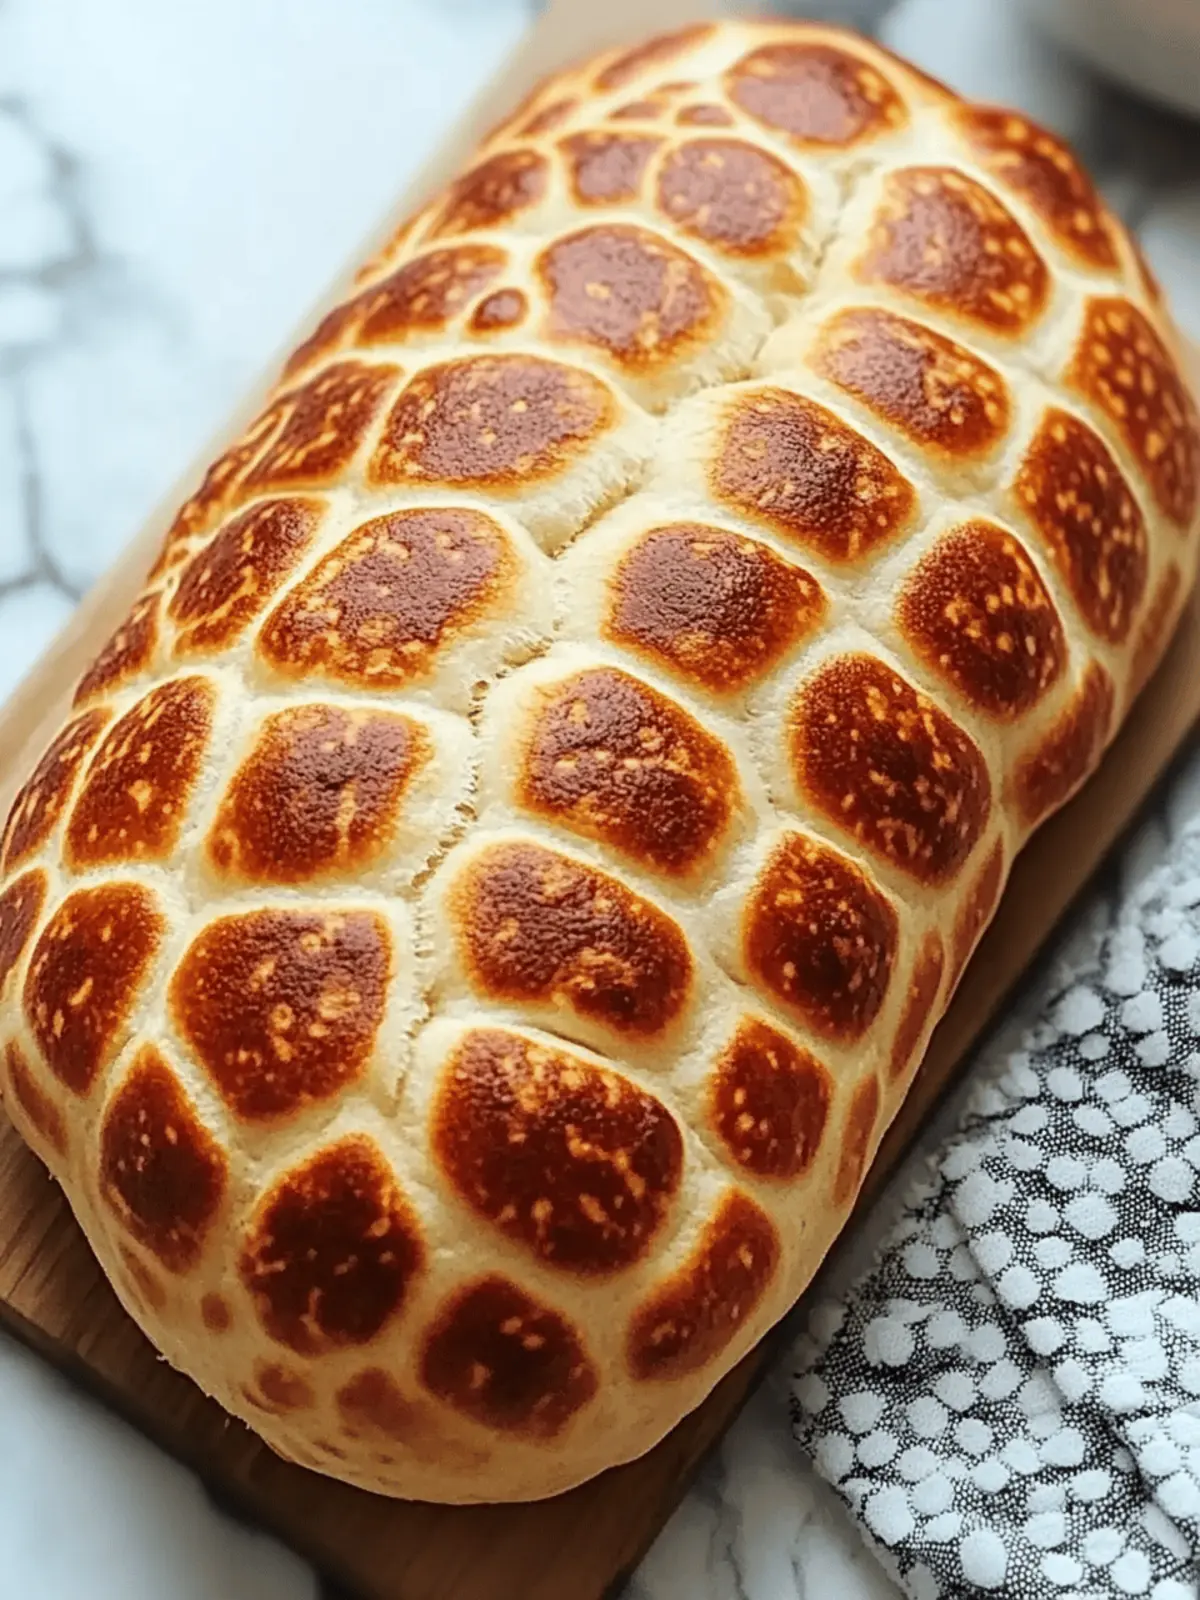
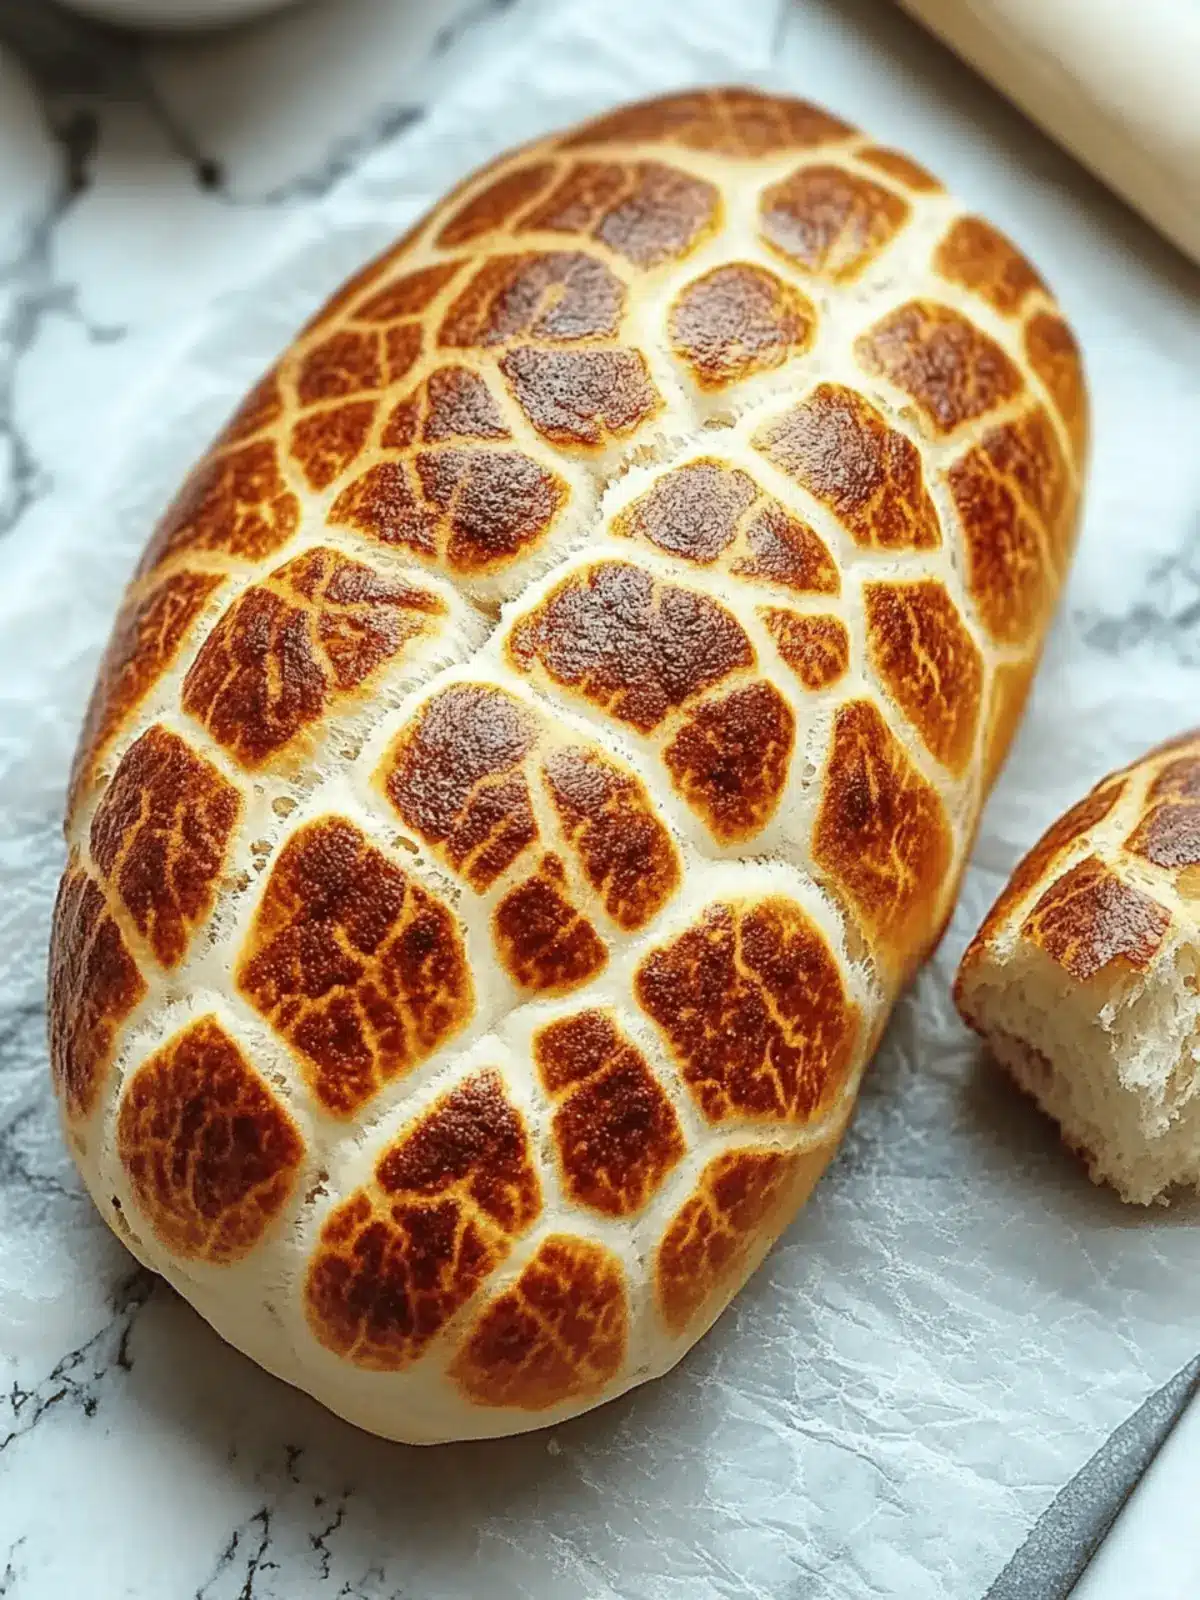
There’s a certain enchantment that fills the air when you first catch the scent of fresh-baked bread wafting through your home. It’s a nostalgic moment, a reminder of cozy kitchens and warm gatherings. When I discovered this Easy Tiger Bread recipe, I knew it was destined to become a staple in my culinary repertoire. With its unique crackled crust and irresistible flavor, this bread is not only a feast for the senses but also a breeze to make—even for those busier weeknights when fast food seems like the easiest option.
Imagine taking just a few simple ingredients, blending them into a sticky dough, and then watching as it transforms into a golden-brown delight that’s perfect for sandwiches or as a side with your favorite soup. The beauty of Easy Tiger Bread lies in its versatility; whether you shape it into a rustic loaf or delightful rolls, it never fails to impress family and friends. Let’s dive into the magic of baking this delightful bread together!
Why is Easy Tiger Bread so irresistible?
Unique texture: The standout crackled crust provides a delightful contrast to the soft, fluffy interior.
Versatile serving options: Perfect as a base for sandwiches or alongside a warm bowl of soup.
Simple ingredients: You only need pantry staples to whip up this culinary delight.
Quick baking time: With just 20-35 minutes in the oven, your homemade treat will be ready in no time.
Crowd-pleaser: This bread never fails to impress, making it ideal for gatherings or family dinners.
Elevate your meals with this exquisite bread that’s fun to make and even better to eat!
Easy Tiger Bread Ingredients
For the Dough
- Bread flour – a must for creating that perfect chewy texture.
- Sugar – adds a touch of sweetness and helps with fermentation.
- Salt – enhances flavor and strengthens the dough.
- Instant yeast – ensures your bread rises beautifully without waiting.
- Warm water – activates the yeast for a great rise.
- Vegetable oil – adds moisture and richness to the dough.
For the Tiger Topping
- Rice flour – gives the unique crackled finish that makes Easy Tiger Bread so special.
- Warm water – helps create a thick paste for spreading on the dough.
- Sugar – balances the savory notes of the bread with a hint of sweetness.
- Salt – rounds out the flavors in the topping.
- Vegetable oil – adds richness and helps the topping adhere nicely.
- Instant yeast – a touch added to ensure the topping develops a lovely texture.
Dive into this recipe and enjoy the irresistible flavors and textures that make Easy Tiger Bread a family favorite!
How to Make Easy Tiger Bread
-
Mix ingredients: In a large mixing bowl, combine bread flour, sugar, salt, and instant yeast. Pour in warm water and vegetable oil, then mix until a sticky dough forms, embracing the deliciousness ahead.
-
Knead dough: Turn the dough onto a floured surface and knead it for 8-10 minutes until it’s smooth and elastic. Alternatively, let a stand mixer take over with a dough hook for 5-6 minutes.
-
First rise: Shape the dough into a ball, place it in a lightly oiled bowl, and cover it with a kitchen towel. Set it in a warm spot and let it rise for 1-2 hours or until it doubles in size—this is when the magic begins!
-
Prepare topping: In a separate bowl, whisk together rice flour, sugar, salt, instant yeast, and warm water. Add the vegetable oil and stir until a thick paste forms. Cover and let it rest for 15 minutes as the aroma fills your kitchen.
-
Shape dough: Once the dough has risen, gently punch it down to release air. Shape it into your desired loaf or rolls and place it on a parchment-lined baking sheet, ready for its second rise.
-
Second rise: Cover the dough loosely with a towel and let it rise again for 30-45 minutes until it’s puffy and full of promise.
-
Spread topping: Generously spread the rice flour topping over the risen dough using a spatula or the back of a spoon. The thicker, the better for that signature crackled crust.
-
Preheat oven: Set your oven to 400°F (200°C) to prepare for the final step of baking—exciting, isn’t it?
-
Bake bread: Bake the bread for 20-25 minutes for rolls or 30-35 minutes for a loaf, enjoying the delightful aroma as it turns golden brown and your kitchen transforms.
-
Cool and slice: Once baked, remove it from the oven and let it cool on a wire rack for a few minutes before slicing into this enticing creation.
Optional: Serve with a pat of butter or your favorite spread for an extra treat!
Exact quantities are listed in the recipe card below.
What to Serve with Easy Tiger Bread?
Nothing pairs better with freshly baked bread than delicious, comforting sides that elevate your meal.
- Savory Soup: A hearty minestrone or creamy tomato soup beautifully complements the crusty texture of the Easy Tiger Bread, perfect for dipping.
- Garden Salad: Crisp greens with a zesty vinaigrette provide a refreshing balance to the rich flavors of the bread.
- Creamy Butter: A dollop of good-quality butter can elevate each slice, adding a rich, melt-in-your-mouth experience.
- Cheese Platter: Pairing it with a selection of cheeses makes for an inviting appetizer, inviting everyone to gather and savor the moment.
- Roasted Vegetables: The caramelized sweetness of roasted seasonal veggies adds warmth and nutrition, making your meal hearty and wholesome.
- Dipping Oils: A mix of olive oil and balsamic vinegar for dipping brings a delightful zing that enhances the rustic nature of the bread.
- Sweet Jam: A fruity jam or homemade preserves drizzled on top introduces a lovely sweet contrast to the savory notes.
- Red Wine: A nice glass of red wine can elevate the dining experience, perfectly complementing the deep flavors and textures of the bread.
- Chocolate Dessert: End on a sweet note with decadent chocolate desserts, offering a satisfying finish alongside the delightful homemade bread.
Make Ahead Options
These Easy Tiger Bread rolls are perfect for meal prep enthusiasts! You can prepare the dough up to 24 hours in advance by mixing and kneading it, then letting it rise, covering it tightly with plastic wrap, and refrigerating. When you’re ready to bake, simply remove it from the fridge and let it come to room temperature for about 30 minutes, followed by the second rise for 30-45 minutes before adding the rice flour topping. The unique crackled crust will still form beautifully, ensuring this bread remains just as delicious. By prepping ahead, you’ll save precious time on busy weeknights while still enjoying warm, fresh-baked bread that’ll delight your family!
Easy Tiger Bread Variations
Feel free to add your own twist to this delightful recipe and make it truly yours!
-
Whole Wheat: Substitute half the bread flour with whole wheat flour for a heartier texture and rich flavor.
This swap not only enhances the nutritive profile but adds a rustic charm that complements the crackled crust beautifully. -
Herb-Infused: Mix in dried herbs like rosemary or thyme into the dough for an aromatic touch.
The herbaceous notes elevate the flavor profile, making it a lovely accompaniment to soups or salads. -
Garlic Twist: Fold in minced garlic or roasted garlic cloves for a savory punch.
This adds a delightful depth, perfect for garlic lovers or as a wonderful base for bruschetta. -
Cheese Delight: Incorporate shredded cheese into the dough to create a cheesy, flavorful bread.
Cheddar, mozzarella, or even feta can add a melty surprise that makes every bite something to savor. -
Spicy Kick: Add crushed red pepper flakes to the dough for a hint of heat.
This exciting twist wakes up the palate and pairs wonderfully with a creamy dip or as a side to spicy dishes. -
Sweet Variation: Add raisins or dried cranberries to the dough for a hint of sweetness.
This makes for a delightful breakfast bread, especially when paired with butter and honey. -
Nutty Flavor: Mix in toasted nuts, such as walnuts or pecans, for added crunch and flavor.
Their rich, buttery taste can transform your Easy Tiger Bread into a satisfying snack all on its own! -
Gluten-Free Option: Substitute bread and rice flour with a gluten-free flour blend for a gluten-free version.
Be sure to add a binding agent like xanthan gum to replicate that chewy texture of traditional bread.
Storage Tips for Easy Tiger Bread
Room Temperature: Store the bread in an airtight container or wrap it in a kitchen towel for up to 3 days to keep it fresh and delicious.
Fridge: For longer freshness, refrigerate the bread in a zip-top bag for up to 5 days, but note it may dry out slightly.
Freezer: Wrap individual slices or the whole loaf tightly in plastic wrap, then in foil, and freeze for up to 3 months. Defrost at room temperature before enjoying!
Reheating: Warm slices in the oven at 350°F (175°C) for about 10 minutes or toast for a crunchy, fresh experience of your homemade Easy Tiger Bread.
Tips for the Best Easy Tiger Bread
-
Proper Dough Hydration: Ensure your water is warm, not hot. Too hot can kill the yeast, preventing your Easy Tiger Bread from rising.
-
Kneading Technique: Knead until the dough is smooth and elastic, which helps develop gluten. Avoid under-kneading to ensure a well-structured loaf.
-
Rise in a Warm Place: Dough should double in size during the first rise, so find a cozy spot for it—like the top of a warm oven or on a sunlit counter.
-
Even Topping Application: Apply the rice flour topping thickly and evenly to achieve that irresistible crackled crust. A thin layer won’t create the signature texture!
-
Watch Baking Time: Keep an eye on the bread as it bakes, as ovens vary. A golden-brown crust indicates it’s ready, but check if it’s fully cooked by tapping the bottom for a hollow sound.
Easy Tiger Bread Recipe FAQs
How do I select the right ingredients for Easy Tiger Bread?
Absolutely! For the best results, choose high-quality bread flour with a high protein content, as it helps achieve that perfect chewy texture. The warm water should feel like a cozy bath—ideally around 100°F (38°C)—to activate the yeast effectively. If using fresh yeast instead of instant, you’ll need to adjust the quantities.
How should I store Easy Tiger Bread for optimal freshness?
Store your Easy Tiger Bread in an airtight container at room temperature for up to 3 days. For longer-lasting freshness, a zip-top bag in the fridge can extend its life up to 5 days, though it may lose a bit of moisture. Remember, the ideal way to keep it fresh is to wrap it in a kitchen towel before placing it in the container.
Can I freeze Easy Tiger Bread? If so, how?
Yes, indeed! To freeze your Easy Tiger Bread, wrap individual slices or the whole loaf tightly in plastic wrap, then in foil to prevent freezer burn. It should stay delicious for up to 3 months. When you’re ready to enjoy, simply let it defrost at room temperature or pop it in the oven at 350°F (175°C) for about 10 minutes to bring back that fresh-baked taste!
What should I do if my dough isn’t rising?
Very! If your dough isn’t rising, it could be due to inactive yeast. Make sure your water isn’t too hot or too cold—aim for that warm bath temperature! If working with active dry or fresh yeast, verify it’s still fresh. Also, ensure that your dough is covered properly and placed in a warm, draft-free area for rising. If needed, try placing it near a warm oven for a boost.
Are there any dietary considerations for Easy Tiger Bread?
Great question! This recipe contains gluten and yeast, so those with gluten allergies or sensitivities should avoid it. Alternatively, you can experiment with gluten-free flour blends, but the texture may differ. Additionally, make sure all ingredients, like vegetable oil and sugar, fit your dietary needs. For those with pet allergies, avoid sharing any leftovers; bread can upset their stomachs.

Easy Tiger Bread Recipe for a Crunchy, Crave-Worthy Snack
Ingredients
Equipment
Method
- In a large mixing bowl, combine bread flour, sugar, salt, and instant yeast. Pour in warm water and vegetable oil, then mix until a sticky dough forms.
- Turn the dough onto a floured surface and knead it for 8-10 minutes until it's smooth and elastic. Alternatively, let a stand mixer take over with a dough hook for 5-6 minutes.
- Shape the dough into a ball, place it in a lightly oiled bowl, and cover it with a kitchen towel. Set it in a warm spot and let it rise for 1-2 hours or until it doubles in size.
- In a separate bowl, whisk together rice flour, sugar, salt, instant yeast, and warm water. Add the vegetable oil and stir until a thick paste forms. Cover and let it rest for 15 minutes.
- Once the dough has risen, gently punch it down to release air. Shape it into your desired loaf or rolls and place it on a parchment-lined baking sheet.
- Cover the dough loosely with a towel and let it rise again for 30-45 minutes until it's puffy.
- Generously spread the rice flour topping over the risen dough using a spatula or the back of a spoon.
- Set your oven to 400°F (200°C) to prepare for baking.
- Bake the bread for 20-25 minutes for rolls or 30-35 minutes for a loaf.
- Once baked, remove it from the oven and let it cool on a wire rack before slicing.


