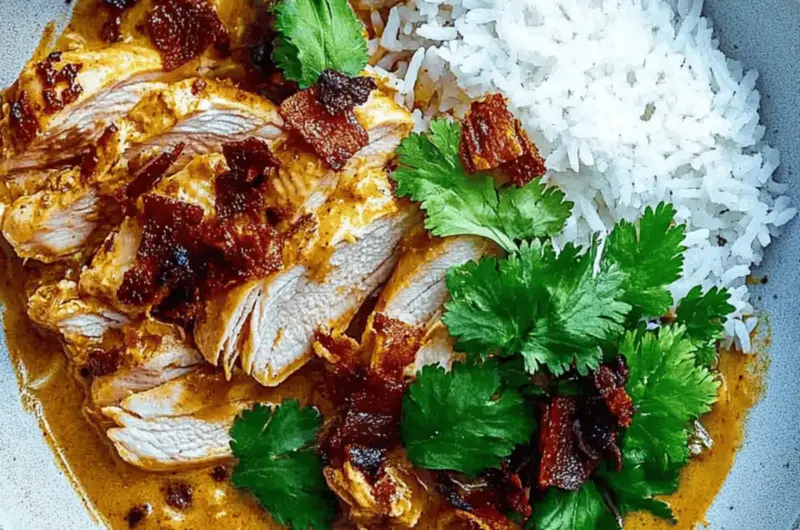
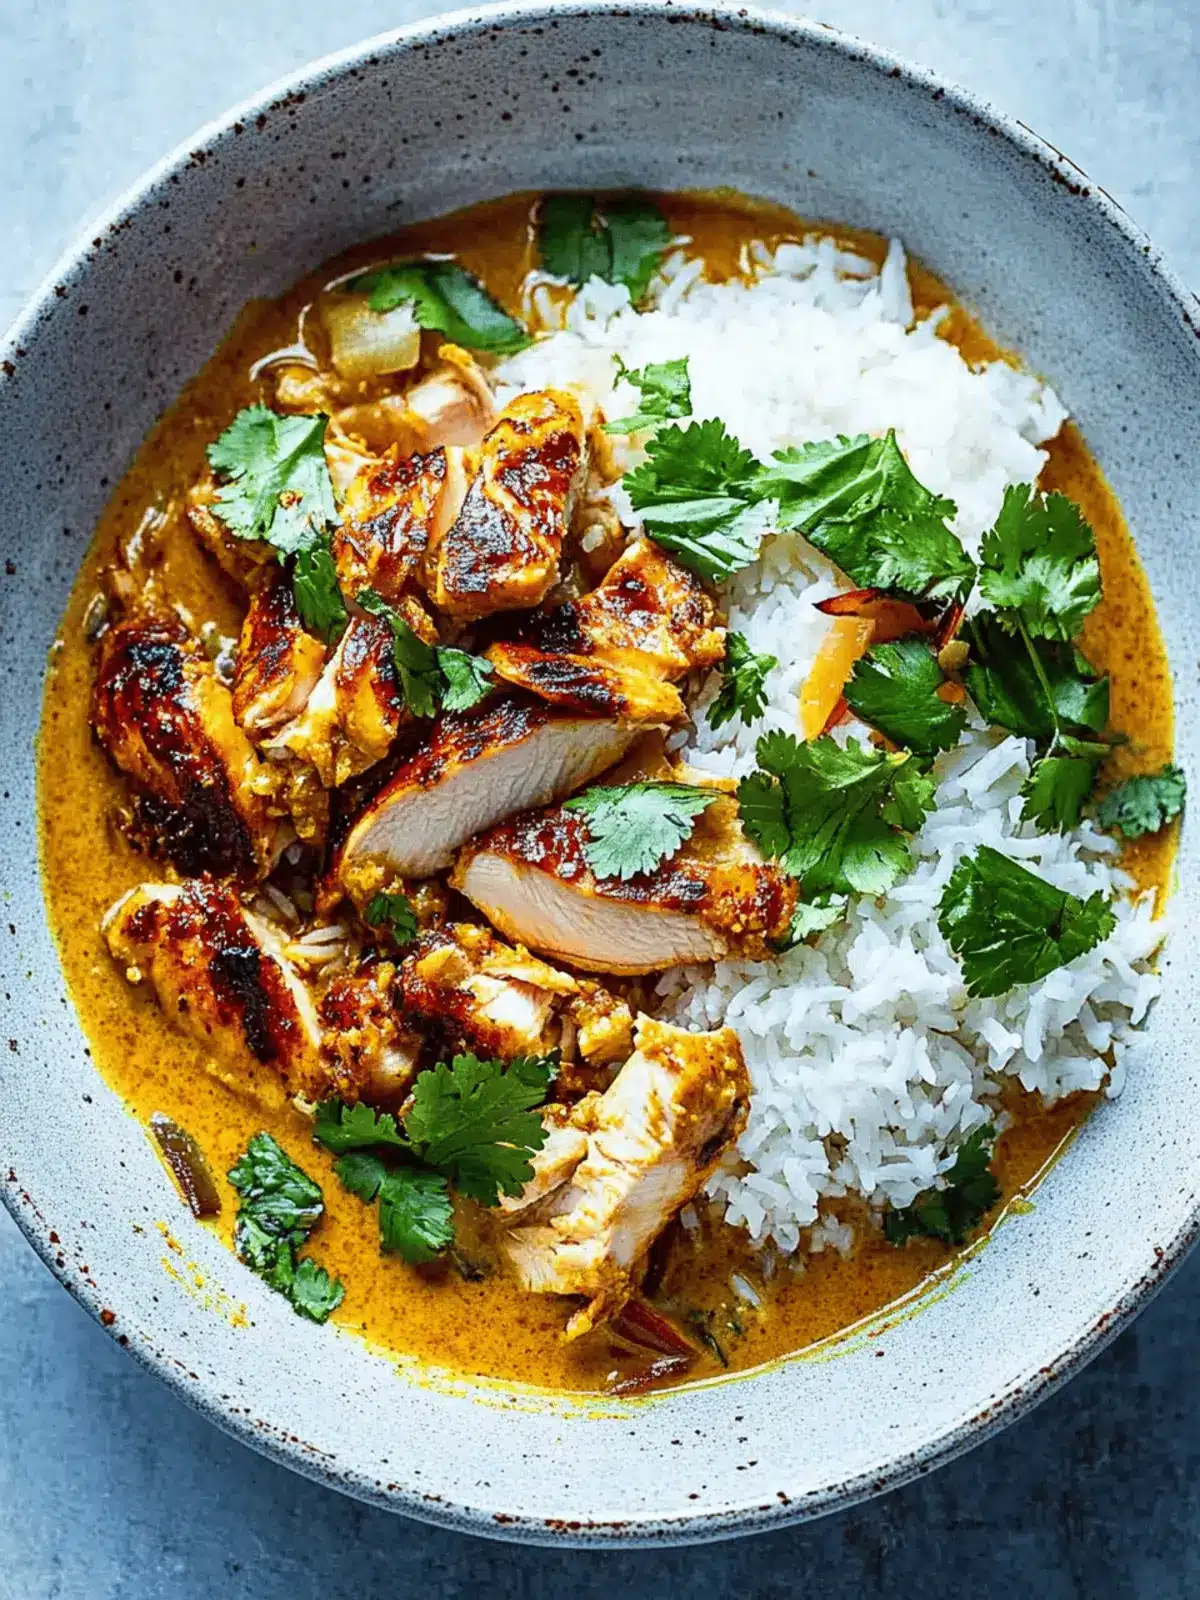
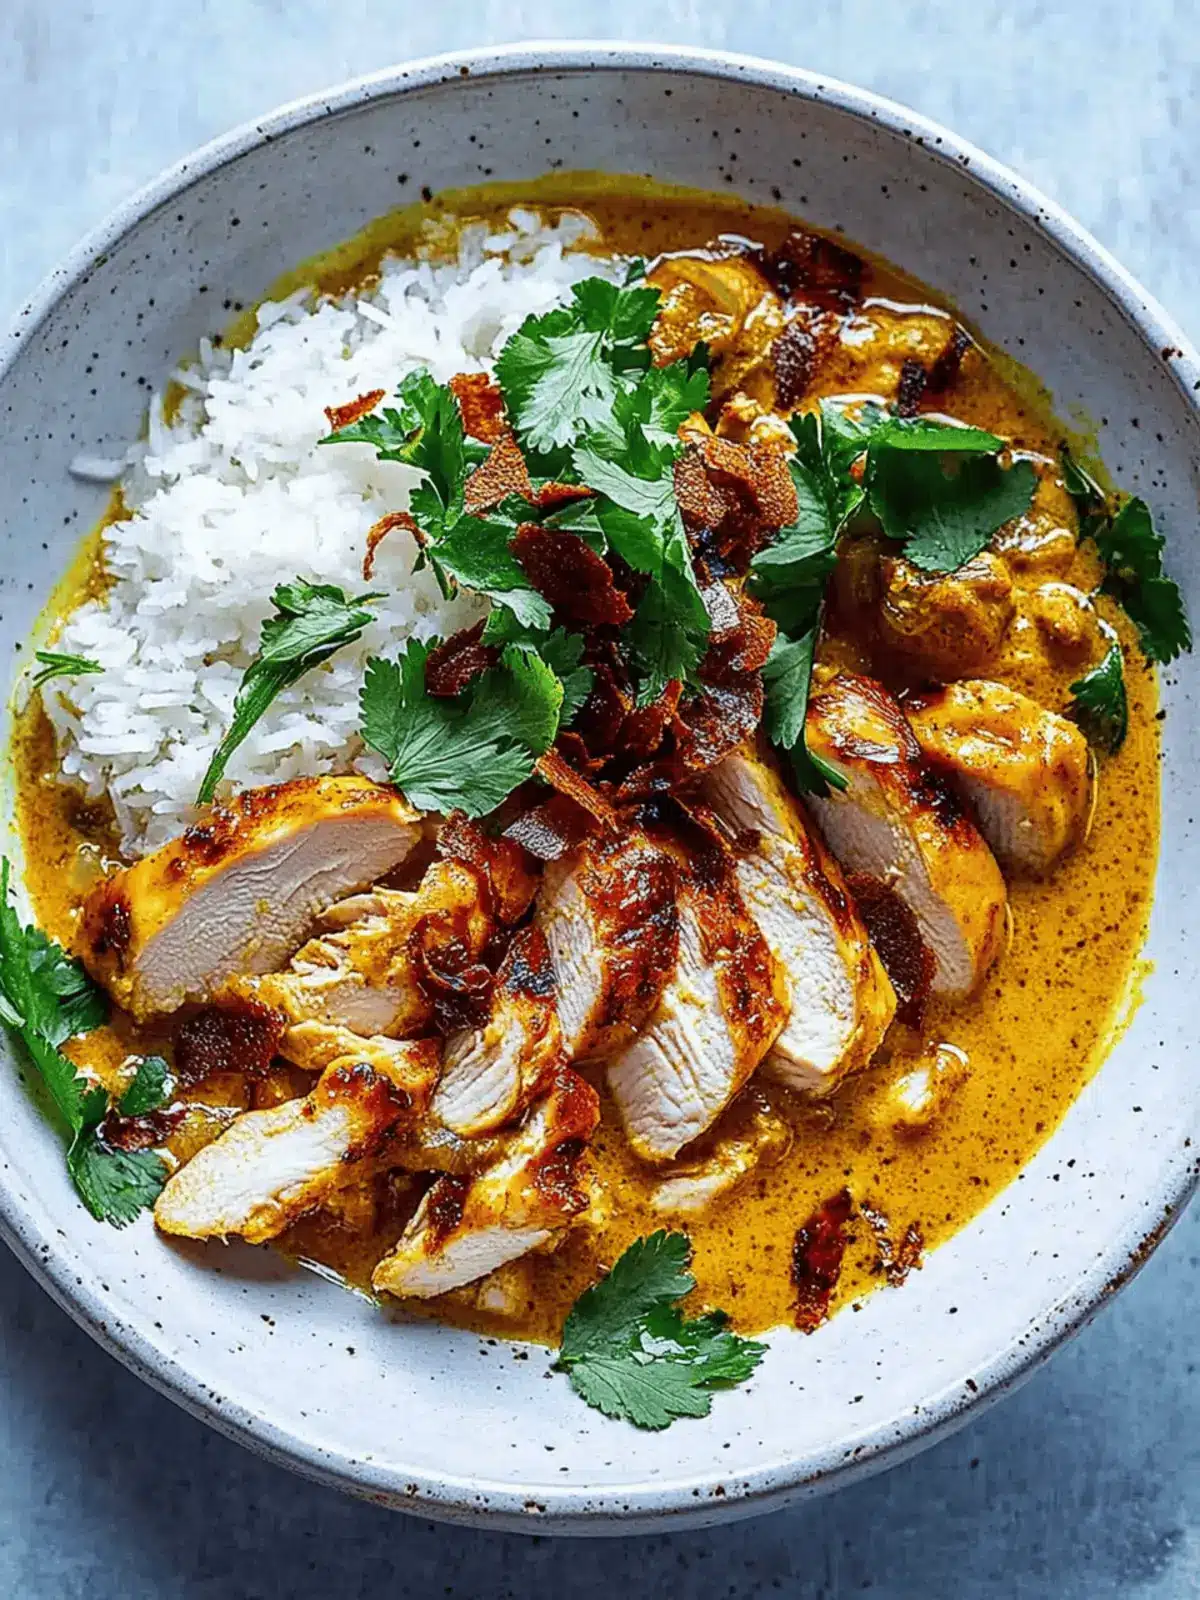
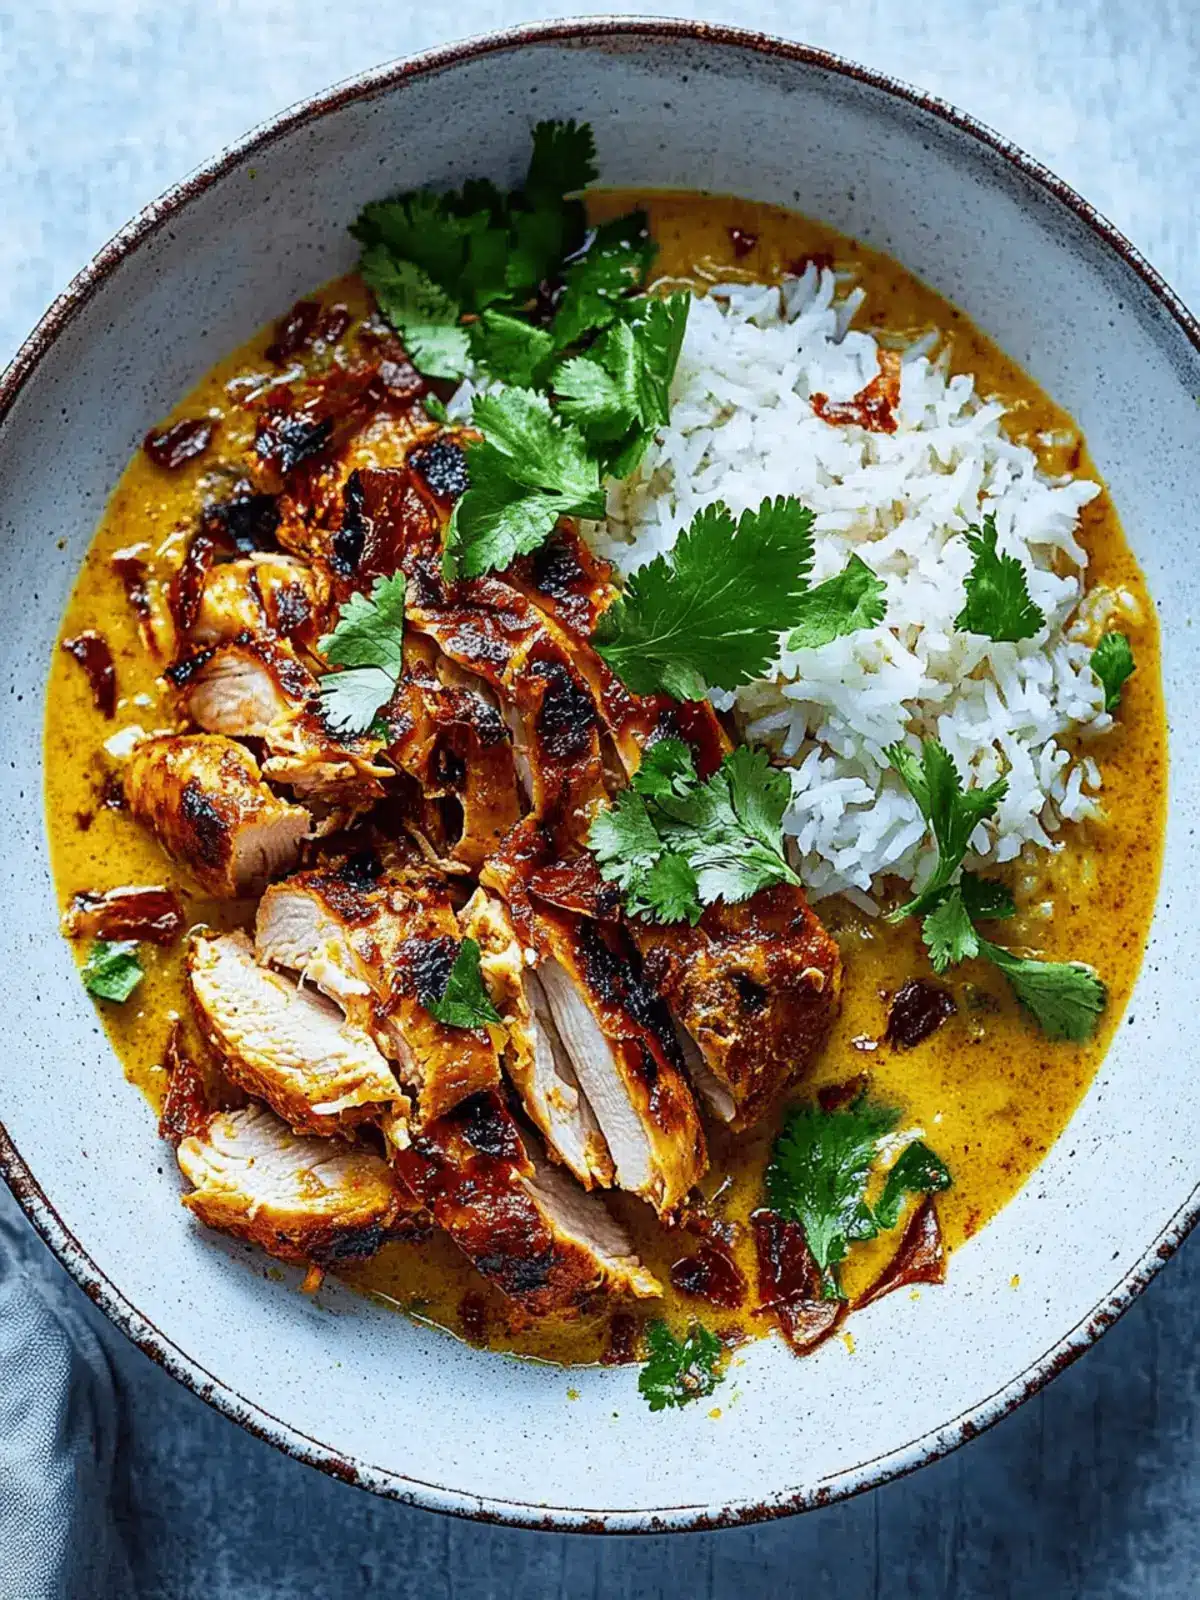
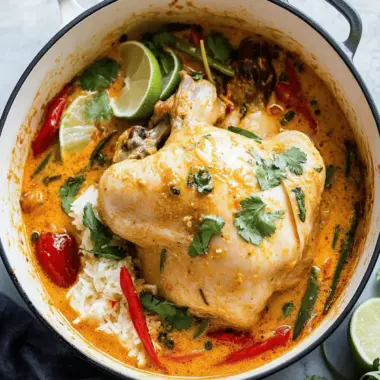
In the midst of a hectic week, I often find myself yearning for something quick yet utterly satisfying. Enter Curried Coconut Chicken & Rice—a dish that transforms the ordinary into the extraordinary in just 30 minutes. As the golden aromas of Thai yellow curry paste infuse my kitchen, they carry me away from the usual routine and into a world of flavor. Picture juicy chicken thighs soaked in creamy coconut milk, resting atop fluffy rice, and adorned with a sprinkle of fresh coriander.
It’s not just about filling plates; it’s about creating memorable meals that bring my family together, even on the busiest of nights. Whether you’re looking to delight your taste buds or simply escape the monotony of fast food, this recipe is your ticket to a delightful culinary journey. Let’s dive into this easy, family-friendly creation that promises to become a staple in your weeknight arsenal!
Why is Curried Coconut Chicken & Rice so irresistible?
Flavor Explosion: This dish is a vibrant fusion of savory Thai flavors that transforms your weeknight dinner into an exotic culinary experience.
Quick and Easy: With just 30 minutes of cooking time, you can whip up a meal that feels gourmet while fitting into your busy schedule.
Family Favorite: It’s designed to please everyone at the table, making it a crowd-pleaser that brings smiles and satisfaction.
Versatile Options: Want something a bit different? This recipe can be customized with various veggies or spice levels for a tailored experience.
Comforting Delight: The creamy coconut milk and tender chicken create a cozy texture that warms the soul, perfect for those colder evenings.
Try this dish tonight for something memorable that leaves fast food in the dust!
Curried Coconut Chicken & Rice Ingredients
For the Chicken
• Skinless Chicken Thigh – Juicy and tender, ideal for absorbing flavors.
• Garlic Clove – Adds depth and aroma; always mince fresh for the best flavor.
• Oyster Sauce – Enhances umami flavor; can substitute with soy sauce for a vegetarian twist.
• Salt & Black Pepper – Basic seasoning, adjust to taste for the perfect balance.
For the Sauce
• Coconut Milk – Adds creaminess and sweetness; choose full-fat for richer results.
• Thai Yellow Curry Paste – The backbone of flavor; adjust for spice preference, or use red for more heat.
• Water – Used to adjust sauce consistency; less water means a thicker sauce.
• Sugar – Balances flavors; adjust based on your taste preference.
• Lime – Adds acidity and brightness; one lime is sufficient for a burst of flavor.
For Serving
• Cooked Rice – The perfect base for serving; use jasmine or basmati for the best texture.
• Fresh Coriander – Provides freshness as garnish; use only the leaves for that herby aroma.
• Crispy Fried Onion – Optional but adds a delicious crunch to each bite.
• Chilli Oil – Drizzle for added spice and depth; use to personalize heat levels.
With these ingredients, you’ll create a delightful and family-friendly Curried Coconut Chicken & Rice that’s bound to impress!
How to Make Curried Coconut Chicken & Rice
-
Marinate Chicken: Combine skinless chicken thighs with minced garlic and half of the oyster sauce. Season with salt and pepper, then let it sit for about 15 minutes for optimal flavor absorption.
-
Prepare Sauce: In a saucepan, heat a splash of coconut milk. Stir in Thai yellow curry paste, chopped coriander stalks, and the remaining oyster sauce. Cook for 2-3 minutes until fragrant. Add water and the remaining coconut milk; bring to a boil, then simmer for 10-15 minutes until slightly thickened.
-
Cook Chicken: In a frying pan, heat olive oil over medium-high heat. Cook the marinated chicken for about 6-7 minutes per side until charred and fully cooked. Adjust the broth seasoning with lime juice, salt, sugar, and pepper to taste.
-
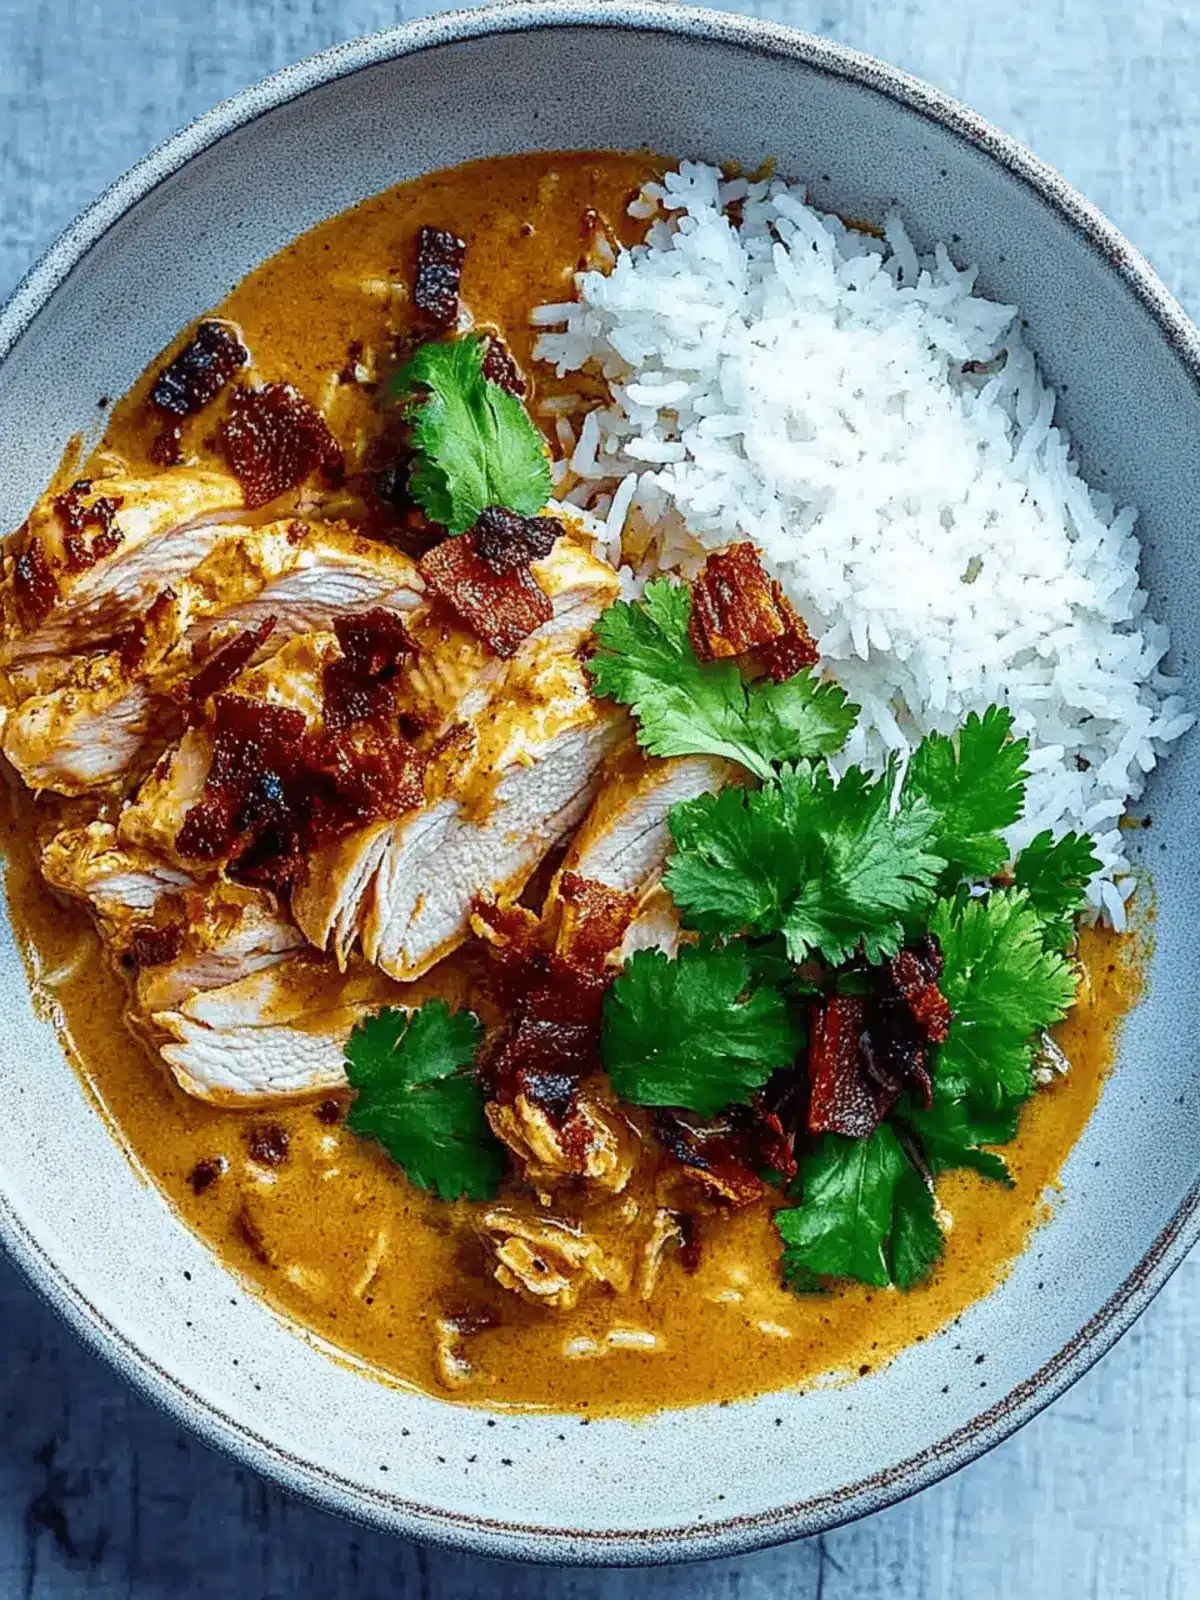
Serve: Divide cooked rice into bowls. Top with the creamy curry sauce, sliced chicken, and a drizzle of chilli oil. Garnish with crispy fried onions and fresh coriander leaves for added texture and flavor.
Optional: Serve with lime wedges on the side for an extra burst of freshness.
Exact quantities are listed in the recipe card below.
Expert Tips for Curried Coconut Chicken & Rice
- Marinate Effectively: Ensure chicken is marinated for at least 15 minutes to absorb flavors; this elevates the taste of your Curried Coconut Chicken & Rice dramatically.
- Adjust Spice Level: If you prefer milder heat, start with a small amount of Thai yellow curry paste and add more gradually. This way, you can tailor the dish to your family’s preference.
- Thick Sauce Trick: Reduce the water for a creamier sauce—using less than 300ml can result in a luscious consistency that will cling beautifully to your chicken and rice.
- Crispy Final Touch: Don’t skip the crispy fried onions—they provide a delightful crunch that contrasts with the creamy sauce. Add them just before serving for maximum freshness.
- Storage Notes: If you have leftovers, store them in an airtight container in the refrigerator for up to 3 days. The flavors develop even more, making reheated Curried Coconut Chicken & Rice taste just as delicious!
Storage Tips for Curried Coconut Chicken & Rice
Fridge: Store in an airtight container for up to 3 days. When ready to enjoy, simply reheat in a saucepan over medium heat until warmed through.
Freezer: For longer storage, freeze Curried Coconut Chicken & Rice in portions for up to 3 months. Use freezer-safe containers, leaving some space for expansion.
Reheating: Thaw overnight in the fridge before reheating. Gently warm on the stovetop with a splash of water or coconut milk to maintain that creamy texture.
Leftovers: Flavors often deepen after a day, so day-old Curried Coconut Chicken & Rice can be a delightful surprise!
Curried Coconut Chicken Variations
Feel free to get creative and personalize this dish with these exciting twists!
-
Spicy Boost: Add chopped jalapeños or Thai bird’s eye chilies to the marinade for an extra kick. The heat will elevate your dish!
-
Veggie-Loaded: Incorporate vegetables like diced zucchini, peas, or snap peas during the last few minutes of simmering the sauce. This not only adds nutrients but a delightful crunch.
-
Creamier Sauce: Substitute regular coconut milk with coconut cream for a thicker and richer base that packs a creamy punch. You’ll love the indulgent texture!
-
Herb Infusion: Try adding fresh basil or mint along with the coriander for a refreshing twist. These herbs bring a unique aroma and flavor that will transport you straight to Thailand.
-
Nutty Crunch: Toss in some toasted cashews or peanuts before serving to add a satisfying crunch and subtle nutty flavor that complements the creaminess.
-
Zesty Delight: Grate some lime zest into the sauce for an extra layer of citrus freshness. It will brighten up all the rich flavors beautifully!
-
Plant-Based: Swap chicken thighs for chickpeas or tofu for a delicious vegetarian alternative. Use firm tofu to maintain texture and soak in all that flavorful sauce.
-
Rice Alternatives: Replace white rice with quinoa or brown rice for a healthier, whole grain twist. Each option brings its unique flavor and texture!
Embark on this culinary adventure, and let your taste buds guide you!
What to Serve with Curried Coconut Chicken & Rice?
Elevate your dining experience with complementary sides that enhance the vibrant flavors of this comforting dish.
-
Steamed Broccoli: A nutritious addition, its slight crunch balances the creaminess of the curry and adds a pop of color to your plate.
-
Thai Cucumber Salad: Fresh and zesty, this salad cuts through the richness of the coconut, offering a refreshing contrast that revitalizes the palate.
-
Coconut Rice: Enhance the coconut flavor by serving with coconut-infused jasmine rice, creating a seamless, tropical flavor experience.
-
Spring Rolls: Light and crispy, these can act as delightful appetizers. Their freshness and crunch beautifully complement the tender chicken.
-
Mango Chutney: A spoonful of this sweet and tangy condiment can brighten every bite, bringing a layer of vibrant flavor that lifts the dish.
-
Chilled Green Tea: Serve with a glass of refreshing green tea, which balances the spices and enhances the meal’s overall experience.
-
Banana Bread Pudding: End the meal on a sweet note with this indulgent dessert. Its warm and comforting nature nicely rounds off the lively feast.
These pairings will surely impress your family and friends, creating a full, satisfying meal that transports you straight to the heart of Thai cuisine.
Make Ahead Options
Preparing Curried Coconut Chicken & Rice ahead of time is a game-changer for busy cooks! You can marinate the chicken up to 24 hours in advance; just combine the chicken thighs with minced garlic and oyster sauce, then refrigerate in an airtight container. Additionally, you can pre-make the sauce and refrigerate it for up to 3 days to allow the flavors to meld beautifully. When you’re ready to cook, simply sauté the marinated chicken until cooked through and heat the sauce in a saucepan before combining everything. This method keeps the chicken tender and juicy, ensuring your meal tastes just as delicious as freshly made, saving you precious time during the week!
Curried Coconut Chicken & Rice Recipe FAQs
How do I choose ripe ingredients for this recipe?
Absolutely! For the best flavors in your Curried Coconut Chicken & Rice, choose fresh ingredients. Look for chicken thighs with a pinkish hue and no unpleasant smell. When selecting garlic, opt for firm cloves with no sprouting or dark spots. Make sure your coconut milk is full-fat for creaminess. If using fresh coriander, pick out vibrant green leaves without wilting.
What’s the best way to store leftovers?
Very! Store any leftover Curried Coconut Chicken & Rice in an airtight container in the refrigerator for up to 3 days. When you’re ready to enjoy them again, simply reheat on the stovetop over medium heat until warmed through. If it’s too thick, add a splash of water or coconut milk to adjust the consistency.
Can I freeze Curried Coconut Chicken & Rice?
Of course! To freeze this dish, portion it into freezer-safe containers, leaving some space for expansion. It can be frozen for up to 3 months. When you’re ready to enjoy it, thaw overnight in the fridge, and gently reheat on the stovetop. Add a little coconut milk or water during reheating to keep it creamy and delicious.
What if my sauce turns out too thin?
No worries! If your sauce is thinner than desired, you can easily thicken it. Allow the sauce to simmer uncovered on medium heat for a few more minutes until it reduces. Alternatively, mix a tablespoon of cornstarch with a little cold water to make a slurry, and stir it into the simmering sauce until it thickens.
Is this recipe suitable for people with dietary restrictions?
Very much so! This Curried Coconut Chicken & Rice can be adjusted to meet various dietary needs. For vegetarian diets, simply substitute the chicken with tofu or chickpeas and use a plant-based sauce (like soy sauce instead of oyster sauce). Always check for allergens, especially with sauces and garnishes. If you’re serving guests, let them know about possible allergens in the ingredients used.
How long can I keep the dish in the freezer?
Reassuringly, you can store your Curried Coconut Chicken & Rice in the freezer for up to 3 months. Just remember to label your containers! This way, you’ll enjoy a delicious homemade meal with minimal effort later on. Enjoy the convenience!
Savory Curried Coconut Chicken & Rice in 30 Minutes
Ingredients
Equipment
Method
- Combine skinless chicken thighs with minced garlic and half of the oyster sauce. Season with salt and pepper, then let it sit for about 15 minutes.
- In a saucepan, heat a splash of coconut milk. Stir in Thai yellow curry paste, chopped coriander stalks, and the remaining oyster sauce. Cook for 2-3 minutes until fragrant. Add water and the remaining coconut milk; bring to a boil, then simmer for 10-15 minutes until slightly thickened.
- In a frying pan, heat olive oil over medium-high heat. Cook the marinated chicken for about 6-7 minutes per side until charred and fully cooked. Adjust the broth seasoning with lime juice, salt, sugar, and pepper to taste.
- Divide cooked rice into bowls. Top with the creamy curry sauce, sliced chicken, and a drizzle of chilli oil. Garnish with crispy fried onions and fresh coriander leaves.

