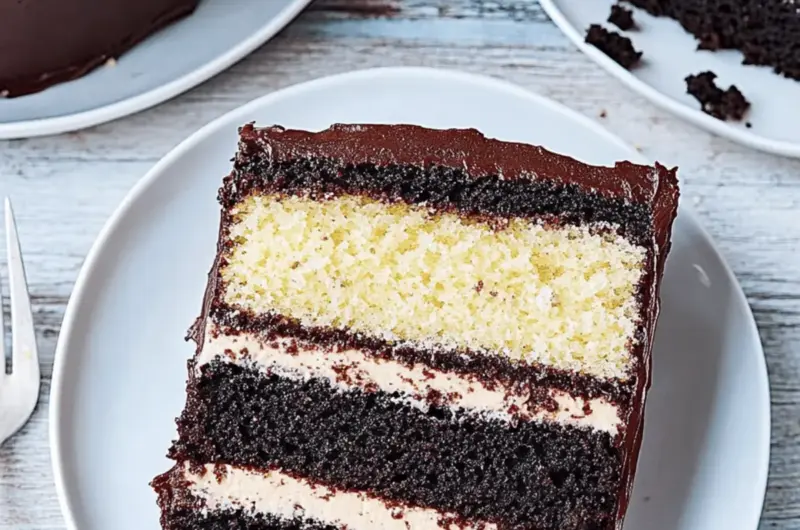
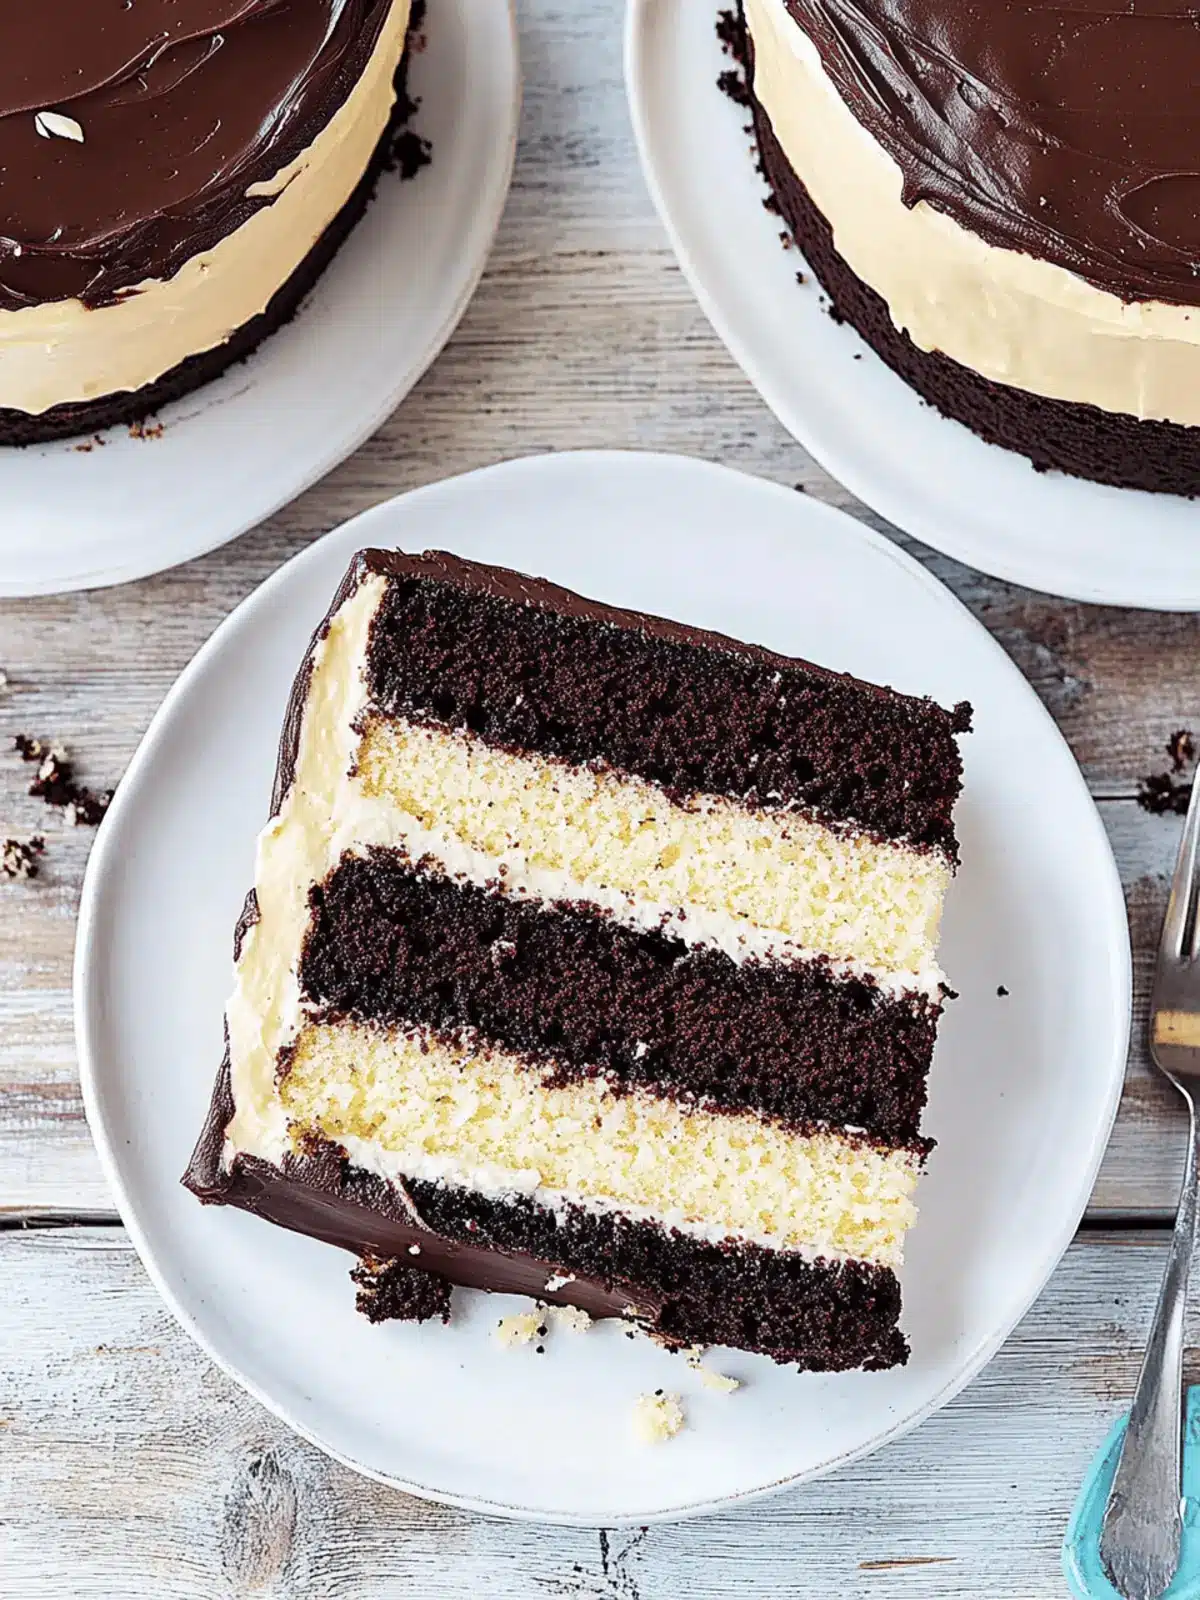
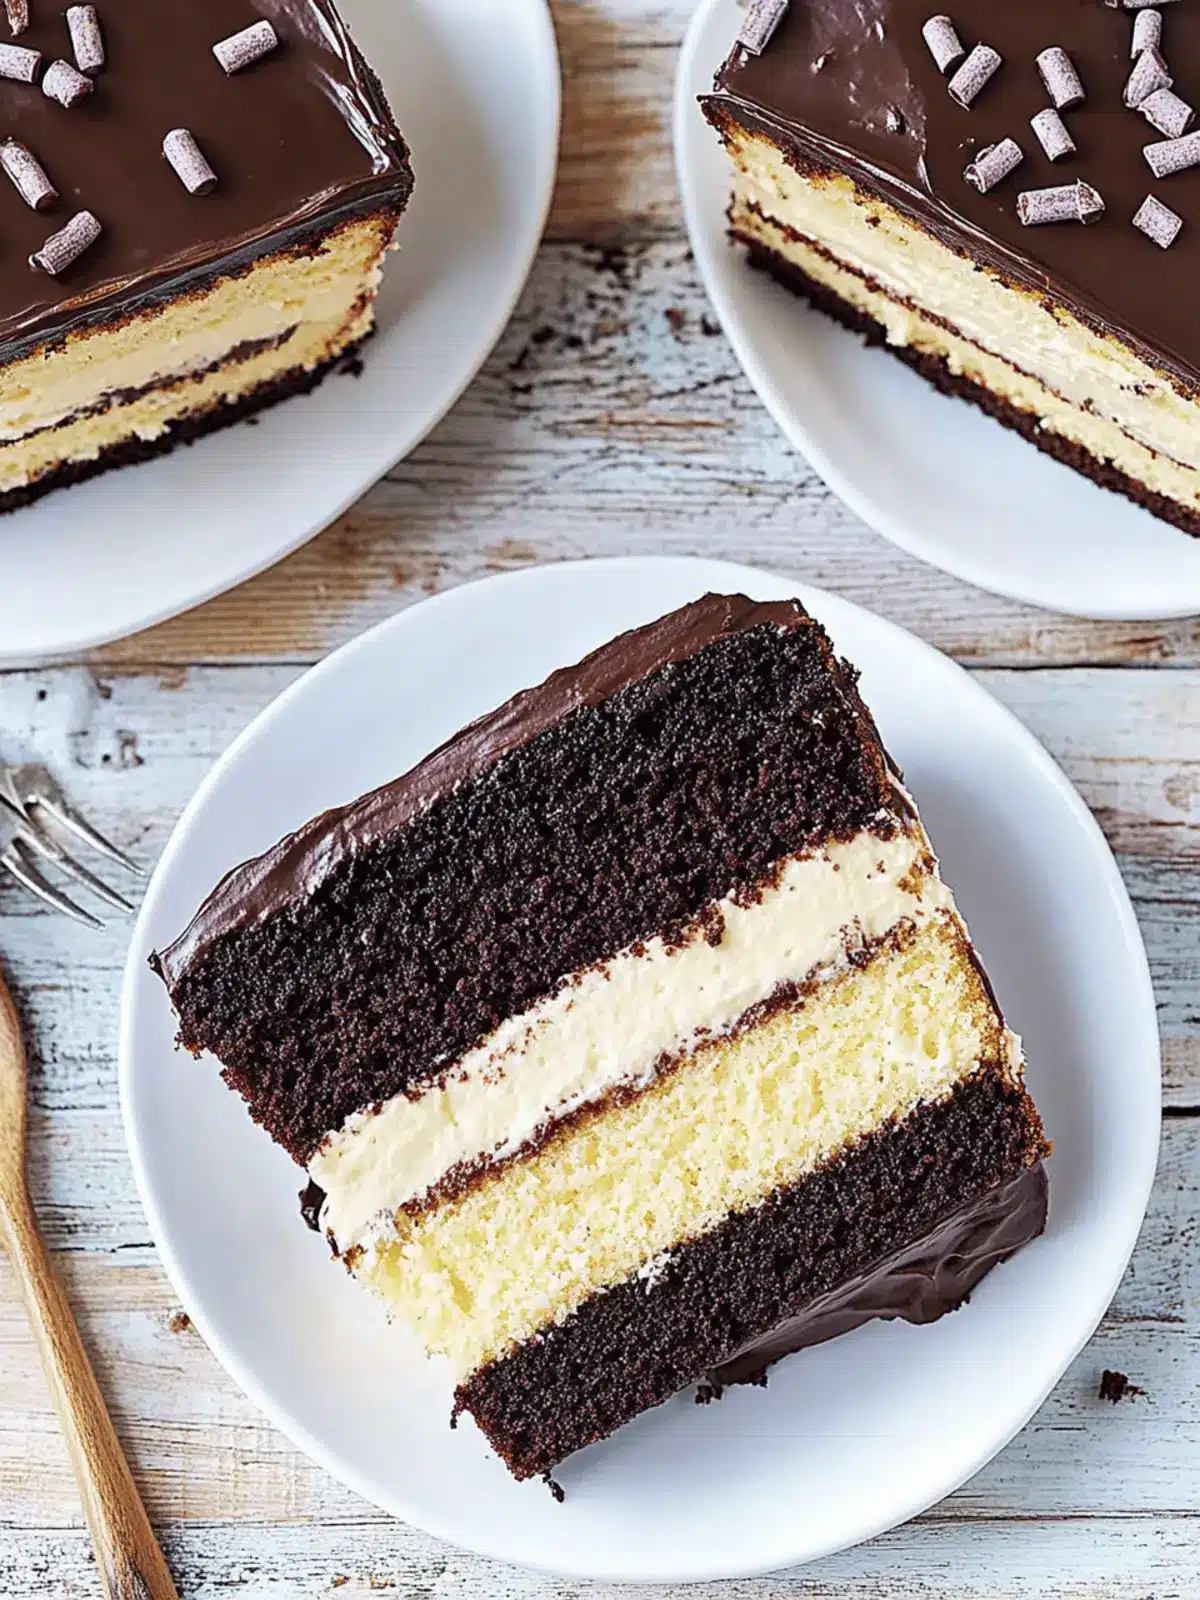
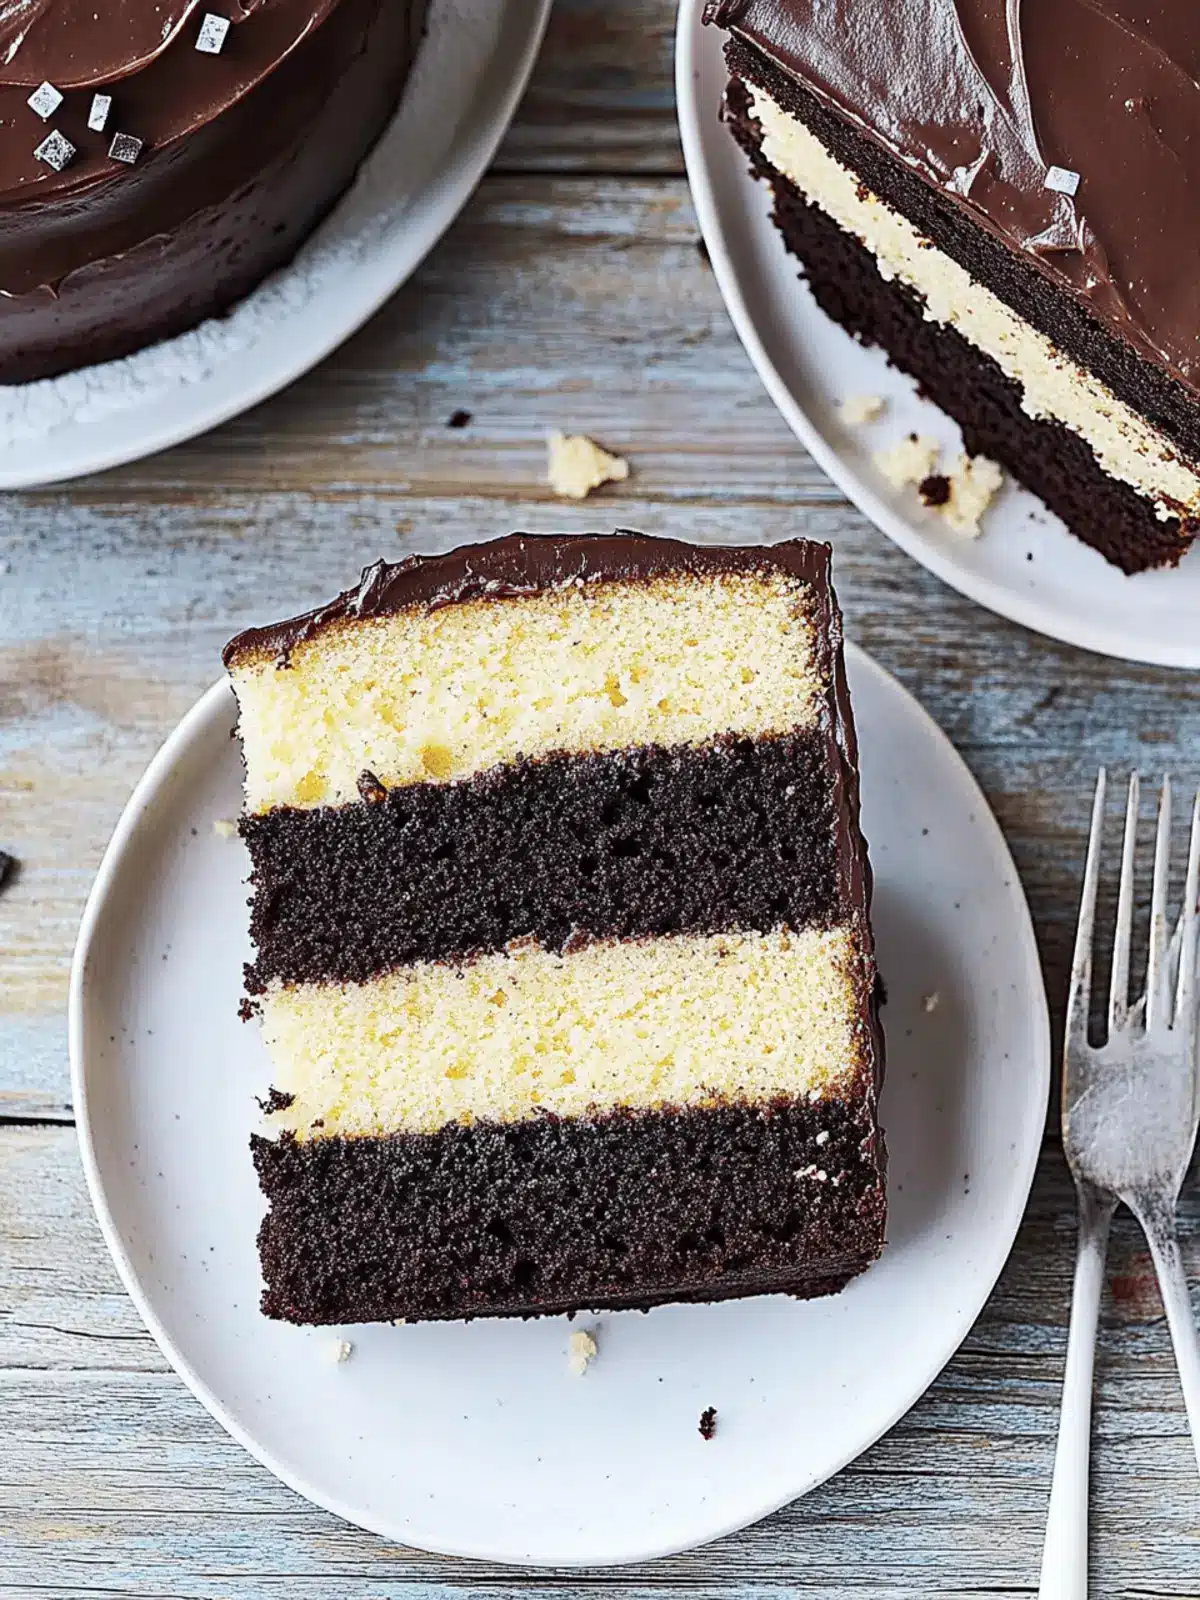
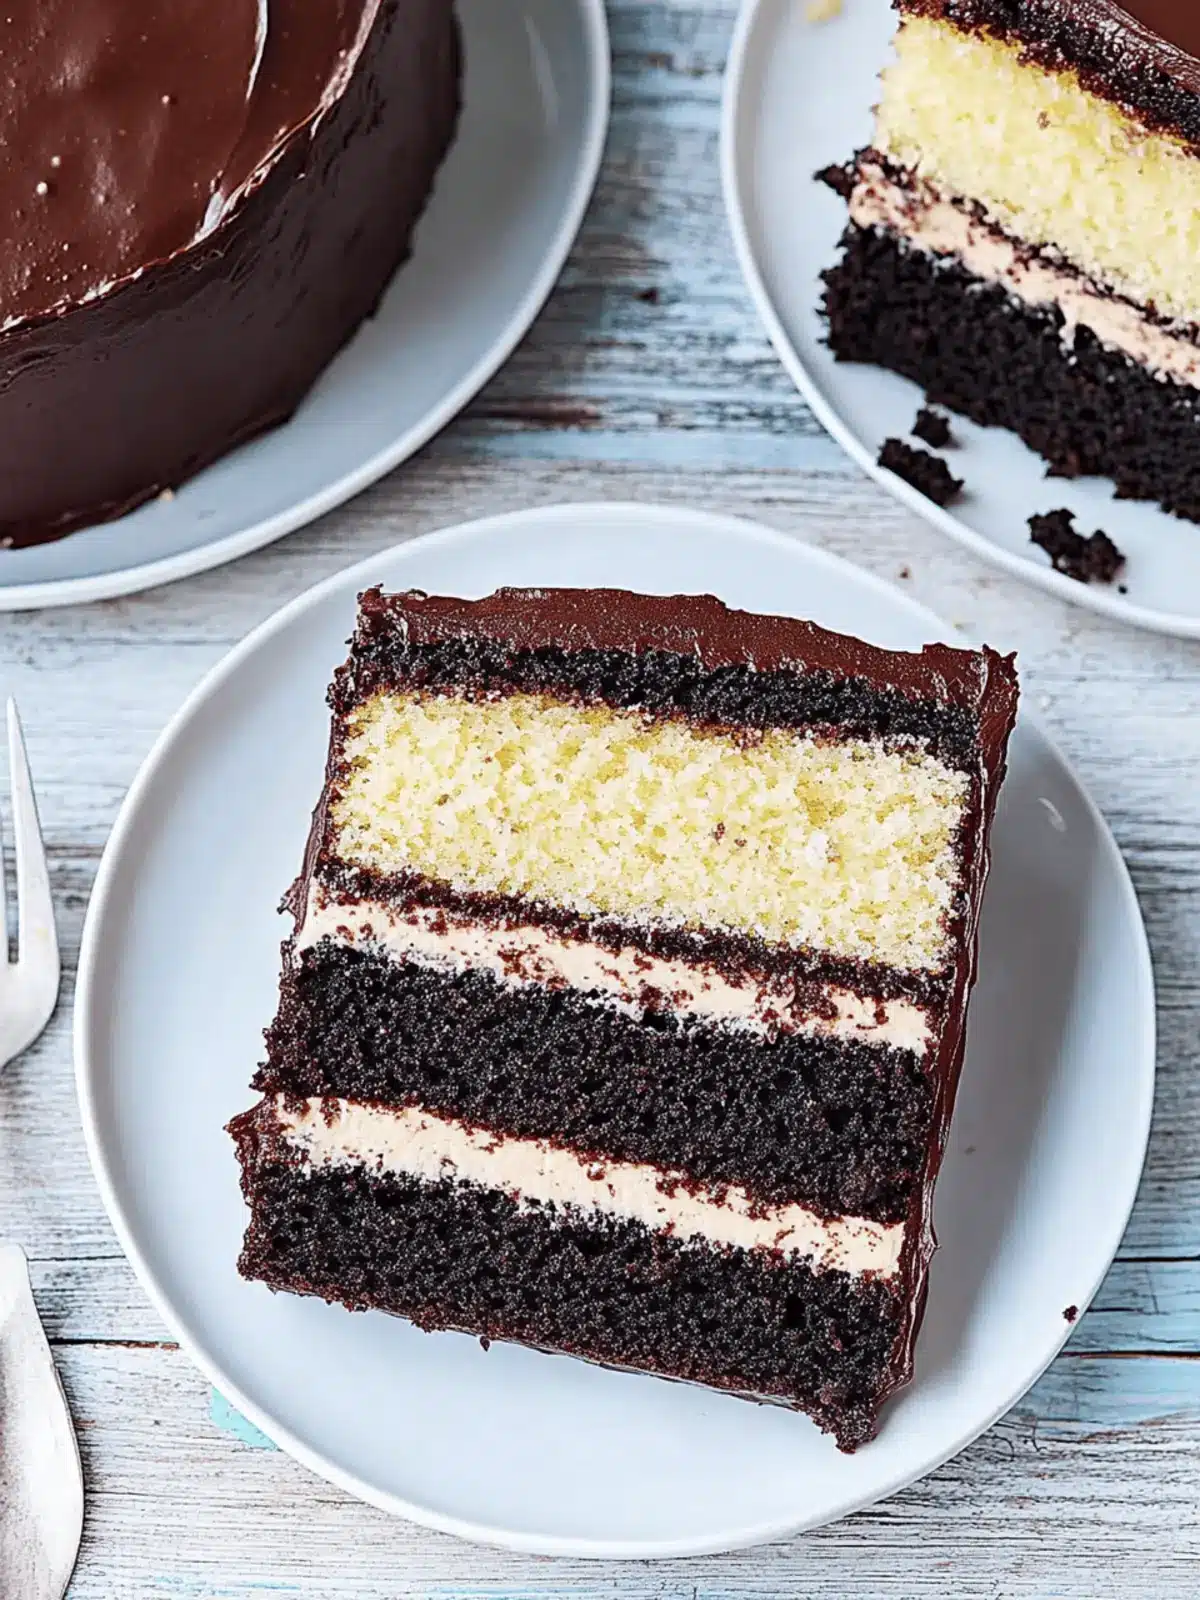
There’s nothing quite like the intoxicating combination of chocolate and vanilla to elevate any celebration. As the aroma of this Choco-nilla Cake begins to waft through your kitchen, memories of joyous gatherings and laughter filled moments start to unfold. Each slice reveals luxurious layers, where rich chocolate embraces light vanilla, inviting you into a world of flavor that feels indulgent yet familiar.
This show-stopping cake is perfect for birthdays, family reunions, or any occasion that calls for a sweet centerpiece. With its creamy filling and velvety texture, the Choco-nilla Cake strikes the ideal balance between decadence and delight, making it a delightful treat that’s sure to impress both family and friends. So, if you’re ready to break free from the mundane cycle of fast food and dive into the heartwarming pleasure of homemade delights, roll up your sleeves and let’s create some delicious magic together!
Why is Choco-nilla Cake a must-try?
Irresistible flavor: The marriage of chocolate and vanilla creates a flavor explosion that charms everyone at the table.
Stunning visuals: Layers of chocolate and vanilla are not just delicious but also visually striking, making it the ultimate showstopper.
Easy to make: This recipe is beginner-friendly, ensuring that you can whip it up without stress for any occasion.
Versatile options: Customize by adding fruit fillings or switching up icings to suit your taste preferences, ensuring a unique touch every time.
Perfect for gatherings: Whether it’s a birthday party or a family get-together, this cake is bound to be a crowd favorite that sparks joy and nostalgia.
Let’s trade the fast food for something truly special and create memories with a homemade masterpiece like this Choco-nilla Cake.
Choco-nilla Cake Ingredients
-
For the Vanilla Cake
-
Eggs – Provide structure and moisture, ensuring a tender crumb.
-
Sugar – Adds sweetness and helps in browning for a beautiful finish.
-
Vegetable Oil – Keeps the cake moist; you can substitute it with melted butter if you prefer.
-
Salt – Enhances the overall flavor, making each bite more delicious.
-
Baking Powder – Serves as a leavening agent, ensuring the cake rises perfectly.
-
Vanilla Extract – Infuses flavor; opt for pure vanilla for the richest taste.
-
All-Purpose Flour – The main structure ingredient; substitute with cake flour for a lighter texture.
-
Heavy Cream – Adds richness and moisture; buttermilk can work as a great replacement.
-
For the Chocolate Cake
-
Cocoa Powder – This unsweetened element brings deep chocolate flavor to the cake.
-
Eggs – Similar role to the vanilla cake, helping with structure.
-
Vegetable Oil – Keeps the chocolate cake moist and tender.
-
Sugar – Sweetens the batter beautifully, enhancing the dessert’s overall taste.
-
Salt – Balances the sweet notes, ensuring a well-rounded flavor.
-
All-Purpose Flour – Main building block; the same substitution applies as above.
-
Baking Powder & Baking Soda – Both are critical leavening agents that ensure the cake rises just right.
-
Water – Adds moisture to create a rich and velvety chocolate batter.
-
For the Filling
-
Butter – Creates a smooth, rich filling; unsalted butter is the best choice.
-
Confectioners’ Sugar – Sweetens and thickens the filling for a delightful texture.
-
Milk – Adjusts the filling’s consistency; use more for a creamier finish.
-
Vanilla Extract – Enhances the filling’s flavor with a warm note.
-
For the Icing
-
Chocolate Chips – Bring rich chocolate flavor to the icing; semi-sweet is a great choice.
-
Heavy Cream – Aids in melting the chocolate and helps achieve a smooth texture for your icing.
How to Make Choco-nilla Cake
-
Preheat Oven: Begin by setting your oven to 350°F (175°C). Don’t forget to grease and line two 9″ x 2″ round cake pans with parchment paper to prevent sticking.
-
Make Vanilla Cake Batter: In a large mixing bowl, beat the eggs and sugar together until smooth and fluffy. Gradually add the vegetable oil, followed by the baking powder, salt, and vanilla extract. Finally, gently incorporate the flour and cream alternately to create a luscious batter. Pour this heavenly mixture into one prepared pan.
-
Bake Vanilla Cake: Place in the oven and bake for 30-35 minutes. You’ll know it’s ready when the top turns a beautiful golden brown and a toothpick inserted comes out clean. Let it cool in the pan for a moment.
-
Make Chocolate Cake Batter: For your chocolate layer, whisk together all the dry ingredients: flour, cocoa, baking powder, baking soda, and salt in a separate bowl. Next, mix in the eggs and vegetable oil until everything is smooth. Gradually pour in the water to keep your batter nice and moist, then pour into the second prepared pan.
-
Bake Chocolate Cake: Slide this pan into the oven and bake for 35 minutes. After baking, leave it in the pan for about 10 minutes before carefully turning out onto a cooling rack.
-
Prepare Filling: Beat the softened butter until creamy, then gradually mix in the confectioners’ sugar. Add milk to adjust the consistency until you reach a fluffy filling that is simply irresistible.
-
Assemble Cake: Using a serrated knife, horizontally cut each layer in half, giving you four layers total. Start your assembly by placing one vanilla layer on a serving plate, spread a layer of your freshly made filling, and top with a chocolate layer. Repeat this process, finishing with the second chocolate layer on top.
-
Make Icing: In a small saucepan, warm chocolate chips with heavy cream over low heat, stirring until melted and smooth. Carefully pour this warm chocolate icing over the assembled cake, allowing it to drip down the sides for an elegant finish. Decorate while still warm and allow to set.
Optional: Garnish with fresh berries or chocolate shavings for an extra touch.
Exact quantities are listed in the recipe card below.
What to Serve with Choco-nilla Cake?
There’s nothing quite like finishing off a delightful meal with the dual comforts of rich chocolate and light vanilla.
-
Vanilla Ice Cream: A scoop of creamy vanilla ice cream perfectly complements the layers of chocolate and vanilla, enhancing the cake’s indulgence.
-
Fresh Berries: Strawberries or raspberries provide a refreshing tartness that beautifully cuts through the cake’s sweetness, adding a pop of color and flavor.
-
Whipped Cream: Light and airy whipped cream brings a luscious creaminess, balancing the cake’s dense texture with a fluffy touch.
-
Chocolate Ganache: Drizzling a rich chocolate ganache over each slice intensifies the chocolate experience while adding a luxurious sheen.
-
Espresso or Coffee: A cup of freshly brewed coffee or a shot of espresso pairs wonderfully, as the coffee’s bitterness contrasts perfectly with the cake’s sweetness.
-
Coconut Flakes: Sprinkle some toasted coconut flakes on top or alongside for a tropical twist; the texture and flavor provide a delightful surprise.
-
Chocolate Milk: For a nostalgic treat, serve alongside a glass of chocolate milk; it creates a playful, sweet experience that kids and adults alike will enjoy.
-
Sliced Almonds: Toasted sliced almonds add a delightful crunch, enhancing the cake’s texture while offering a nutty flavor that complements both chocolate and vanilla notes.
Helpful Tricks for Choco-nilla Cake
- Room Temperature Ingredients: Ensure all ingredients are at room temperature for even mixing, leading to better texture in your Choco-nilla Cake.
- Don’t Overbake: Keep a close eye on your cakes while baking; overbaking can lead to dryness. Start checking a few minutes before the suggested time.
- Even Layers: Use a serrated knife to cut your cakes into layers smoothly. This helps to achieve uniform, aesthetically pleasing layers.
- Cooling Time: Allow cakes to cool completely before assembling; this prevents melting your filling and makes for a stunning presentation.
- Warm Icing Technique: When pouring the chocolate icing, ensure it is just warm and not too hot. This ensures a smooth, lovely drip effect without hardening too quickly.
How to Store and Freeze Choco-nilla Cake
Room Temperature: Keep leftovers in an airtight container at room temperature for up to 3 days. This helps retain the cake’s moisture and flavor.
Fridge: If you want to store the cake longer, refrigerate it in an airtight container for up to 5 days. This will keep the creamy filling fresh.
Freezer: For longer storage, wrap slices of Choco-nilla Cake tightly in plastic wrap, then place them in a freezer bag. They can be frozen for up to 3 months.
Reheating: When ready to enjoy, let the cake thaw in the fridge overnight. For a delightful experience, warm individual slices in the microwave for a few seconds before serving.
Make Ahead Options
These Choco-nilla Cake layers are perfect for meal prep enthusiasts! You can bake and cool both the chocolate and vanilla cake layers up to 3 days in advance, ensuring they stay fresh in the refrigerator wrapped tightly in plastic wrap. To assemble, prepare the filling and ice cream before serving; you can make the filling up to 24 hours ahead, storing it in an airtight container to maintain its fluffy texture. When ready to serve, simply layer the filling between the cake layers and top with the icing—this way, your delicious Choco-nilla Cake will be just as delightful and indulgent as if it were freshly made, saving you time on busy days!
Choco-nilla Cake Variations & Substitutions
Feel free to tailor this delicious cake to your liking or dietary needs with these fun and easy swaps!
-
Gluten-Free: Substitute all-purpose flour with a 1:1 gluten-free blend for a delightful gluten-free version. Just ensure all other ingredients are gluten-free as well.
-
Dairy-Free: Use almond, soy, or oat milk and swap butter for dairy-free margarine to create a rich yet dairy-free cake without compromising flavor.
-
Fruit-Infused: Incorporate fresh fruit purees like raspberry or strawberry into your filling for a refreshing fruity twist that brightens the overall taste.
-
Nutty Addition: Fold in chopped nuts like walnuts or pecans into the batter for delightful texture and a nutty flavor contrast that will surprise your taste buds.
-
Chocolate Lovers: Add chocolate chips or cocoa nibs to the batter for added bites of chocolatey goodness. This is a must for any serious chocoholic.
-
Spiced Up: Sprinkle in a teaspoon of cinnamon or a dash of espresso powder to enhance the flavors and give your cake a warm spiced character.
-
Zesty Touch: Mix in a bit of lemon or orange zest into the batter or frosting for a zesty spark that complements the rich chocolate and vanilla.
-
Different Frosting: Switch up the icing by using cream cheese frosting or caramel drizzle for a different flavor profile that brings its own unique charm.
Feel the freedom to experiment and find your perfect version of the Choco-nilla Cake!
Choco-nilla Cake Recipe FAQs
What type of eggs should I use for the Choco-nilla Cake?
Absolutely! For the best results, use large eggs at room temperature. They contribute to the cake’s structure and moisture. If you have access to farm-fresh eggs, they would give your cake an even richer flavor!
How should I store my Choco-nilla Cake to keep it fresh?
It’s simple! Store your Choco-nilla Cake in an airtight container at room temperature for up to 3 days. If you want to keep it longer, place it in the fridge, where it will stay fresh for about 5 days. Just be sure to seal it tightly, so it remains moist and delicious!
Can I freeze the Choco-nilla Cake?
Of course! To freeze your cake, cut it into slices and wrap each piece tightly in plastic wrap. Place the wrapped slices in a freezer bag or container. Your Choco-nilla Cake will be good for up to 3 months in the freezer. When you’re ready to enjoy it, let it thaw in the refrigerator overnight. For an added treat, warm it in the microwave for a few seconds before serving!
What if my cake layers are domed when baking?
Very common! If you find your cake layers have domed tops, it’s no problem at all. Simply use a serrated knife to level them off after they have cooled completely. This ensures they stack nicely without any tipping. You can sprinkle the crumbs over your cake for decoration!
Can I make the Choco-nilla Cake gluten-free?
Absolutely! To make it gluten-free, substitute all-purpose flour with a 1:1 gluten-free baking flour. Look for blends that include xanthan gum, which helps with texture. The taste will still be marvelous, and your gluten-sensitive friends will thank you!
Is this cake suitable for children with egg allergies?
Yes, but it requires a bit of adjustment. You can use a commercial egg replacer or try using applesauce, mashed bananas, or flaxseed meal mixed with water. For each egg, combine 1 tablespoon of flaxseed meal with 2.5 tablespoons of water; let it sit for a few minutes to thicken. This helps create a similar texture, and your Choco-nilla Cake will still be a delightful treat!
Irresistible Choco-Nilla Cake for Your Next Celebration
Ingredients
Equipment
Method
- Preheat your oven to 350°F (175°C). Grease and line two 9" x 2" round cake pans with parchment paper.
- In a large mixing bowl, beat the eggs and sugar together until smooth and fluffy. Gradually add the vegetable oil, followed by the baking powder, salt, and vanilla extract. Gently incorporate the flour and cream alternately to create a batter. Pour this mixture into one prepared pan.
- Bake the vanilla cake for 30-35 minutes until golden brown and a toothpick inserted comes out clean.
- In a separate bowl, whisk together all the dry ingredients for the chocolate cake: flour, cocoa, baking powder, baking soda, and salt. Mix in the eggs and vegetable oil, then gradually pour in the water.
- Bake the chocolate cake for 35 minutes, then allow it to cool in the pan for 10 minutes before moving to a cooling rack.
- Beat the softened butter until creamy, then mix in the confectioners' sugar. Add milk until you reach a fluffy consistency.
- Cut each layer in half to create four layers. Assemble by placing one vanilla layer on a plate, spreading some filling, and topping with a chocolate layer. Repeat until all layers are assembled.
- In a saucepan, warm chocolate chips with heavy cream over low heat, stirring until melted. Pour this icing over the cake and let it set.

