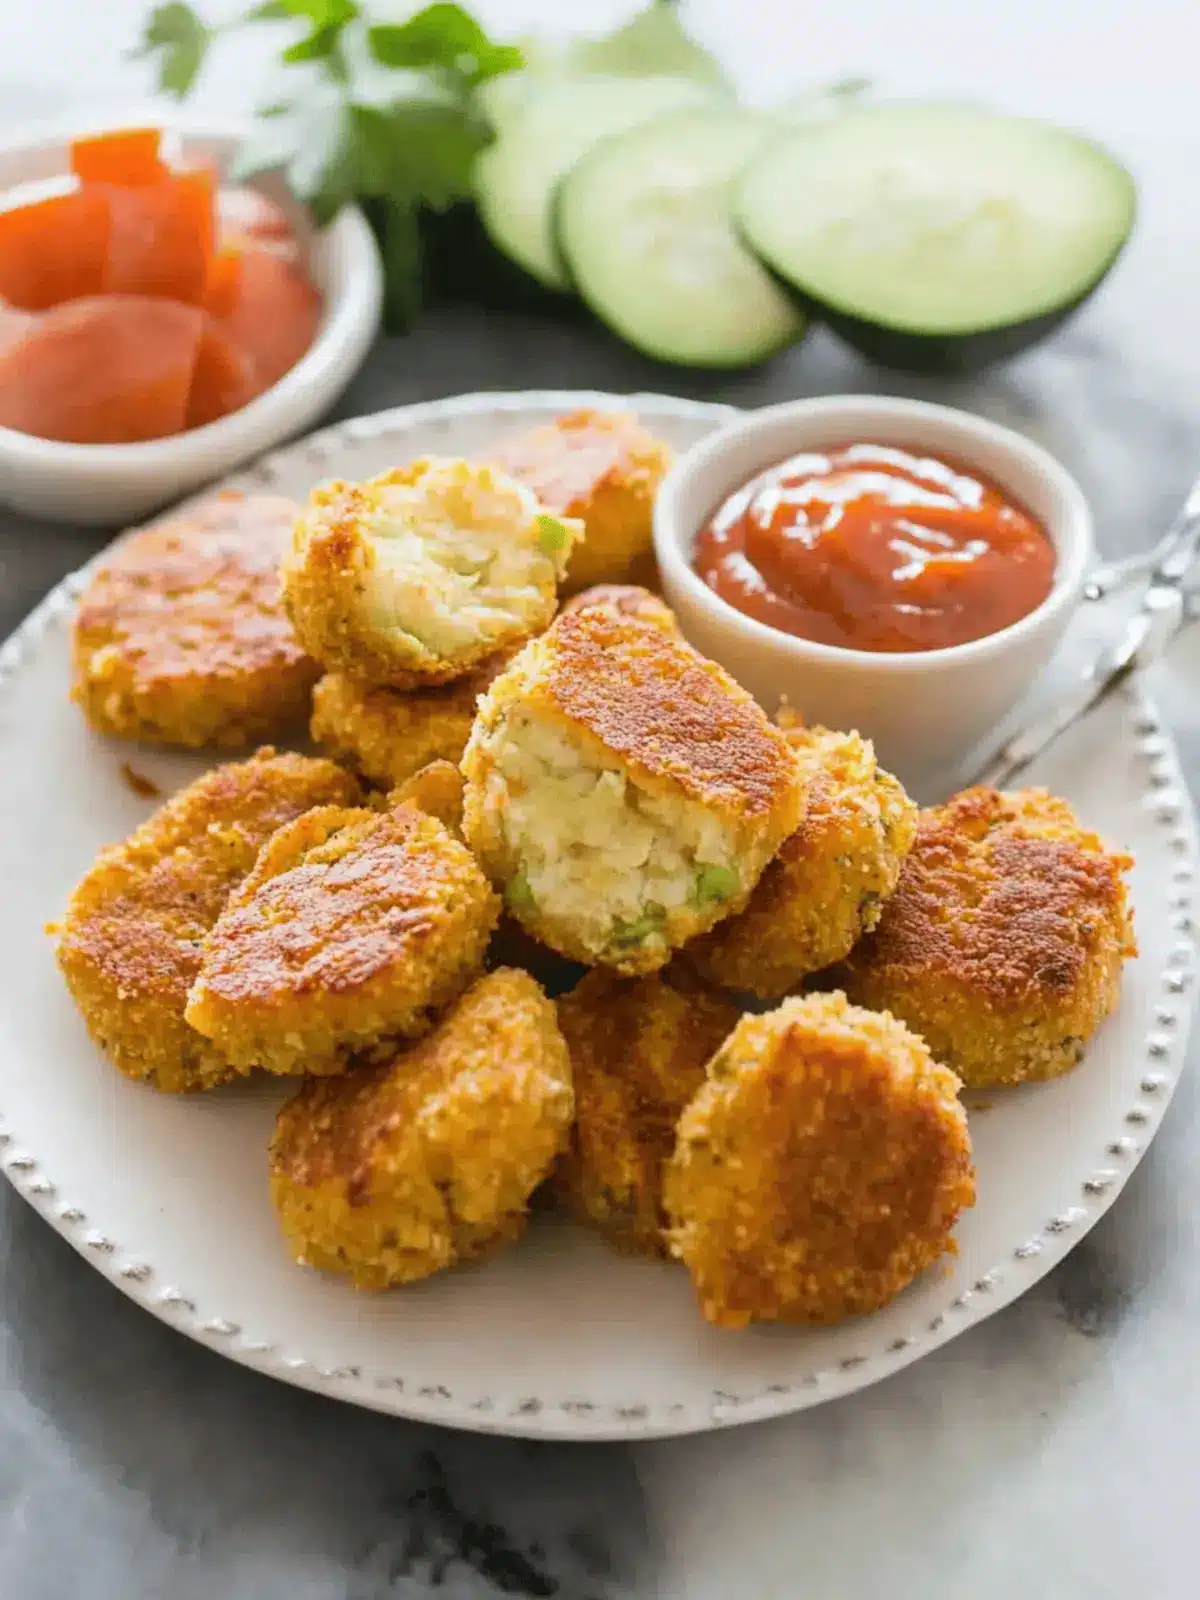
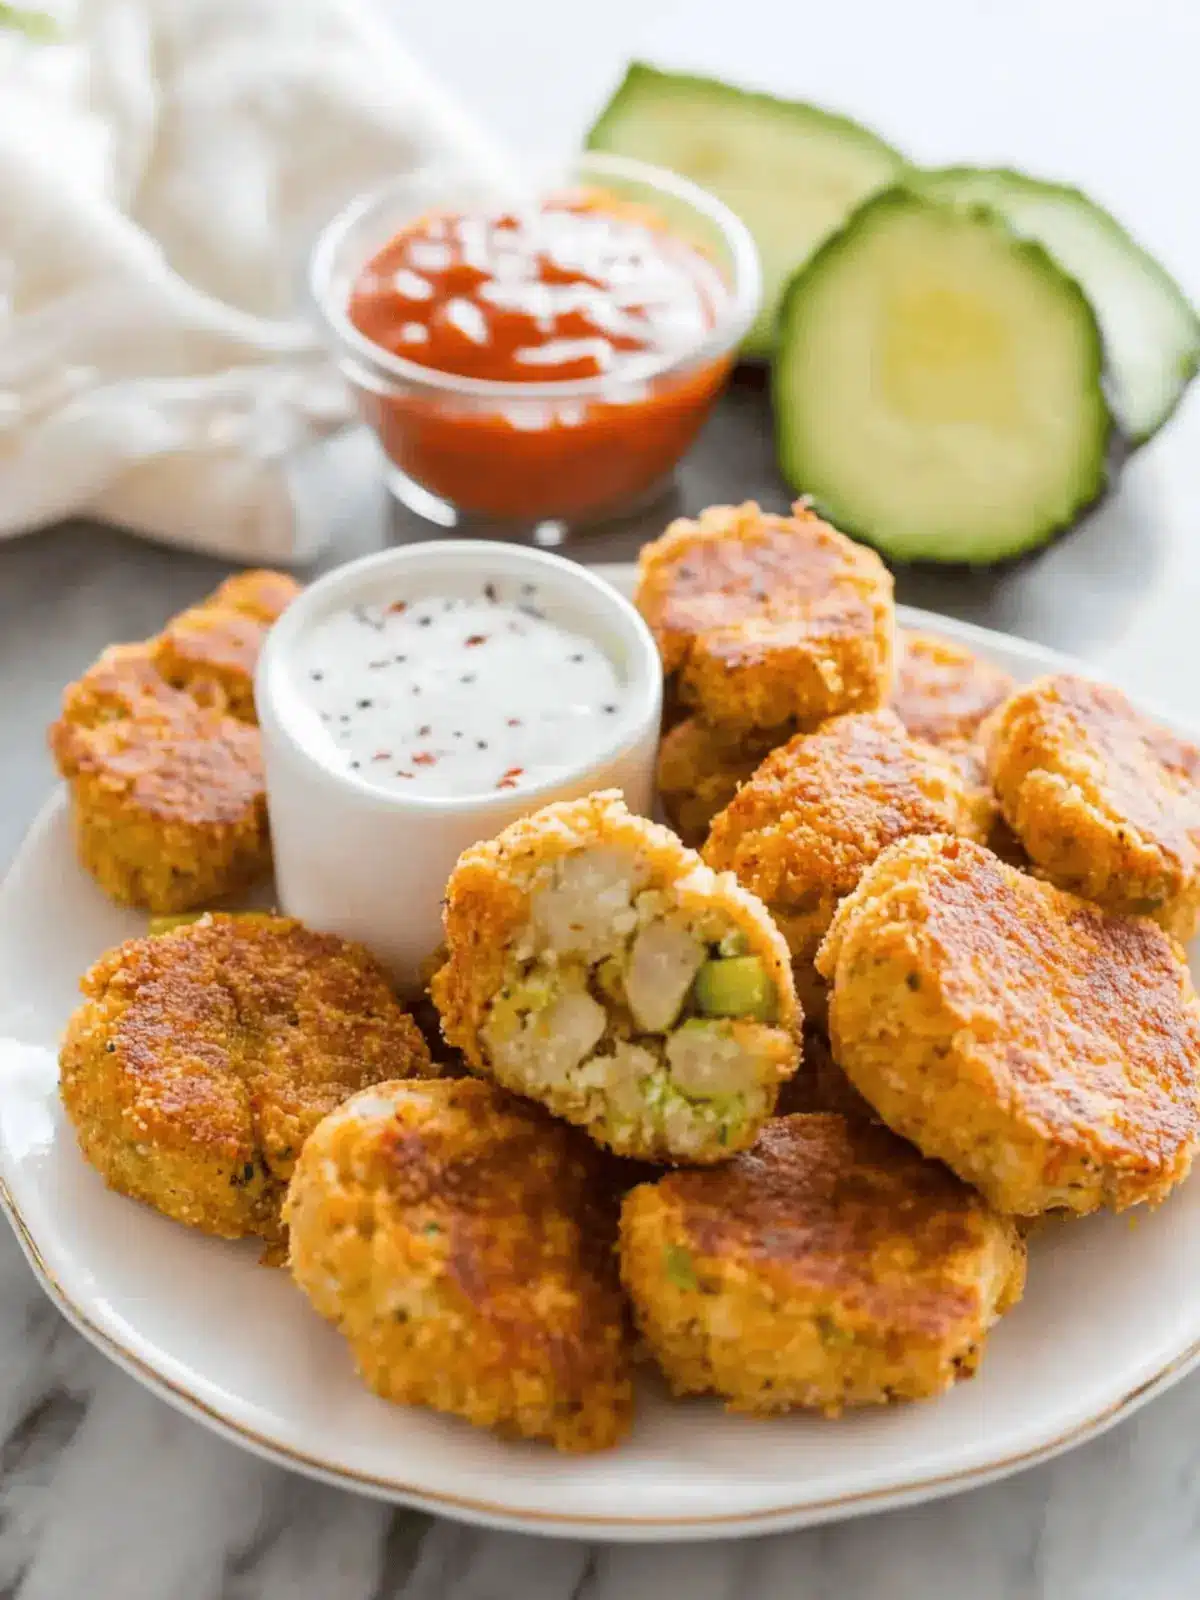
There’s something delightfully satisfying about transforming pantry staples into a crowd-pleasing dish, and these Chickpea Vegetable Nuggets are the perfect example. I first discovered this recipe during a moment of culinary exploration, looking for a way to spice up our weeknight dinners without resorting to heavy takeout. The vibrant mix of chickpeas, zucchini, and carrots creates little nuggets packed with flavor, while Italian seasoning adds a lovely herbaceous note that dances on the palate.
Best of all, these nuggets come together in a flash, making them an ideal choice for busy weeknights or impromptu gatherings with friends. Serve them up with your favorite dipping sauce, and watch as they disappear in an instant, leaving nothing but happy faces around the table. Whether you’re a home cook looking to impress or someone simply in search of a healthier snacking option, these Chickpea Vegetable Nuggets are sure to become a beloved staple in your home.
Why are Chickpea Vegetable Nuggets so irresistible?
Deliciously nutritious: These nuggets are loaded with wholesome ingredients like chickpeas, zucchini, and carrots, giving you a guilt-free snack.
Quick and easy: With minimal prep and cook time, you can whip these up when you need a fast meal or snack.
Versatile flavors: The blend of Italian seasoning and veggies adds a delightful taste that pairs perfectly with your favorite dipping sauce.
Crowd-pleaser: Their crispy texture and savory flavor make them a hit for both kids and adults alike, ensuring everyone comes back for more!
For more inspiration on delightful dishes, check out my guide on healthy snacking.
Chickpea Vegetable Nuggets Ingredients
• Get ready to whip up these crispy bites!
For the Nuggets
- Canned chickpeas – Drain and rinse for the perfect texture.
- Grated zucchini – Helps keep the nuggets moist and adds nutrition.
- Grated carrot – Provides sweetness and a vibrant color.
- Minced onion – Enhances flavor with a subtle, aromatic touch.
- Italian seasoning – A burst of herbaceous goodness that complements the veggies.
- Sea salt – Enhances all the flavors—don’t skip this!
- Garlic (1-2 cloves) – Fresh garlic adds a punch; or use ½ teaspoon garlic powder for convenience.
- Black pepper – A dash of spice to elevate the flavor.
- Paprika (¼ teaspoon) – Adds a hint of smokiness and color.
- Large eggs (2) – Binds the ingredients together for a perfect nugget shape.
- Olive or avocado oil (1 teaspoon) – Use for sautéing and adding healthy fats.
- Oat flour (½ cup) – A great gluten-free option to hold the nuggets together; substitute with your favorite breadcrumbs if desired.
These Chickpea Vegetable Nuggets are not only simple to make but also packed with nutrition and flavor. Enjoy cooking!
How to Make Chickpea Vegetable Nuggets
-
Drain moisture: Place shredded zucchini and carrots in the middle of a clean dish towel or large piece of paper towel. Wrap them up and squeeze a few times to help release excess moisture, ensuring a firmer nugget.
-
Combine ingredients: In your food processor, add the drained zucchini and carrots along with the remaining ingredients. Pulse a few times to combine everything, but DO NOT OVER MIX. The mixture should be wet yet scoopable.
-
Heat oil: Warm a generous splash of cooking oil in a large pan over medium-high heat. This will help your nuggets achieve that lovely crispy exterior.
-
Scoop and fry: Using a heaping tablespoon or a small cookie scoop, portion out the mixture into the pan. Cook for 3-5 minutes, then flip and gently flatten them with the spatula. Cook for an additional 3-5 minutes until golden brown on the outside.
-
Serve warm: Enjoy these nuggets straight from the pan with your favorite dipping sauce. If there are leftovers, allow them to cool completely and store in an air-tight container in the fridge for up to 4-5 days.
Optional: Serve with a zesty yogurt dip for an extra flavor boost!
Exact quantities are listed in the recipe card below.
How to Store and Freeze Chickpea Vegetable Nuggets
-
Fridge: Store leftovers in an airtight container for up to 4-5 days. Make sure they’re completely cool before sealing to maintain crispness.
-
Freezer: For longer storage, freeze cooked nuggets in a single layer on a baking sheet until solid, then transfer to a freezer-safe bag or container. They will keep well for up to 3 months.
-
Reheating: To reheat, bake the frozen nuggets at 375°F (190°C) for 15-20 minutes or until heated through and crisp, ensuring they taste freshly made.
-
Thawing: If you prefer to thaw before reheating, keep the nuggets in the fridge overnight. This helps to maintain their delicious texture when reheated.
Make Ahead Options
These Chickpea Vegetable Nuggets are perfect for busy weeknights and meal prep enthusiasts! You can prepare the mixture up to 24 hours in advance by combining the drained zucchini, carrots, and all remaining ingredients in your food processor. Just store the mixture in an airtight container in the fridge to keep it fresh. When you’re ready to cook, simply scoop the mixture into your heated pan and fry as directed. This method not only saves time but ensures that the nuggets remain just as delicious and crispy. Enjoy these flavorful nuggets with your favorite dipping sauce, knowing they were made with minimal effort!
What to Serve with Chickpea Vegetable Nuggets?
Elevate your mealtime experience by pairing these crispy bites with delightful sides and complements that bring out their vibrant flavors.
-
Fresh Green Salad: A light, crisp salad with mixed greens, cucumbers, and cherry tomatoes adds freshness and a crunchy texture that contrasts beautifully with the crispy nuggets.
-
Creamy Avocado Dip: This rich, creamy dip adds a luscious texture and dreamy flavor that complements the savory herbs in the nuggets. Plus, it’s enjoyable for those seeking extra deliciousness!
-
Sweet Potato Fries: The natural sweetness and crispy exterior of these fries balance perfectly with the savory nuggets and provide a satisfying crunch.
-
Steamed Broccoli: Bright green steamed broccoli brings in a nutritious element that pairs wonderfully, while its mild flavor lets the nuggets shine.
-
Zesty Yogurt Sauce: A tangy yogurt sauce with lemon zest and dill adds a refreshing counterbalance to the nuggets and enhances the overall flavor experience.
-
Homemade Hummus: Creamy hummus, with its earthy flavor, acts as a perfect dipping companion, taking your snacking experience to a whole new level.
-
Herb-Infused Quinoa: Fluffy quinoa seasoned with herbs complements the nuggets beautifully, adding a nutritious and filling side that rounds out your meal.
-
Sparkling Water or Iced Tea: A refreshing drink like sparkling water with a splash of lemon or a chilled iced tea can cleanse the palate, making each bite of nuggets just as enjoyable as the first.
Chickpea Vegetable Nugget Variations
Feel free to let your creativity shine by customizing these delightful nuggets with different ingredients and flavors!
- Gluten-Free: Substitute oat flour with almond flour or gluten-free breadcrumbs for a lighter texture and grain-free option.
- Spicy Twist: Add ¼ teaspoon of cayenne pepper for a fiery kick, perfect for those who dare to turn up the heat! Just remember to taste as you go!
- Herb Boost: Mix in fresh herbs like parsley or cilantro to elevate the freshness and add vibrant color to your nuggets. A handful goes a long way!
- Cheesy Delight: Stir in ¼ cup of grated Parmesan or nutritional yeast for a cheesy flavor that makes these nuggets even more irresistible. Cheese lovers rejoice!
- Veggie Swap: Swap zucchini and carrots with finely grated sweet potatoes or butternut squash for a different flavor profile and a sweet twist. These variations are both healthy and colorful!
- Added Crunch: Fold in some chopped nuts or seeds, like walnuts or sunflower seeds, for an unexpected crunch that takes these nuggets to the next level. Who doesn’t love a good crunch?
- Tasty Dips: Experiment with your dipping sauces—try a spicy garlic sauce, a fresh avocado dip, or even a tangy salsa to reinvent the dining experience!
- Baked Version: For a lighter option, bake the nuggets at 400°F (200°C) for about 15-20 minutes, flipping halfway, until golden brown and crispy. Enjoy guilt-free snacking!
Tips for the Best Chickpea Vegetable Nuggets
-
Moisture management: Squeezing out excess moisture from zucchini and carrots is crucial. This prevents sogginess and keeps your nuggets crispy.
-
Avoid overmixing: When combining the ingredients in the food processor, pulse gently. Overmixing can lead to a dense texture rather than light, fluffy nuggets.
-
Heat matters: Make sure your cooking oil is hot enough before adding the nuggets. This helps achieve that golden, crispy exterior we all love.
-
Cooking in batches: If you’re making a large batch, fry the nuggets in smaller groups to ensure even cooking and crispiness for your Chickpea Vegetable Nuggets.
-
Testing for doneness: Keep an eye on the nuggets while cooking—flipping them at the right time prevents burning and ensures perfect browning on both sides.
Chickpea Vegetable Nuggets Recipe FAQs
What type of chickpeas should I use?
Absolutely! Canned chickpeas are perfect for this recipe since they are already cooked and ready to use. Just remember to drain and rinse them well to remove any excess sodium and achieve the best texture for your nuggets.
How should I store leftovers?
You can keep your Chickpea Vegetable Nuggets in an airtight container in the fridge for up to 4-5 days. Be sure they are completely cooled before sealing the container to maintain their crispiness. If you have any leftover dipping sauce, store it separately for the best experience.
Can I freeze the nuggets?
Yes, you can! For freezing, arrange the cooked nuggets in a single layer on a baking sheet and freeze them until solid, about 1-2 hours. Then transfer them to a freezer-safe bag or container. They will stay fresh for up to 3 months. When you’re ready to enjoy them, bake straight from frozen at 375°F (190°C) for 15-20 minutes until heated through and crispy.
What if my nuggets fall apart while cooking?
Very! If your nuggets are falling apart, this could be due to excess moisture or not enough binding. Make sure to squeeze out as much moisture from your zucchini and carrots as possible. Additionally, consider adding a bit more oat flour or using a binding agent like breadcrumbs to help hold the mixture together better.
Are these nuggets suitable for kids with allergies?
Yes, these nuggets are generally kid-friendly, but it’s always good to be cautious. If you have specific allergies to address, such as gluten or eggs, you can substitute the oat flour with an alternative gluten-free flour and use a flax egg (1 tablespoon flaxseed meal + 2.5 tablespoons water) instead of a regular egg. Always check your ingredient labels to ensure safety.
How do I know when the nuggets are cooked properly?
To check for doneness, look for a golden-brown exterior and a slightly crispy texture. Each nugget should take about 3-5 minutes per side to cook. If you’re unsure, cut one open to ensure it’s heated through, and enjoy its warm, delightful interior!
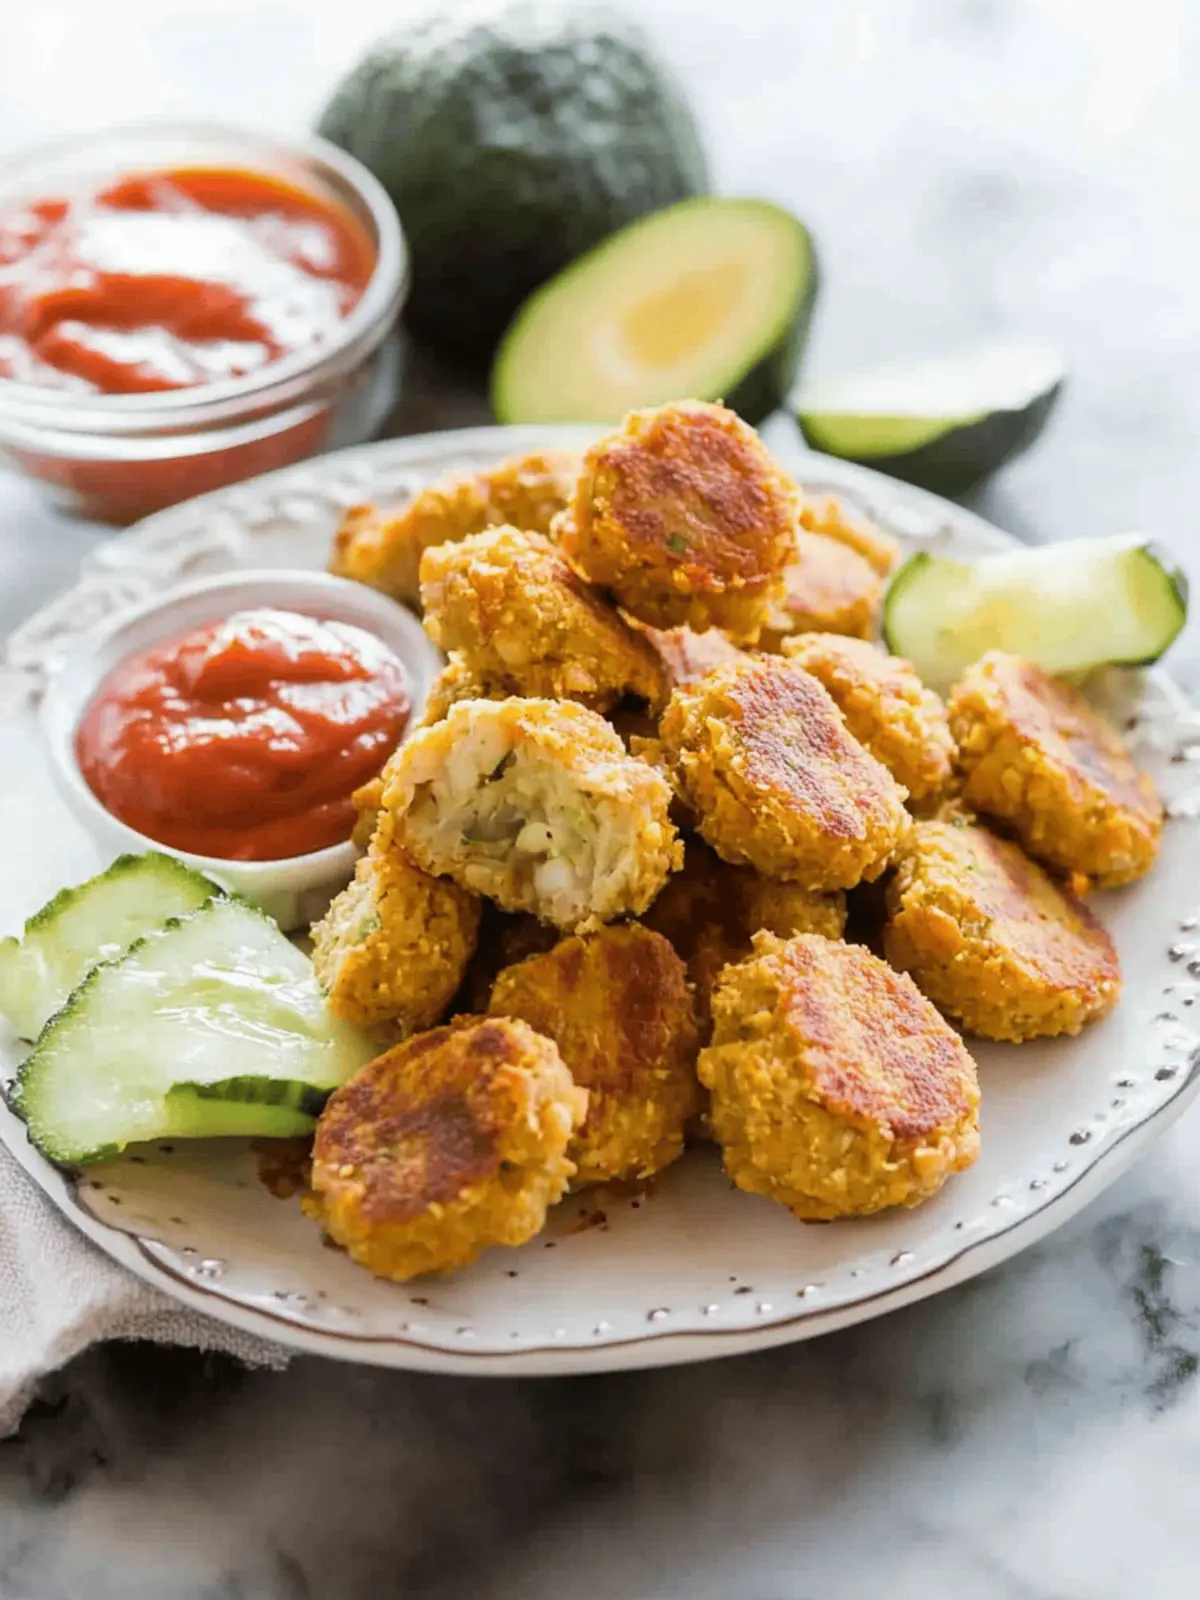
Crispy Chickpea Vegetable Nuggets for Guilt-Free Snacking
Ingredients
Equipment
Method
- Drain moisture: Place shredded zucchini and carrots in the middle of a clean dish towel or large piece of paper towel. Wrap them up and squeeze a few times to help release excess moisture, ensuring a firmer nugget.
- Combine ingredients: In your food processor, add the drained zucchini and carrots along with the remaining ingredients. Pulse a few times to combine everything, but DO NOT OVER MIX. The mixture should be wet yet scoopable.
- Heat oil: Warm a generous splash of cooking oil in a large pan over medium-high heat. This will help your nuggets achieve that lovely crispy exterior.
- Scoop and fry: Using a heaping tablespoon or a small cookie scoop, portion out the mixture into the pan. Cook for 3-5 minutes, then flip and gently flatten them with the spatula. Cook for an additional 3-5 minutes until golden brown on the outside.
- Serve warm: Enjoy these nuggets straight from the pan with your favorite dipping sauce. If there are leftovers, allow them to cool completely and store in an air-tight container in the fridge for up to 4-5 days.

