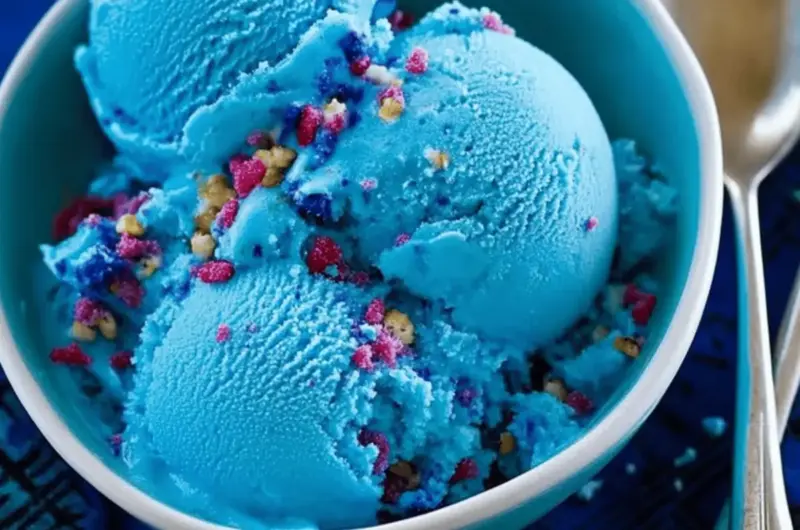
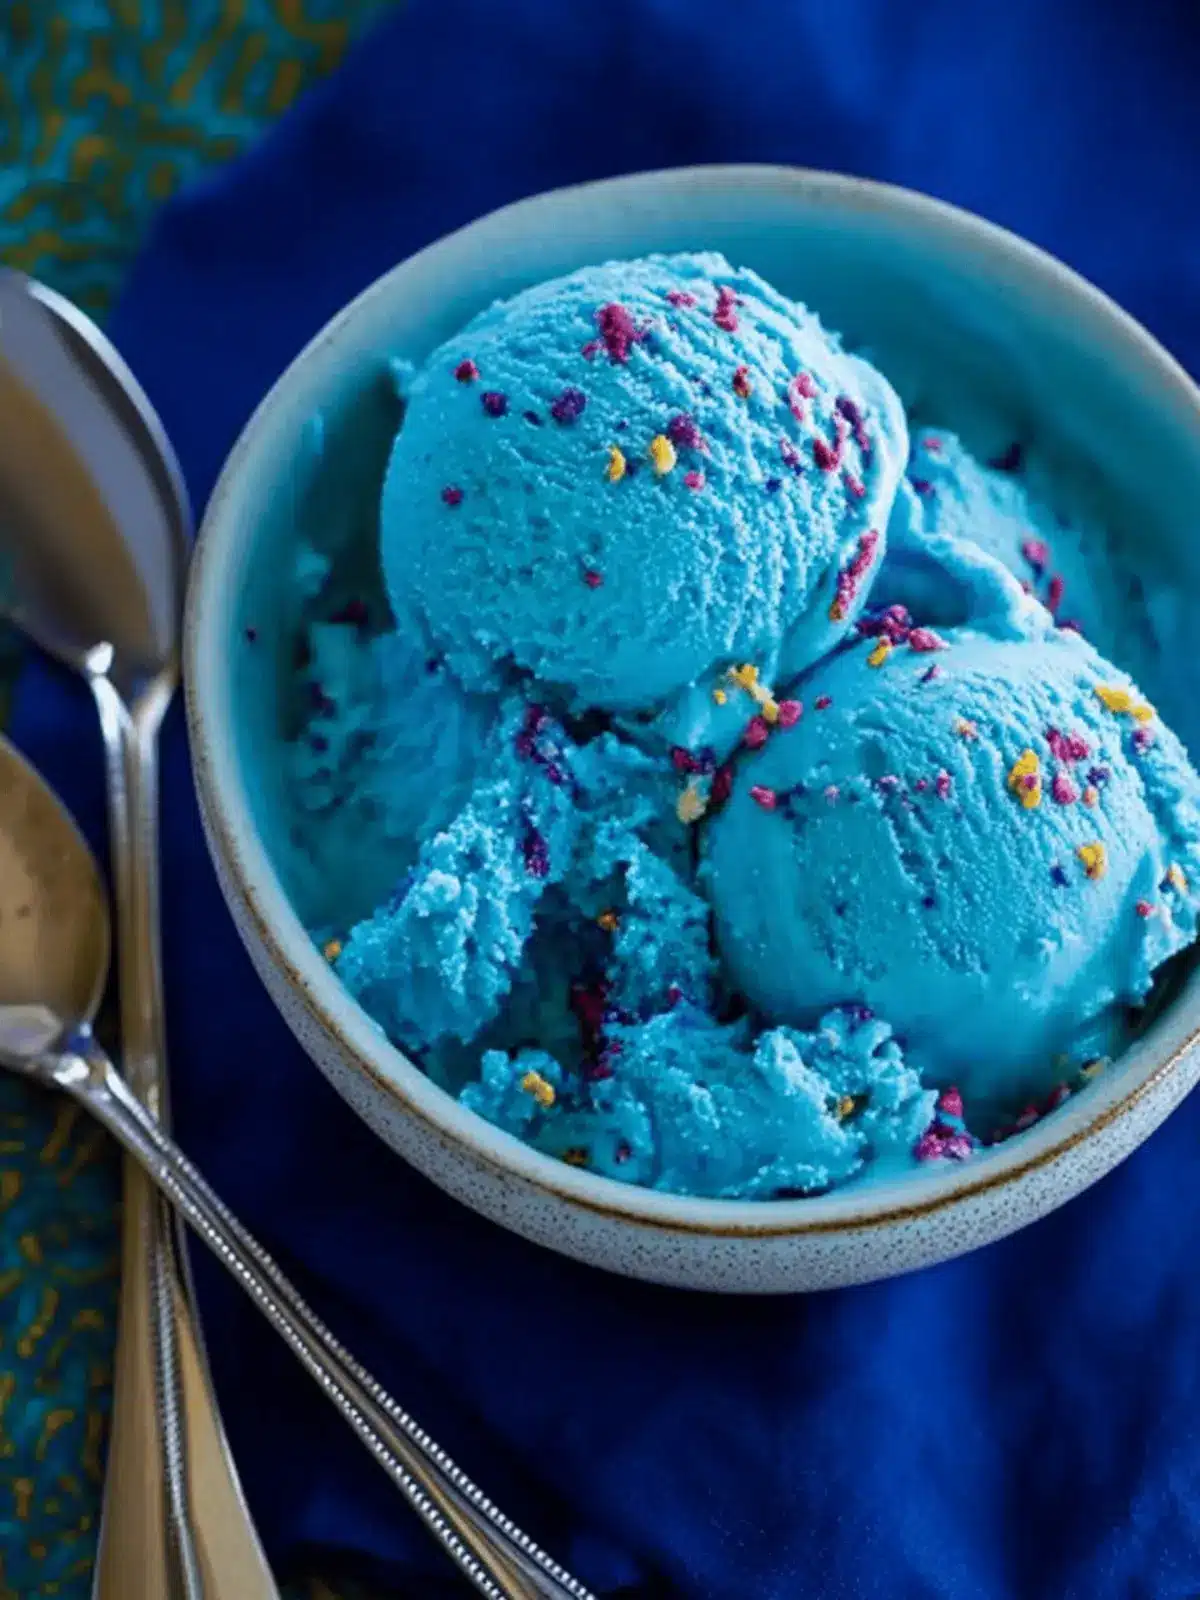
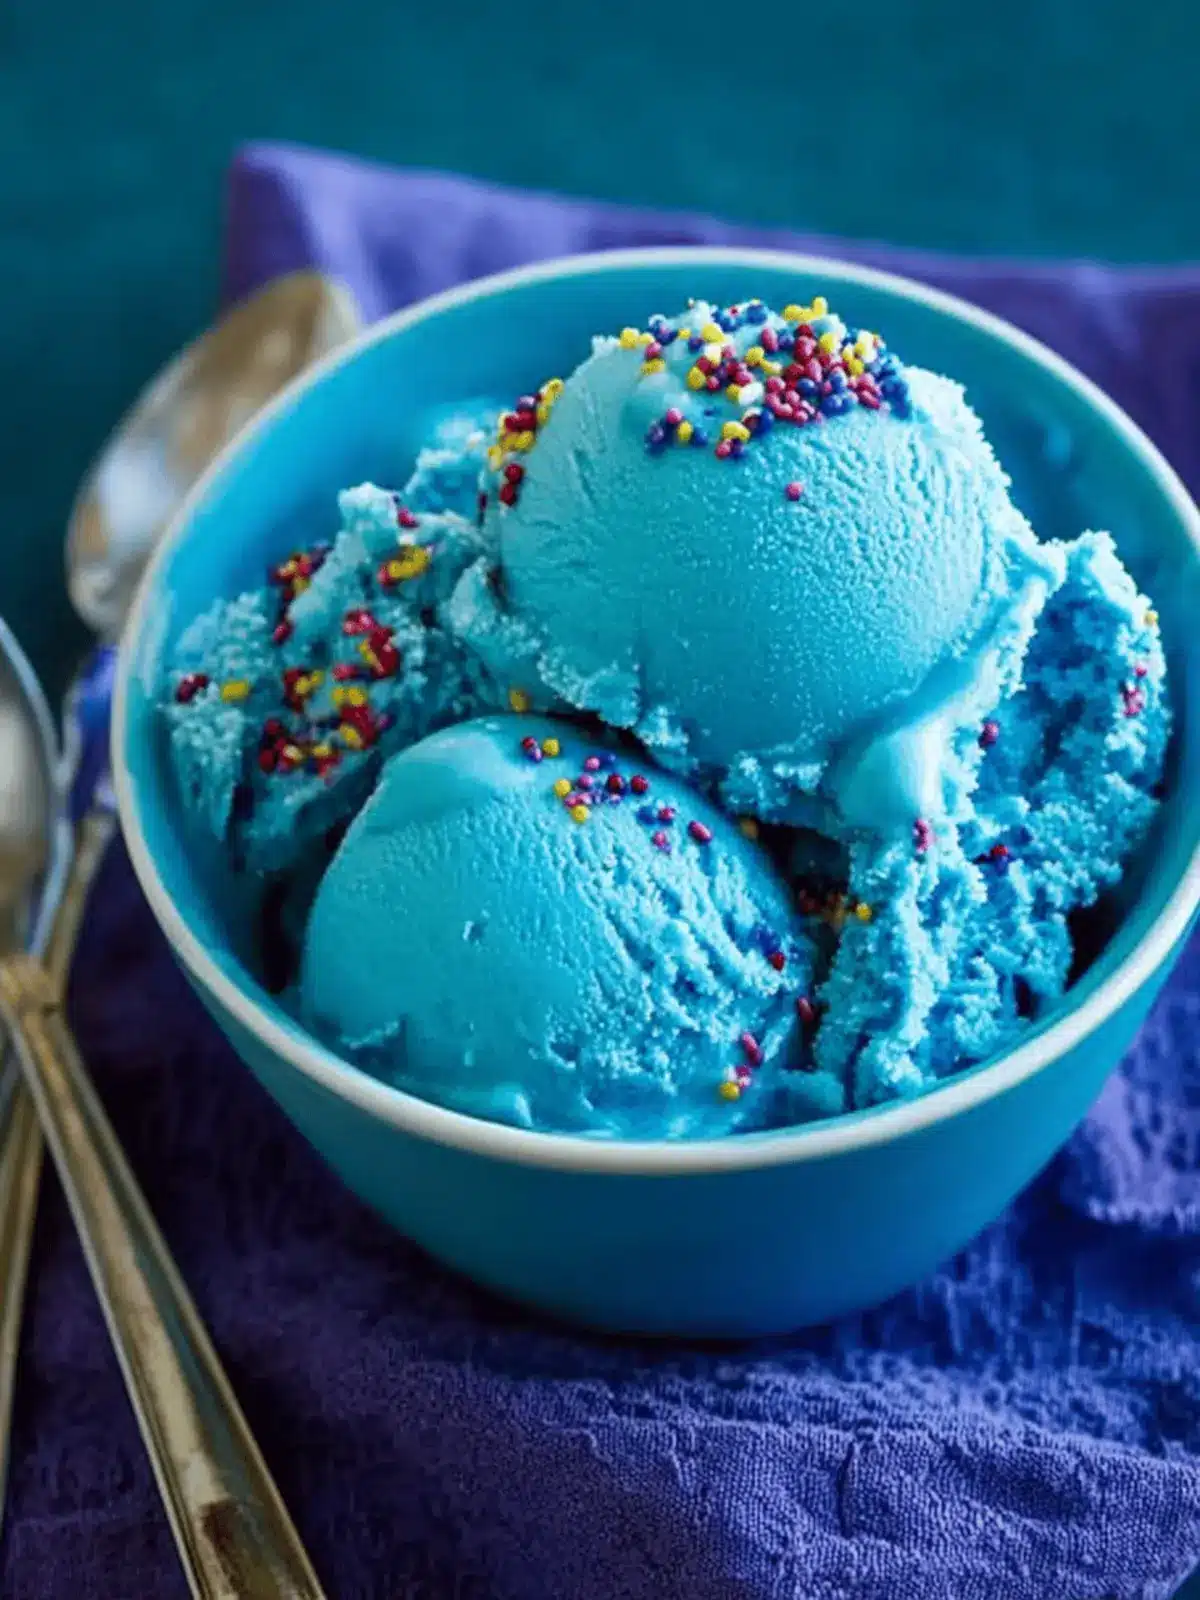
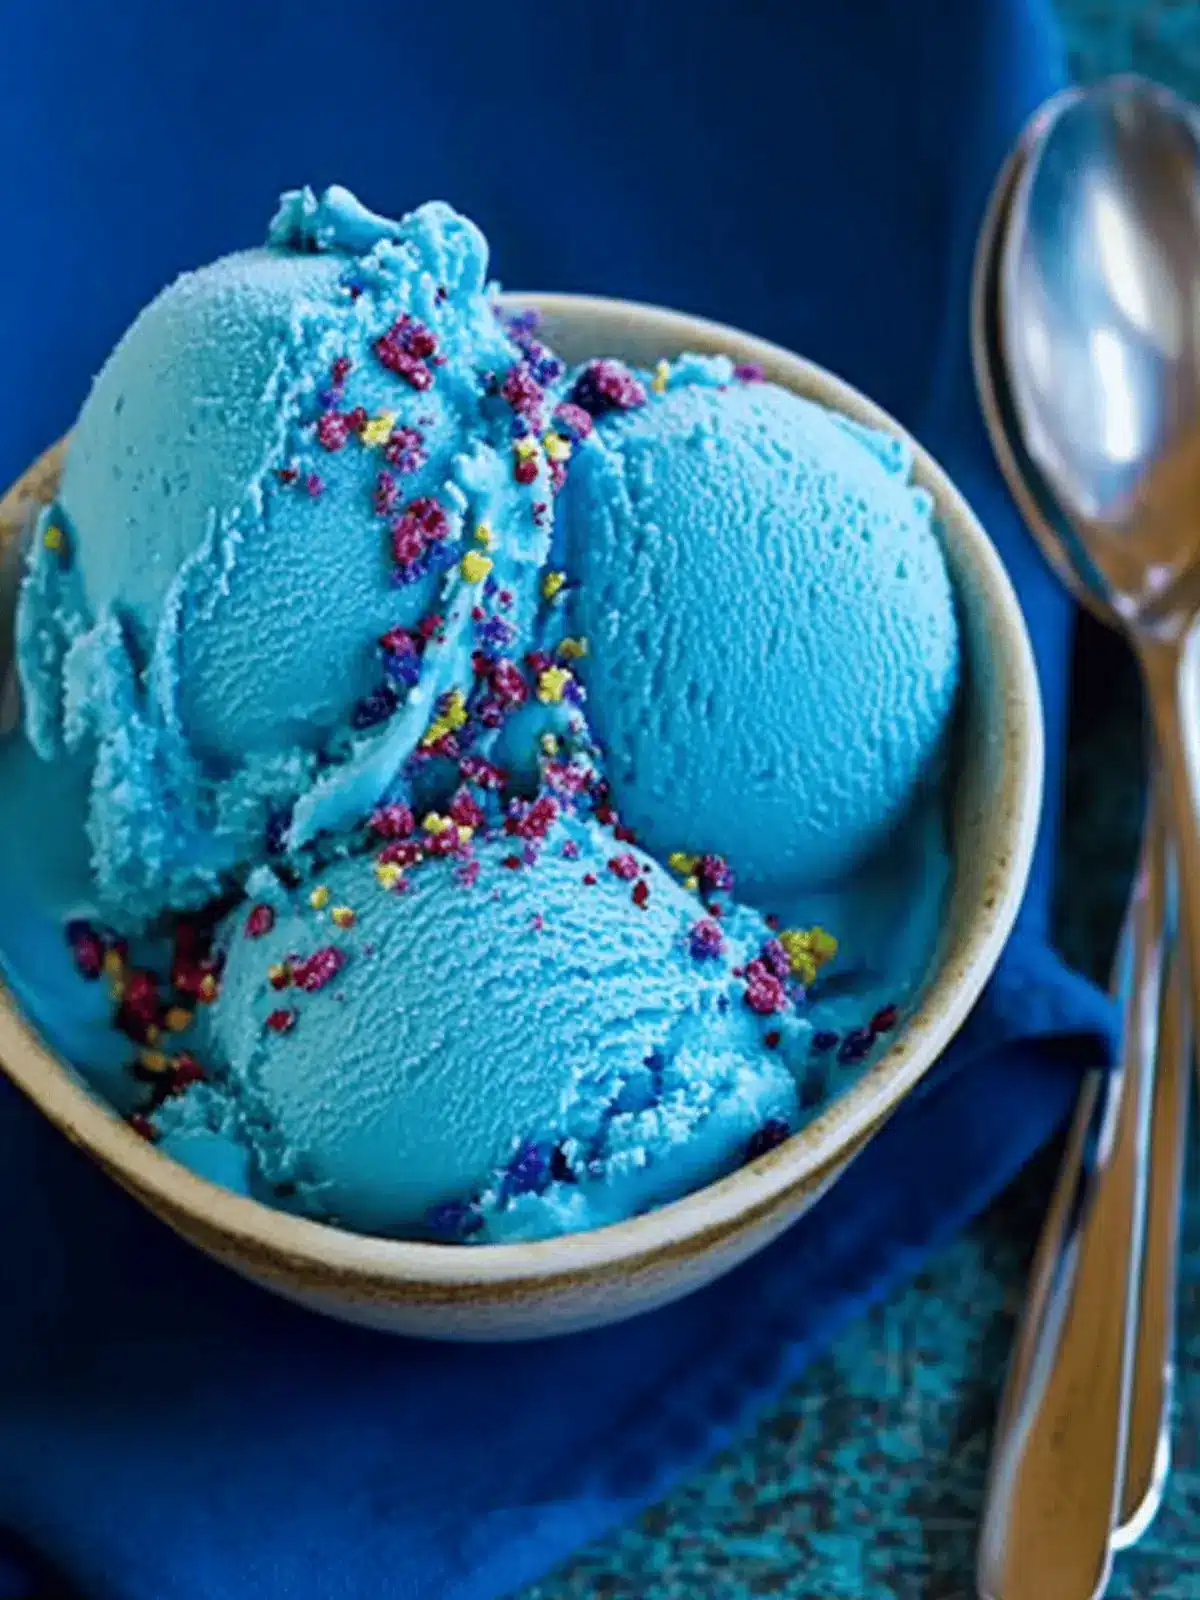
There’s nothing quite like the joy on a child’s face when they spot a vibrant blue ice cream cone on a hot summer day. The playful color sparks excitement, but what truly delights is the creamy vanilla flavor that makes each spoonful irresistible! I discovered this no-cook Blue Vanilla Ice Cream recipe during a weekend bonding session with my little ones, and it quickly became our go-to treat. Not only is it quick to whip up, but it also transforms a simple dessert into something magical—perfect for birthdays, gatherings, or just a fun afternoon snack.
With just a handful of ingredients, this colorful concoction is easy enough for the kids to help make, turning the kitchen into a whirl of laughter and creativity. As we swirled in the blue food coloring, I could already envision the smiles it would bring to our family gatherings. So grab your mixing bowl and let’s dive into the world of whimsical desserts that will leave everyone asking for more!
Why Choose Blue Ice Cream for Family Fun?
Joyful experience: Making this Blue Ice Cream is an adventure, as kids will love helping with the colorful mixing.
Quick and easy: With no cooking involved, this recipe can be prepped in minutes—perfect for last-minute cravings!
Creamy, delicious flavor: The combination of rich vanilla and creamy texture creates a delightful treat that’s both comforting and satisfying.
Versatile fun: Experiment with toppings or colors to make each batch a unique creation—ideal for parties or family gatherings!
Awesome presentation: The vibrant blue hue is sure to impress guests and make any dessert table pop with joy!
Blue Ice Cream Ingredients
Crafting this fun and vibrant dessert is simple with just a few ingredients!
For the Ice Cream Base
- Half & Half – Provides creaminess and richness; substitute with whole milk for a lighter version.
- Whipping Cream – Adds an airy texture; can replace with dairy-free cream for a non-dairy option.
- Sugar – Sweetens the ice cream; use less for a lower sugar content or substitute with honey or agave syrup.
- Pure Vanilla Extract – Gives a robust vanilla flavor; imitation vanilla can be a cost-effective option, though it may lack depth.
- Salt – Enhances flavor; a pinch is essential for balancing sweetness.
For the Color
- Blue Food Coloring – Provides the iconic blue hue; consider using natural options like spirulina powder for a healthier twist.
This easy no-cook Blue Ice Cream will be a fun adventure for your family!
How to Make Blue Ice Cream
-
Combine Ingredients: In a medium bowl, stir together the half & half, whipping cream, sugar, vanilla extract, and salt until fully combined. Make sure everything is blended for a super creamy texture!
-
Mix in Color: Gradually add blue food coloring to the mixture, mixing until you achieve your desired shade of blue. Get the kiddos involved and let them help decide how vibrant they want their ice cream!
-
Churn: Pour the mixture into an ice cream machine and churn according to the manufacturer’s instructions, which usually takes about 20 minutes. You’ll know it’s ready when it’s thick and creamy!
-
Serve or Freeze: For a soft-serve texture, serve immediately. If you prefer a firmer ice cream, transfer the churned mixture into a container and freeze for a few hours before serving.
-
Add Toppings: Serve the blue ice cream with fun toppings like sprinkles, M&Ms, or mini York Peppermint patties. This makes the experience even more enjoyable for everyone!
Optional: Top with whipped cream and a cherry for an extra fun presentation!
Exact quantities are listed in the recipe card below.
Blue Ice Cream Variations & Substitutions
Feel free to let your creativity shine and customize this recipe with these playful twists!
- Dairy-Free: Substitute half & half and whipping cream with coconut milk and coconut cream for a tropical delight.
- Natural Colors: Use beet juice for a rosy hue or matcha powder for a subtle green twist; nature’s colors add fun!
- Flavor Infusions: Add a splash of almond extract or a hint of lemon zest for a refreshing flavor boost that dances on the palate.
- Texture Boost: Mix in crushed cookies or candy pieces before churning for a delightful surprise in each scoop.
- Gourmet Toppings: Drizzle with chocolate or caramel sauces just before serving for a luscious finish that elevates every bite.
- Swirl Magic: Layer in fruit preserves or yogurt before churning to create beautiful swirls of flavor that will impress guests.
- Extra Sweetness: For a unique twist, replace sugar with maple syrup or agave nectar for a rich, nuanced sweetness.
- Spicy Kick: Mix in a pinch of cayenne pepper or chili powder for an adventurous heat that complements the sweetness perfectly!
What to Serve with Blue Ice Cream?
Add a splash of delight to your meal with easy pairings that enhance the joy of your vibrant dessert!
- Colorful Toppings: Sprinkles, M&Ms, and fruit add festivity and fun, allowing everyone to create their personalized dessert experience.
- Warm Brownies: The richness of warm chocolate brownies contrasts beautifully with the cool, creamy ice cream for an indulgent treat.
- Fruit Kabobs: Fresh fruit skewers provide a refreshing balance, adding a burst of flavor that complements the sweetness of the ice cream.
- Chocolate Sauce: Drizzling warm chocolate sauce over the ice cream creates a luxurious combination of flavors and textures.
- Cake Slices: Serve alongside slices of vanilla or lemon cake to elevate your dessert game while harmonizing sweet and tangy notes.
- Soda Floats: Pairing your ice cream with a splash of soda creates a nostalgic twist, perfect for summer gatherings or casual get-togethers.
- Mint Leaves: A sprinkle of fresh mint adds zest, contrasting the sweetness of the ice cream and giving a refreshing touch to each spoonful.
- Coffee: A warm cup of coffee or iced latte balances the sweetness elegantly, making it a delightful end to any meal.
- Mini Fruit Pops: Freeze small cups of pureed fruit for a light, icy treat that nicely complements the creamy texture of the blue ice cream.
Make Ahead Options
Making this delightful Blue Ice Cream ahead of time is a fantastic time-saver for busy families! You can prepare the ice cream base—mixing together half & half, whipping cream, sugar, vanilla extract, and salt—up to 24 hours in advance. Simply refrigerate the mixture in an airtight container to maintain its quality and flavor. When you’re ready to serve, just add the blue food coloring, churn the mixture in your ice cream maker for about 20 minutes, and it will transform into a creamy treat that’s just as delicious as when freshly made. This way, you have the fun of an instant dessert ready for gatherings or family fun at a moment’s notice!
Expert Tips for Blue Ice Cream
- Thorough Mixing: Ensure all ingredients are well combined for a smoother ice cream texture, preventing any grainy surprises.
- Churning Time: Monitor the churning process closely; over-churning can result in an undesirable grainy texture instead of the creamy finish you’re after.
- Color Adjustment: The blue food coloring can be adjusted for intensity based on your preference. Start with a few drops and mix until satisfied!
- Serving Softness: For the best experience when serving, let the ice cream sit for a few minutes at room temperature if it’s too firm after freezing.
- Fun Variations: Get creative! Try swirling in sauces or adding mix-ins like cookies for added texture to your no-cook Blue Ice Cream.
How to Store and Freeze Blue Ice Cream
- Fridge: Keep your freshly made blue ice cream in the fridge for up to 1 hour if serving immediately, but it’s best enjoyed fresh straight from the machine.
- Freezer: Transfer the ice cream to an airtight container and freeze for up to 2 weeks. For best results, let it soften for a few minutes at room temperature before serving.
- Covering: To prevent ice crystals from forming, place a piece of plastic wrap directly on the surface of the ice cream before sealing the container.
- Reheating: If you need to soften your blue ice cream, simply let it sit out for about 5 minutes before scooping to get that creamy texture back.
Blue Ice Cream Recipe FAQs
What type of half & half should I use?
Absolutely! For the creamiest texture, I recommend using regular half & half. However, if you’re looking for a lighter dessert, whole milk can work as a substitute, although it will affect the richness.
How long can I store my Blue Ice Cream?
You can store your freshly made Blue Ice Cream in an airtight container in the freezer for up to 2 weeks. When you’re ready to serve, let it sit at room temperature for about 5 minutes to soften, making scooping easier!
Can I freeze Blue Ice Cream for a longer time?
Definitely! If you want to store it beyond the two weeks, be aware that the texture may change slightly after that time. For best results, consume within 2 weeks for maximum creaminess.
Why did my ice cream turn out grainy?
Very! Graininess often comes from over-churning, which can cause the ice cream to whip too much air in. To prevent this, keep an eye on the churning process and stop once it reaches a thick, creamy consistency.
Is this recipe safe for kids?
Yes! This no-cook Blue Ice Cream is safe for kids, but always double-check ingredient labels for any allergens. If you’re concerned about sugar content, try substituting sugar with honey or agave in moderation.
What can I do with leftover ingredients?
I often use leftover whipping cream to whip up fresh toppings or add it to coffee for a delicious treat. You can also use leftover vanilla for baking, and half & half can be used in recipes like creamy pasta sauces or soups!
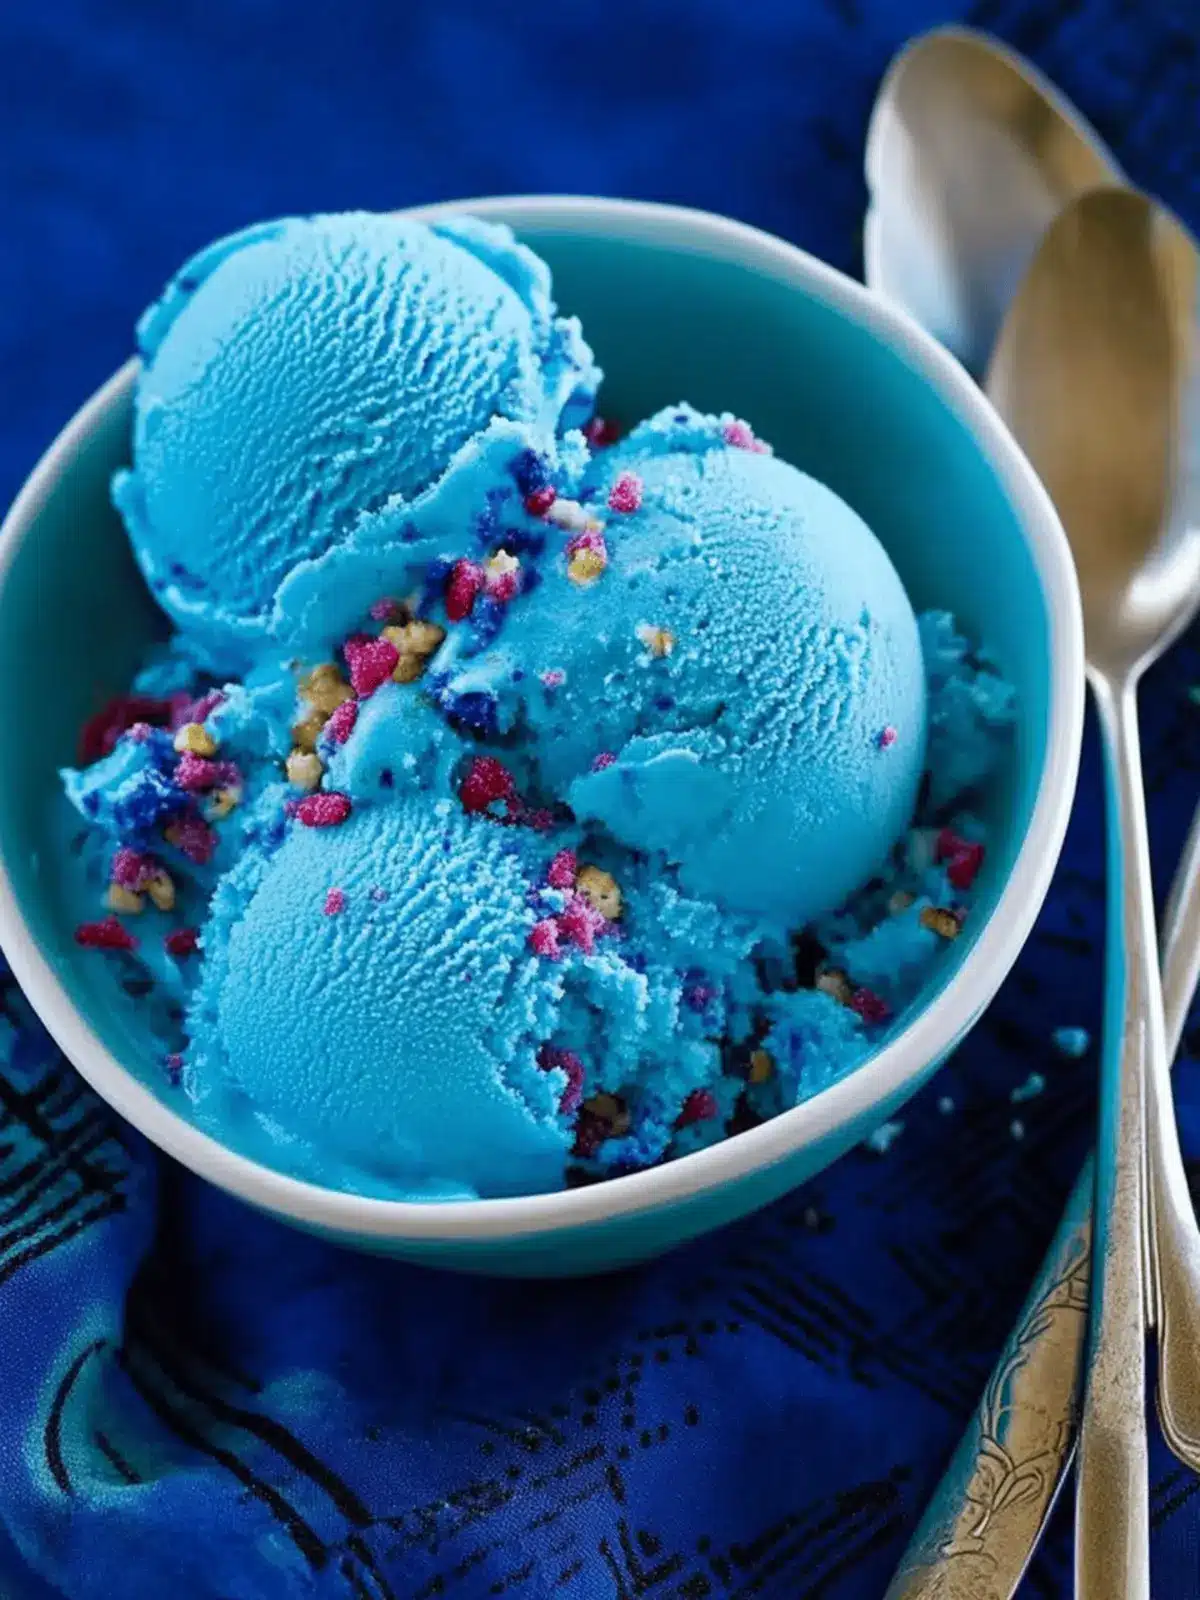
Delicious No-Cook Blue Ice Cream Recipe for Family Fun
Ingredients
Equipment
Method
- In a medium bowl, stir together the half & half, whipping cream, sugar, vanilla extract, and salt until fully combined.
- Gradually add blue food coloring to the mixture, mixing until you achieve your desired shade of blue.
- Pour the mixture into an ice cream machine and churn according to the manufacturer’s instructions, which usually takes about 20 minutes.
- For a soft-serve texture, serve immediately. If a firmer ice cream is preferred, transfer to a container and freeze for a few hours before serving.
- Serve with fun toppings like sprinkles, M&Ms, or mini York Peppermint patties.

