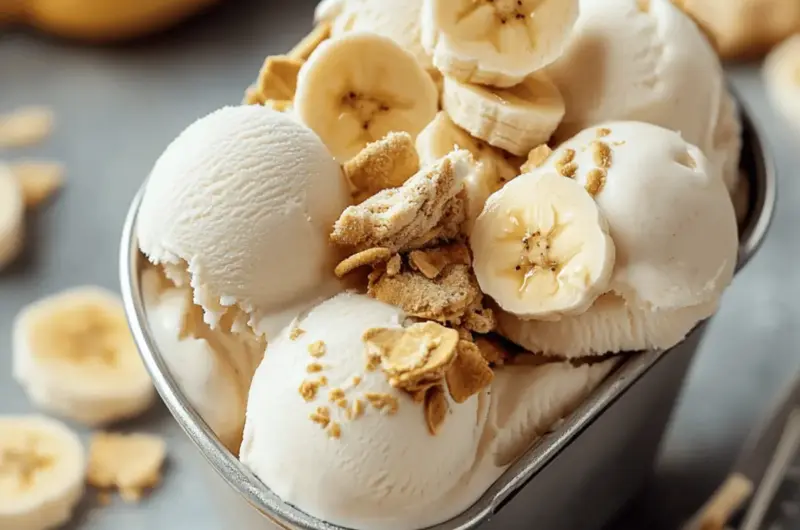
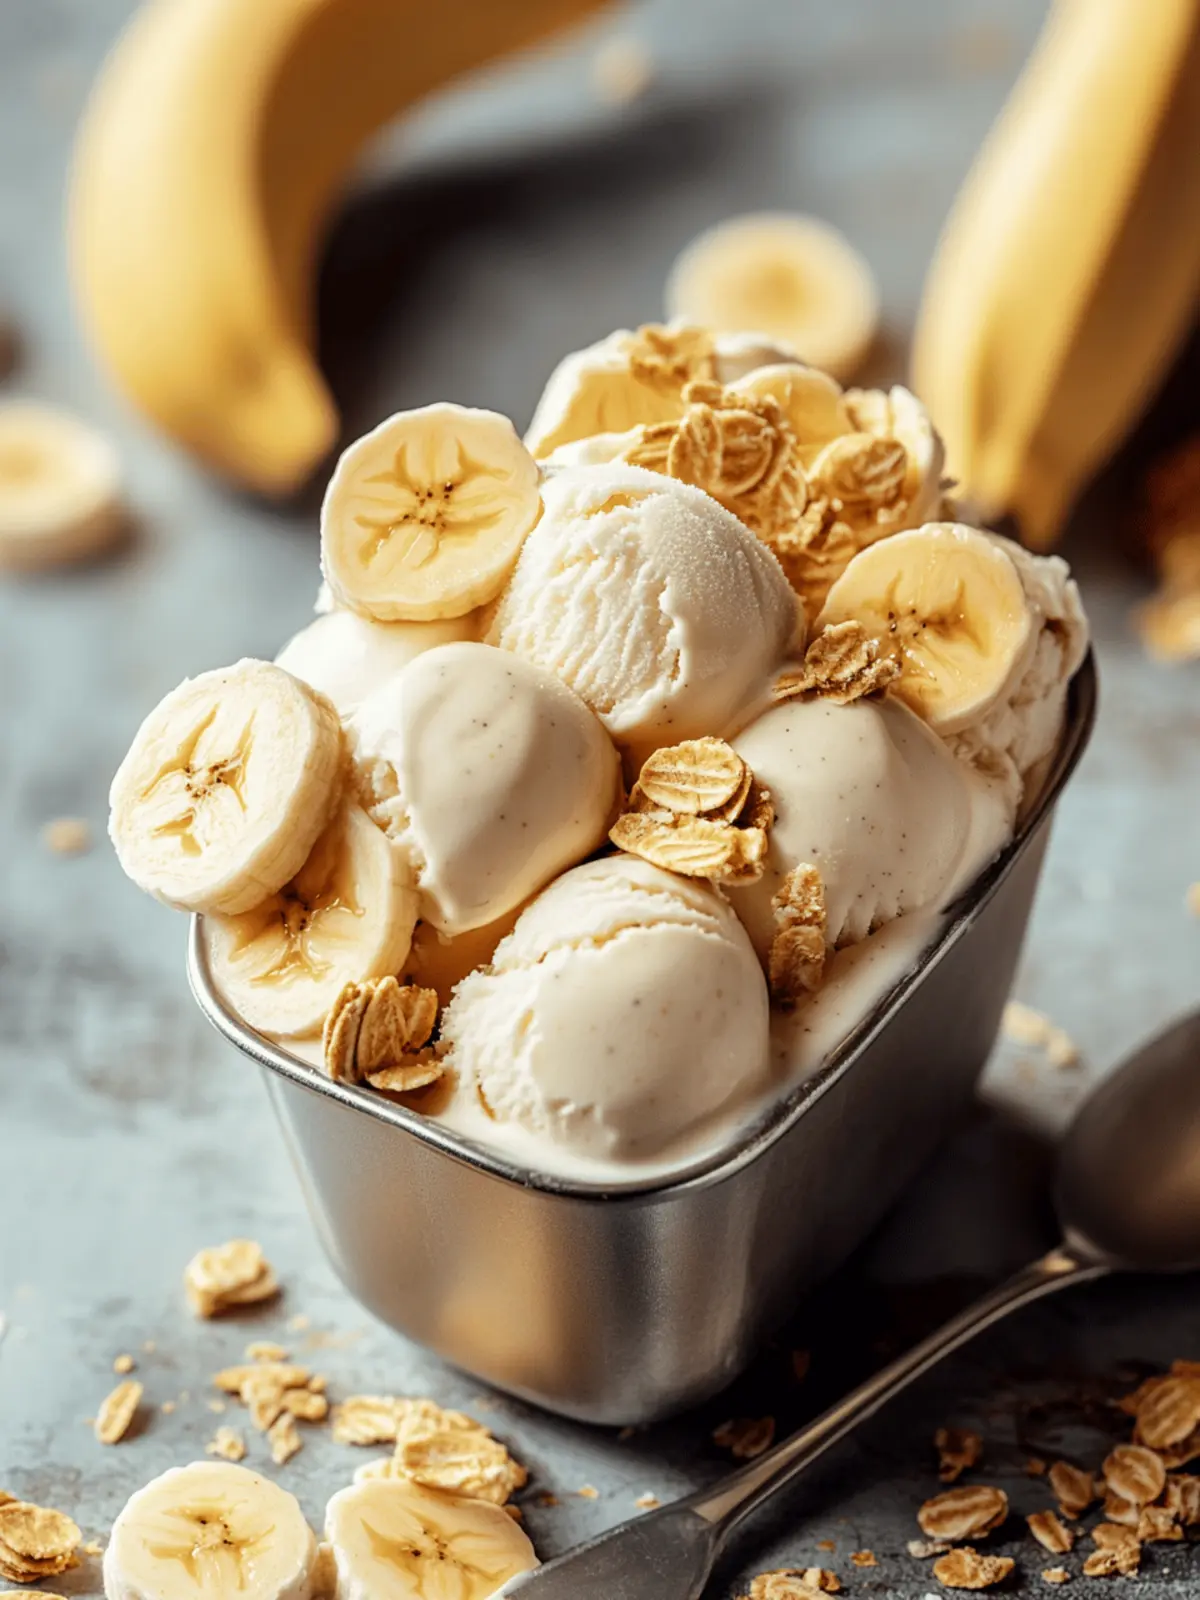
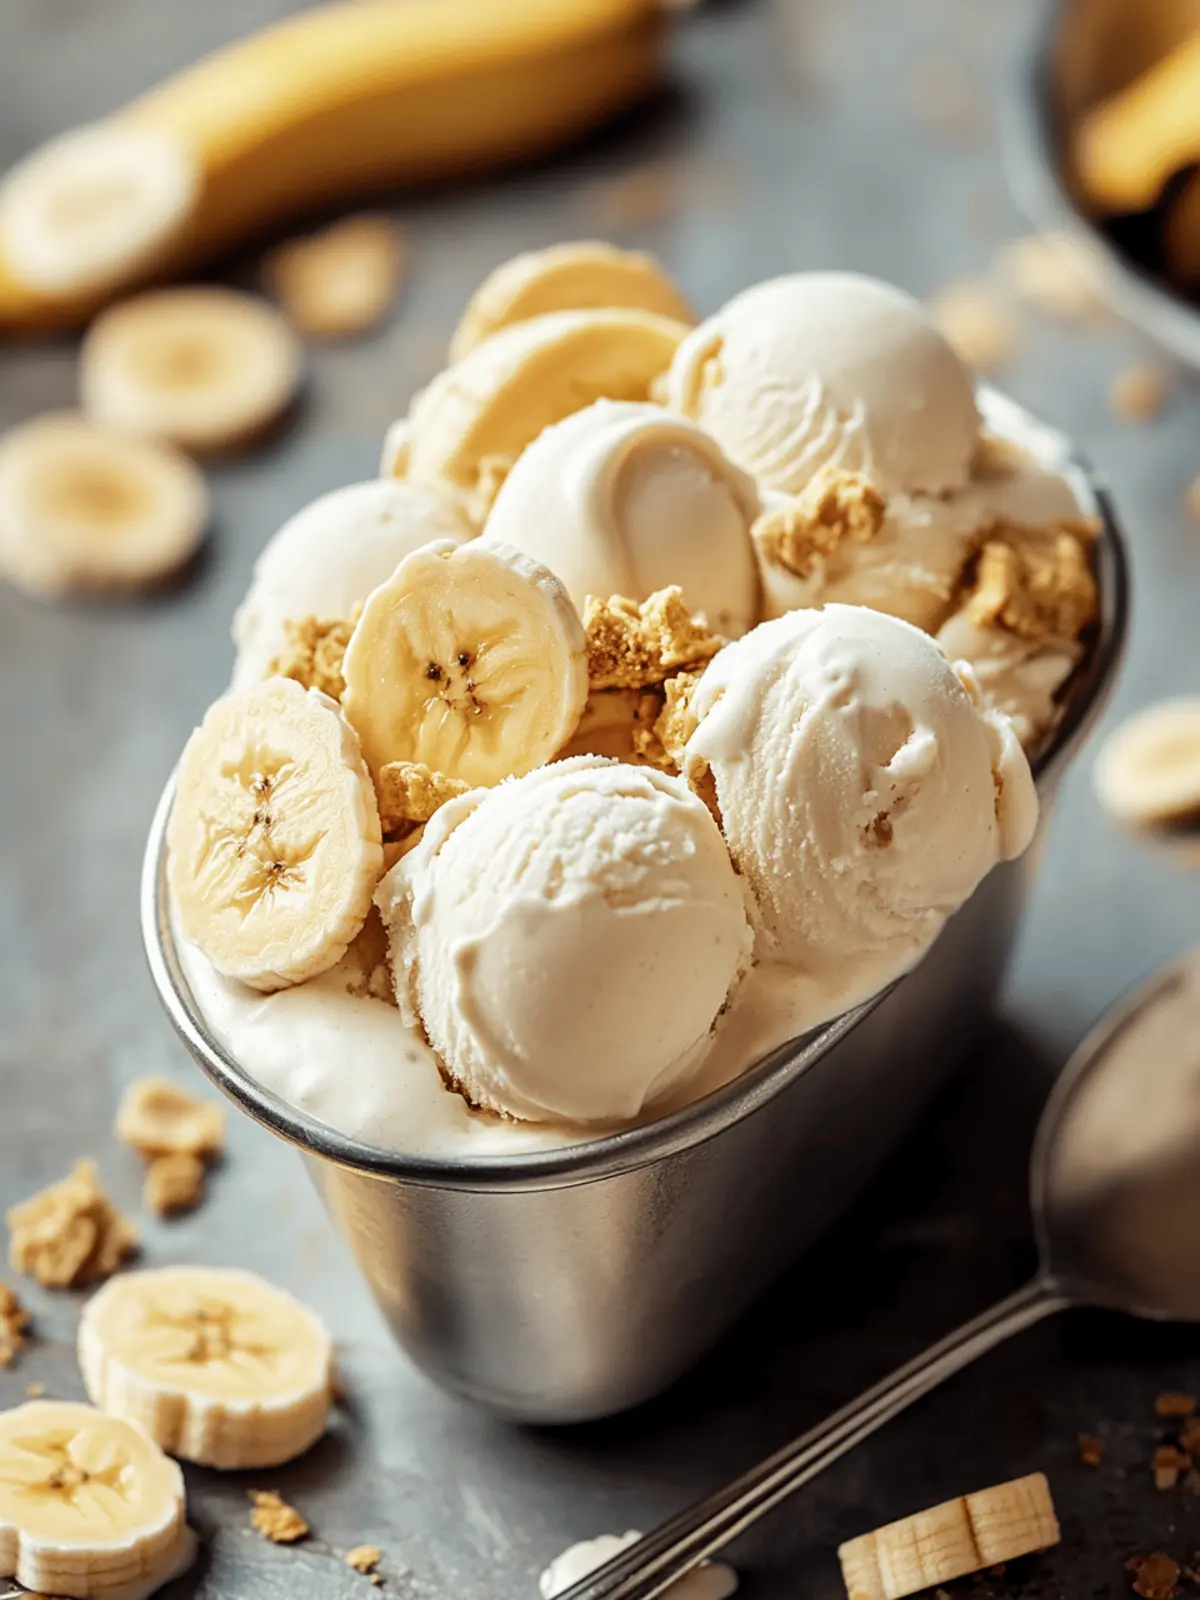
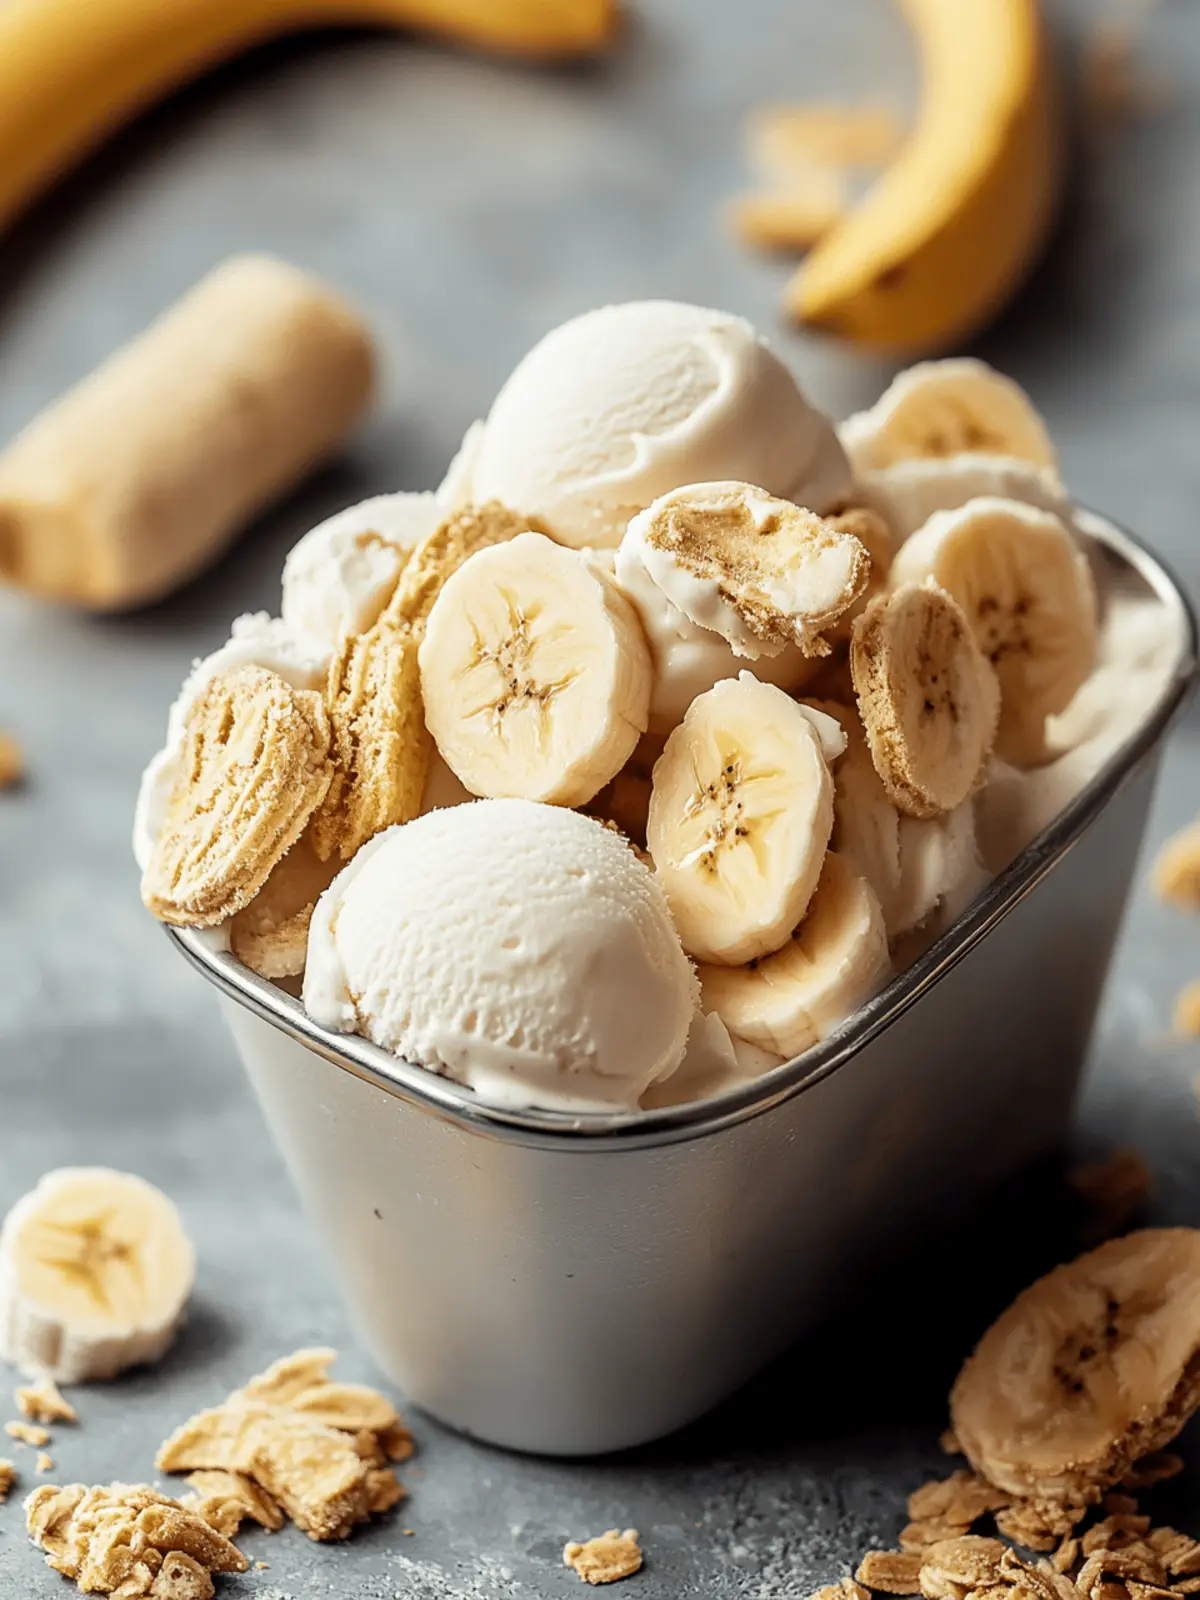
There’s a certain magic that happens when the summer sun shines bright, and the sweet, familiar taste of banana pudding dances on your tongue. I was inspired to create a chilled treat that captures that essence, and the result is this dreamy Banana Pudding Ice Cream. Rich, creamy, and dotted with crunchy Nilla Wafers, this ice cream brings the nostalgia of childhood desserts right into your freezer!
As the heat rises, nothing beats the joy of indulging in a bowl of this delightful concoction. With simple ingredients and an easy-to-follow recipe, you can whip up a luxurious dessert that both kids and adults will cherish. Whether you’re hosting a summer barbecue or just hoping to cool off after a long day, this homemade treat is sure to become a go-to favorite. And for those looking to beat the heat without an ice cream maker, I’ve included a no-churn option that makes enjoying this delightful dessert easier than ever. Let’s dive into this creamy bliss!
Why is Banana Pudding Ice Cream a must-try?
Nostalgic Delight: This Banana Pudding Ice Cream perfectly captures the essence of a childhood favorite, making it a crowd-pleaser for all ages.
Simple Ingredients: With just a handful of readily available ingredients, this recipe minimizes hassle, allowing you to focus on the fun of making something delicious.
Versatile Treat: Enjoy it as is, or mix it up by using different pudding flavors or cookie alternatives for a unique twist!
No-Churn Option: Don’t have an ice cream maker? No problem! This recipe includes an easy no-churn method so you can indulge without special equipment.
Quick to Make: You’ll be savoring this creamy treat in no time, making it perfect for spontaneous summer get-togethers or cozy evenings at home.
Banana Pudding Ice Cream Ingredients
Indulge in this creamy delight with just the right mix of flavors!
For the Ice Cream Base
- Ripe Bananas – Provides natural sweetness and banana flavor; can be pureed for a smoother texture.
- Vanilla Pudding Mix – Adds creaminess and a silky texture; experiment with other pudding flavors for a twist.
- Heavy Cream – Contributes to the ice cream’s rich texture; use full-fat for best results.
- Milk – Achieves the desired consistency; combining with heavy cream enhances richness.
- Sugar – Enhances sweetness; adjust based on how ripe your bananas are.
- Vanilla Extract – Boosts overall vanilla flavor; substitute with almond extract for a different profile.
For the Crunch
- Nilla Wafers – Adds a crunchy element; fold in at the end of churning to keep them crunchy.
This delightful Banana Pudding Ice Cream is not only easy to make but filled with rich flavors and textures that everyone will love!
How to Make Banana Pudding Ice Cream
-
Prepare Banana Mixture: Start by mashing or pureeing the ripe bananas to your preferred consistency. Aim for a smooth texture that showcases their natural sweetness and distinct flavor, which will be the heart of your ice cream.
-
Combine Ingredients: In a large mixing bowl, blend the heavy cream, milk, sugar, and vanilla pudding mix together until it’s perfectly smooth. This will create a rich and creamy base for your delightful Banana Pudding Ice Cream.
-
Incorporate Bananas: Gently fold the banana mixture and vanilla extract into the creamy mixture. This step is essential to integrate the flavors while keeping the bananas from losing their essence in the ice cream.
-
Churn Ice Cream: Pour your blended mixture into an ice cream maker. Churn it according to the manufacturer’s instructions until it thickens up beautifully—usually about 20-30 minutes.
-
Add Nilla Wafers: Near the end of the churning process, gently fold in the Nilla Wafer pieces. Doing this at the right moment will ensure they maintain their delightful crunch throughout the ice cream.
-
Freeze: Transfer the mixture to a suitable airtight container and place it in the freezer. Allow it to freeze for at least 4 hours, which will give you that perfect, scoopable texture.
-
Serve: Once set, scoop into bowls or cones and top with extra banana slices and Nilla Wafers for added flair and flavor!
Optional: Drizzle with caramel sauce for a delicious twist.
Exact quantities are listed in the recipe card below.
Expert Tips for Banana Pudding Ice Cream
- Banana Texture: Ensure your bananas are very ripe for maximum sweetness; mash them well for a smoother, more velvety ice cream.
- Mix Gradually: Combine the heavy cream and milk slowly with the pudding mix to prevent lumps, which could affect the creaminess of the Banana Pudding Ice Cream.
- Churn Smartly: Don’t over-churn the ice cream; stop when it has thickened but still soft—this avoids a grainy texture.
- Nilla Wafer Crunch: Fold in the Nilla Wafers carefully and at the right time during churning to keep them crunchy and deliciously intact.
- No-Churn Tip: For the no-churn version, make sure to whip the cream until it forms stiff peaks for a light, airy texture.
- Storage Note: Store your ice cream in an airtight container to help maintain its creamy texture and prevent freezer burn.
How to Store and Freeze Banana Pudding Ice Cream
Room Temperature: Banana Pudding Ice Cream should not be left out; for best texture, serve immediately after scooping.
Fridge: This treat is best stored in the freezer, but if you’ve got leftovers, they can be kept in the refrigerator for a day—just note the texture will be less creamy.
Freezer: Store your Banana Pudding Ice Cream in an airtight container to preserve its freshness for up to 2 weeks. For long-term storage, it lasts up to 1 month, though the quality may decline.
Reheating: If it’s too hard to scoop, let the ice cream sit at room temperature for about 10 minutes before serving to soften it up just a bit!
Make Ahead Options
These creamy Banana Pudding Ice Creams are perfect for busy weeknights! You can prepare the banana mixture (mashed or pureed) and assemble the ice cream base up to 24 hours in advance—just refrigerate them in separate airtight containers to maintain freshness. On the day you plan to serve, simply combine the ingredients, churn the ice cream, and fold in the Nilla Wafers near the end. This way, you’ll have a delightful dessert ready to enjoy without all the fuss. Just remember, to ensure the wafers stay crunchy, avoid adding them until you’re ready to churn. Enjoy your homemade treat effortlessly!
Banana Pudding Ice Cream Variations
Customize your scrumptious Banana Pudding Ice Cream with these fun and delicious twists!
-
Chocolate Pudding: Swap vanilla pudding for chocolate pudding mix for a rich, chocolaty flavor that pairs beautifully with bananas. Your taste buds will dance with joy!
-
Nutty Banana Bliss: Add crushed walnuts or pecans for a delightful crunch and an earthy flavor that enhances the creaminess of the ice cream.
-
Caramel Swirls: Drizzle in caramel sauce while churning to create luscious caramel ribbons throughout the ice cream, perfect for sweet-toothed individuals!
-
Coconut Cream: Use coconut milk instead of regular milk, and add shredded coconut to bring a tropical twist to your creamy treat.
-
Peanut Butter Swirl: Incorporate creamy or crunchy peanut butter into the mix for a classic flavor combination that satisfies cravings and takes this dessert to new heights.
-
Spicy Heat: Add a pinch of cayenne pepper to the mixture for those brave seekers of bold flavors looking to spice things up!
-
Almond Extract: Swap out vanilla extract for almond extract to give the ice cream a lovely nutty aroma that perfectly complements the bananas.
-
Frozen Fruit Medley: Mix in frozen berries or diced mango before freezing for a refreshing fruit twist that brings an exciting splash of color and flavor!
What to Serve with Banana Pudding Ice Cream?
Elevate your summertime dessert experience with delicious pairings that complement this creamy, nostalgic treat.
-
Fresh Berries: Juicy strawberries or blueberries add a burst of freshness, balancing the richness of the ice cream beautifully.
-
Mint Leaves: A sprinkle of freshly chopped mint on top enhances the flavor profile while adding a refreshing contrast.
-
Caramel Sauce: Drizzle a bit of caramel for extra sweetness, providing delightful contrast to the smoothness of the banana ice cream.
-
Chocolate Syrup: If you’re a chocolate lover, a drizzle of warm chocolate syrup can turn your dessert into a decadent treat.
-
Whipped Cream: A fluffy topping of whipped cream brings texture and lightness, making this dessert feel extra special.
-
Coffee or Espresso: A small cup of rich coffee pairs well, cutting through the creaminess and bringing out the banana notes.
-
Graham Cracker Crumbles: These add a delightful crunch and a hint of earthy sweetness—perfect for those who love a bit of texture.
-
Pie Crust Crumbles: For a fun twist, sprinkle on some pie crust crumbles to add a bit of crunch and pie-like charm to your ice cream.
Enjoy your banana pudding ice cream with these delightful pairings, and let each bite transport you back to carefree summer days!
Banana Pudding Ice Cream Recipe FAQs
What kind of bananas should I use for this recipe?
For the best flavor, select very ripe bananas with plenty of brown spots; they offer maximum sweetness and a rich banana flavor. If you’re looking for a smoother texture, I recommend pureeing the bananas instead of mashing them—this way, you’re left with a velvety ice cream.
How should I store leftover Banana Pudding Ice Cream?
To keep your ice cream fresh, store it in an airtight container in the freezer for up to 2 weeks. If you want to save it for a more extended period, it can last up to 1 month, but the texture may become less creamy over time. Just be sure to allow it to soften for about 10 minutes at room temperature before scooping!
Can I freeze Banana Pudding Ice Cream?
Absolutely! After preparing the ice cream, transfer it into a suitable airtight container and freeze for at least 4 hours for a firm texture. If you want to prepare it in advance, it can be stored for up to a month, although I usually recommend enjoying it within 2 weeks for the best taste and texture.
What if my ice cream is too hard to scoop?
If your Banana Pudding Ice Cream is too hard after freezing, simply let it sit at room temperature for about 10 minutes before serving. This will allow it to soften just enough for easy scooping without compromising its smooth texture.
Can I make a no-churn version of this ice cream?
Yes! To create a delicious no-churn version, whip the heavy cream until it forms stiff peaks, then gently fold in the banana mixture along with the pudding. Transfer it to an airtight container and freeze as per the original instructions. This method yields a light and fluffy ice cream without the need for an ice cream maker.
Are there any allergen considerations to keep in mind for this recipe?
Definitely! If you’re cooking for those with allergies, note that this recipe contains dairy and may not be suitable for individuals with lactose intolerance or dairy allergies. You can experiment with dairy-free alternatives like coconut milk or almond milk, and there are vegan pudding mixes available that work wonderfully for a dairy-free twist!
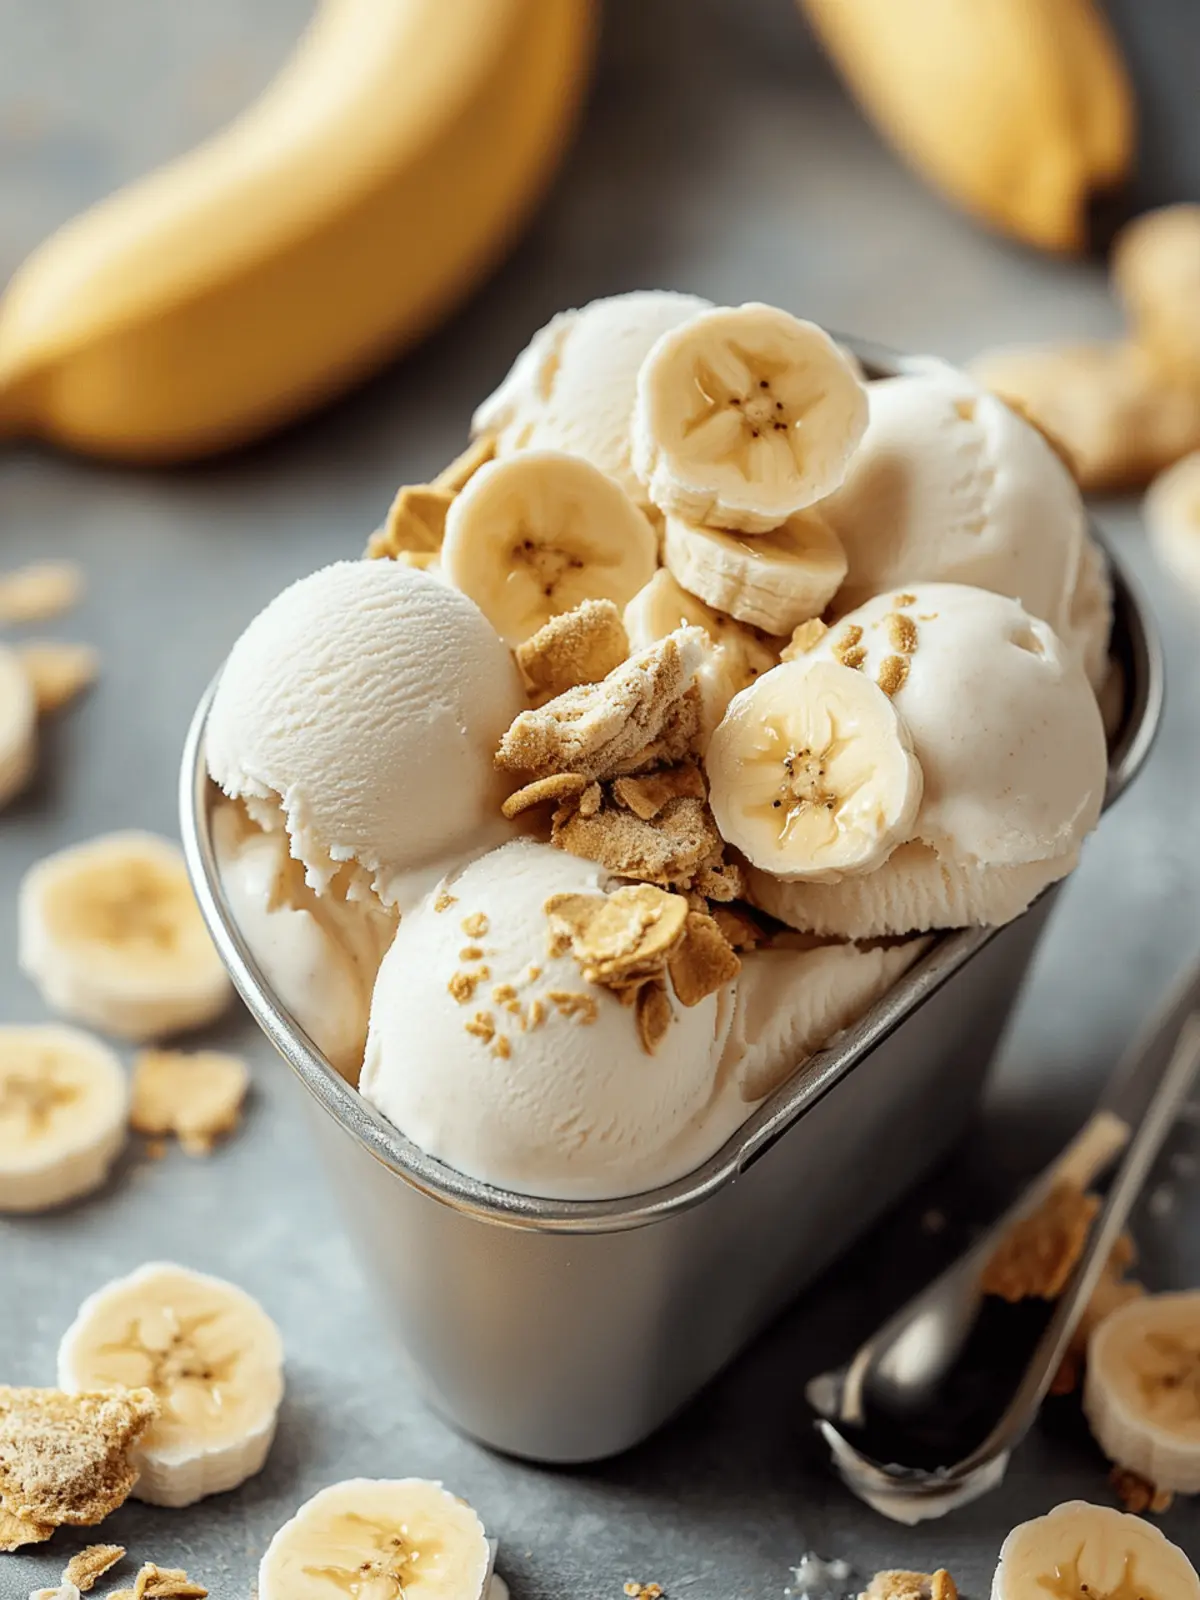
Delicious Banana Pudding Ice Cream You Can Make at Home
Ingredients
Equipment
Method
- Mash or puree the ripe bananas to your preferred consistency.
- In a large mixing bowl, blend the heavy cream, milk, sugar, and vanilla pudding mix until smooth.
- Gently fold the banana mixture and vanilla extract into the creamy mixture.
- Pour the blended mixture into an ice cream maker and churn according to the manufacturer's instructions.
- Near the end of churning, gently fold in the Nilla Wafer pieces.
- Transfer the mixture to an airtight container and place it in the freezer for at least 4 hours.
- Once set, scoop into bowls and top with extra banana slices and Nilla Wafers.

